Filmtools
Filmmakers go-to destination for pre-production, production & post production equipment!
Shop NowTL;DR: Place any object or graphic at different positions, blade it, drop Motion Tween on the transition, and you get gorgeous, organic, keyframeless animation with motion blur baked in.

Welcome to Tool Tip Tuesday for Adobe Premiere Pro on ProVideo Coalition
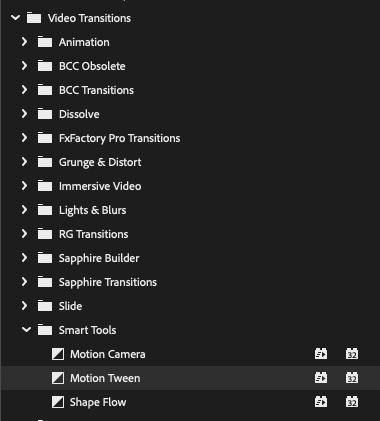
Last week I showed you how the Cross Dissolve got a serious upgrade when Adobe acquired Film Impact. Today’s tip lives in that same Smart Tools neighborhood: Motion Tween.
The Old Way
Normally, to animate something, you set a start value, move your playhead forward, set a new value, then fight with easing and motion blur to make it look like something other than a robot built it. Motion Tween skips all of that.
The Motion Tween way
Take any element you want, cut it up, and use Motion Tween between the sections. I’m going to focus on using PNGs because they come with an alpha channel, but you could use this with any element
How It Works
-
Blade your clip to define its start/intro position.
-
Blade again near the end to define its final/outro position.
-
Drop Motion Tween on it as a transition.
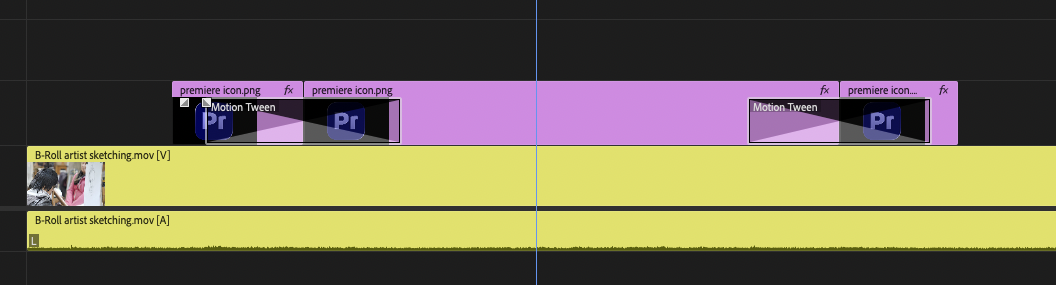
Organic ease in, ease out, motion blur, and no keyframes.
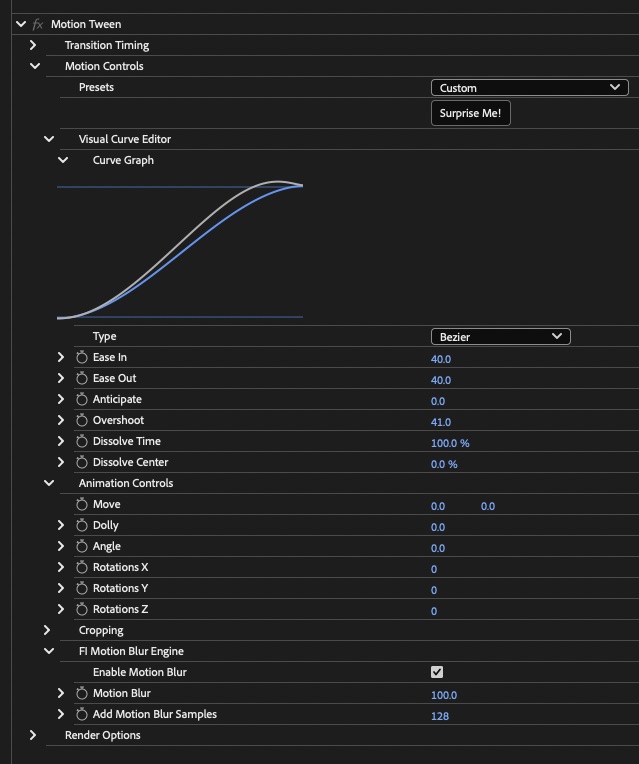
In the GIF above, the first motion tween has extra blur samples cranked up for a more filmic feel, plus some overshoot dialed in.
The second half? I used their Quiver Roll preset.
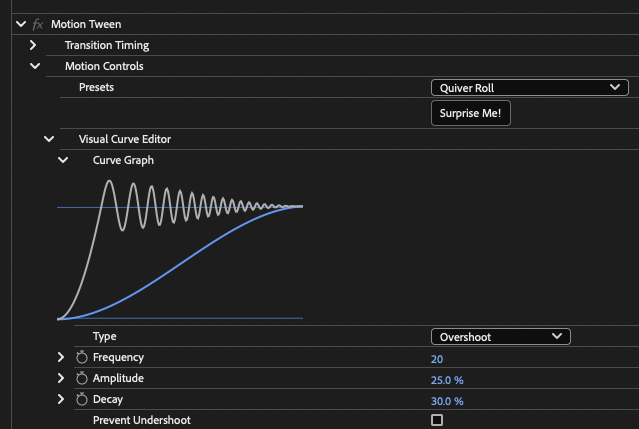
Look at that curve graph. I’m not saying I couldn’t have built that by hand. I’m saying it took me less time to apply it than to write this paragraph, and that’s what I’m after.
One note: working with Premiere Text/Graphics
If you’re working with Premiere graphics or Premiere Mogrts, Motion Tween can’t read the position, as a graphic can have multiple layers. The fix: nest it first. Once nested, it’s treated as a single object, just like a PNG or a video clip.
Final thoughts
This series is courtesy of Adobe.