

Filmtools
Filmmakers go-to destination for pre-production, production & post production equipment!
Shop Now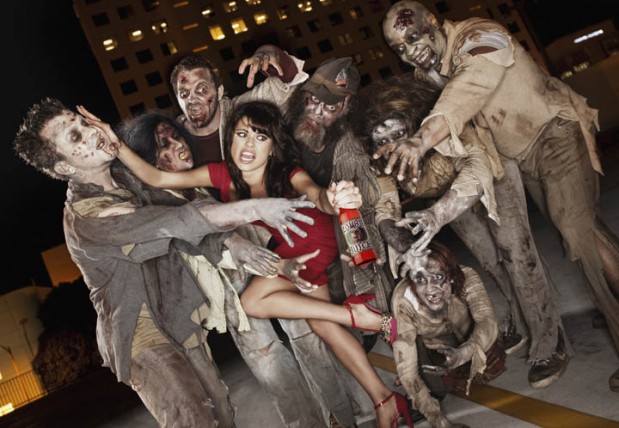
By Jay P. Morgan
1. A great lighting tool is the Ring Light or Ring Flash. The Ring Light was invented in the 1950’s as a light source to capture medical images. Fashion photographers and DP’s soon found this great light source and used it to shoot people. It’s perfect because it creates a wonderful highlight on the skin and allows the shadows to fall away from the camera. This video is a look at how to use a Ring Light or Ring Flash. In this image we used a Ring Flash as a key light. Let’s look at the different uses of the Ring Light and break down the lighting for this image.
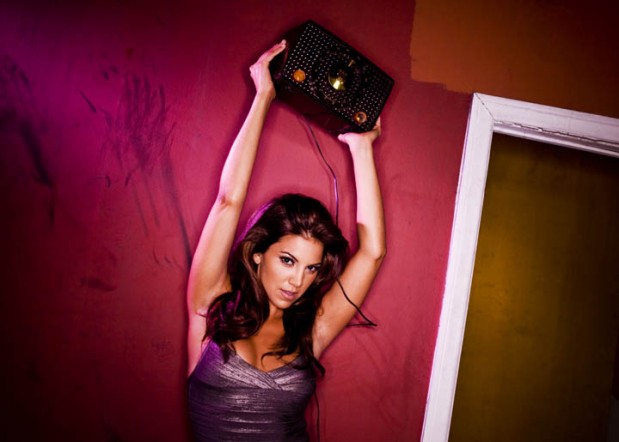
2. Most people think of a ring light as a fashion light source. This is a great way to use it and probably the most common but not the only way to use a ring light.

3.They can be a very useful tool for stills and video. I have used it with a group looking directly at the camera to simulate as if they are looking at a TV.

4. I use it as a fill light often. It becomes a non-directional fill.
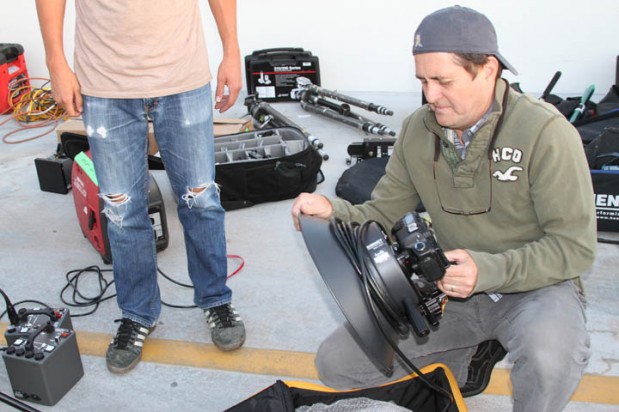
5.A ring flash or light, is a circular photographic flash or continuos light that fits around the lens making it very close to the optical axis of the lens.
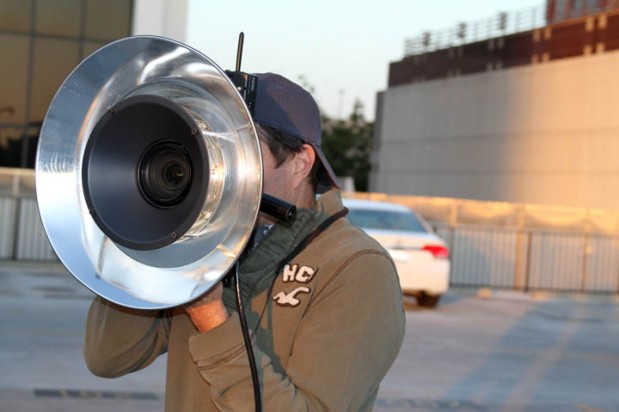
6. I really like the Dynalite SP 3200 Ring Flash with a silver or white reflector.
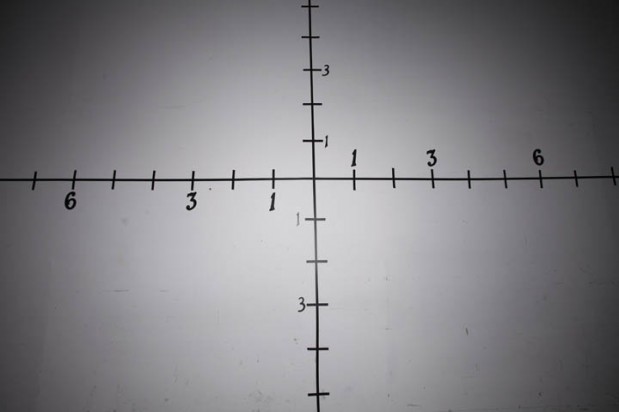
7. Let’s look at the area of coverage and quality of light created by a ring light. The area of coverage is quite broad. At 6 feet from the wall we get a 14 foot area of coverage with a 1.5 stop fall off.

8. The real story is the quality of light on a person’s face. It creates a shadowless light on the subject because of the source surrounding the lens. We do see a shadow ring around the person on the background.
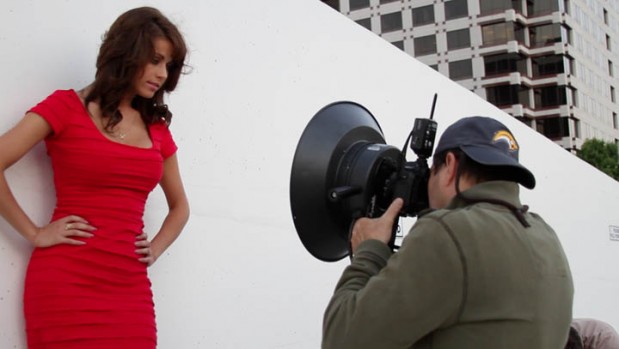
9. When you add a reflector it softens and disperses the light output.

10. Using the Dynalite ring flash and adding a silver reflector we can see the area of coverage is reduced.

11. It’s a harder beautiful light. It gives nice highlights on her face and skin and drops shadows on the sides of legs and arms. The most common way to use a ring light or flash is as a key light. We will use the ring light as a key when we shoot our talented Vera and the Zombies for Zombie Juice Soda.
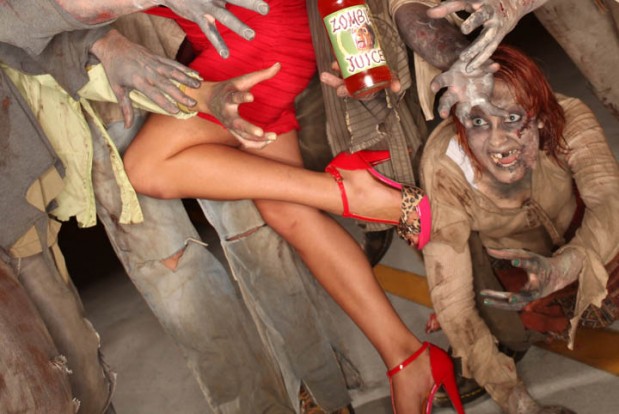
12. This detail of our final image shows that a ring light gives you a nice highlight on the skin but creates a nice defining shadow on the sides of the legs and arms. This gives great dimension to the figure.

13. We had some time while we waited for the Zombies to get through make-up. I took advantage and shot some images with just the ring light with a reflector as a key light of Ben our first Zombie.
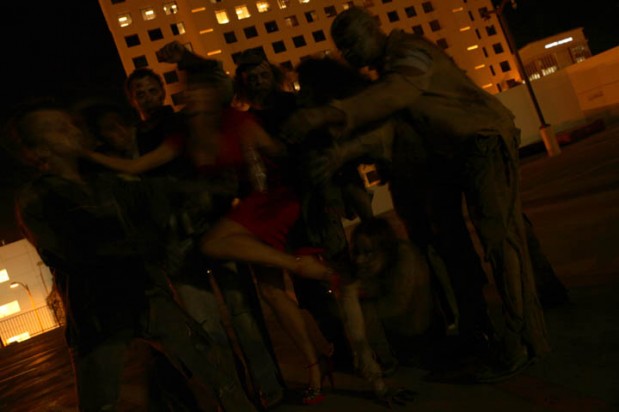
14. Let’s look at our lighting breakdown for the shoot. This is the first image with just the ambient light from the ikan LED.
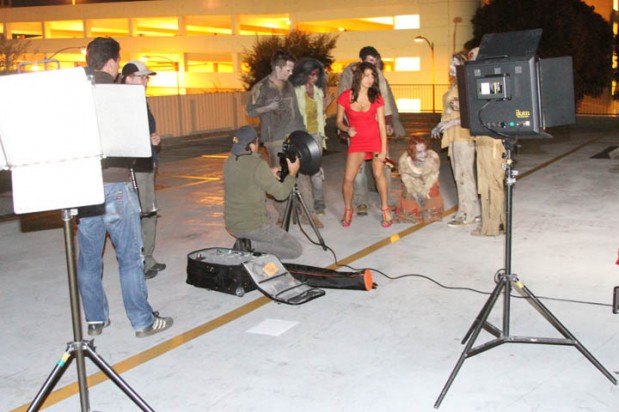
15. I use the LED light as a focusing light and fill. This gives us light to work with on set and a nice fill light.

16. We added a small Photoflex soft Box from camera left as a rim light.
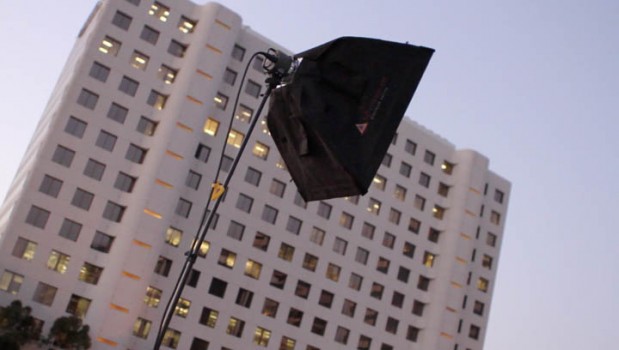
17. This gave us some life to the figures and lightened the ground a bit.
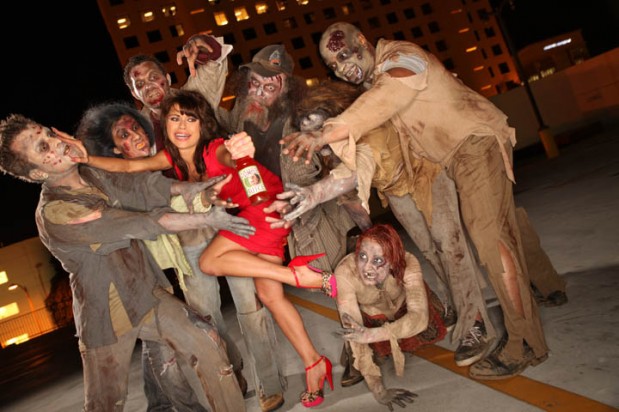
18. Here is our image with the Dynalite ring flash. This brings the image alive. With a group of this size I don’t need to worry about shadows created on the faces of the talent. It’s a directional light that covers everyone.
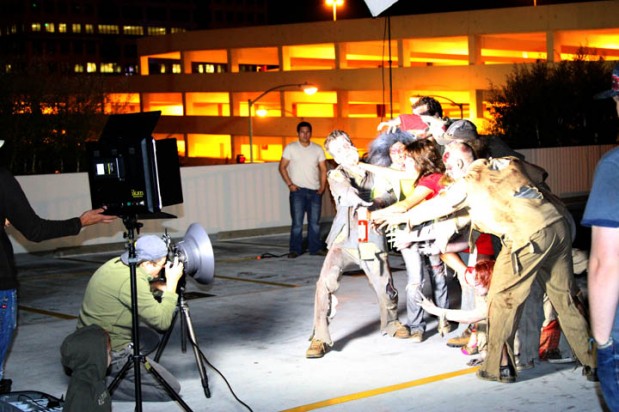
19. Having the light attached to the camera creates its own problems. As I get closer to the subject the image gets brighter. I need to keep a constant distance to the subject or make constant changes. It’s one of the downsides to a ring flash.
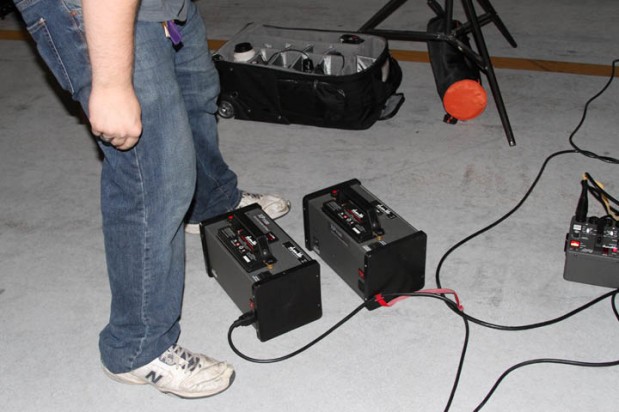
20. With a ring flash I find that I don’t need much in the way of power to make it effective so a battery power source for the Dynalite strobes works well.
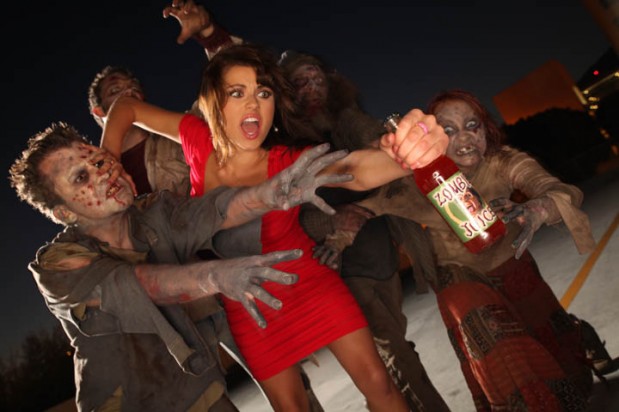
21. Here is one of the images before retouching.

22. Another way I use the ring light is as a fill light. In this image of Darren McMullen the ring light was not the main source of light.
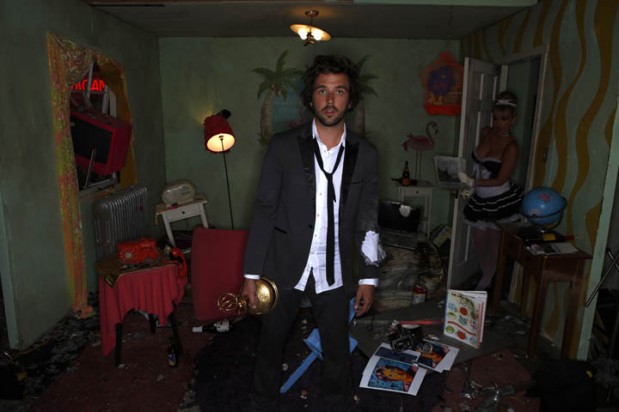
23. Here is the shot with just the ring light. It’s an overall subtle fill light. This is a great use of a ring light because it’s a non-directional light source that creates minimal shadows when kept low. It’s a great fill light for video or stills.
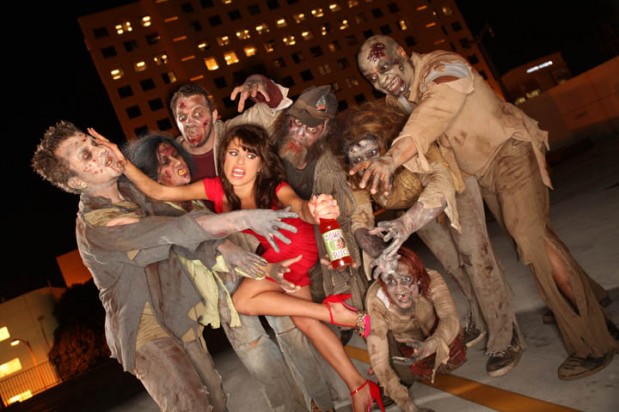
24. Now let’s take a look at the post process on our Zombie image. This is the final image that I will work on in Nik Software.
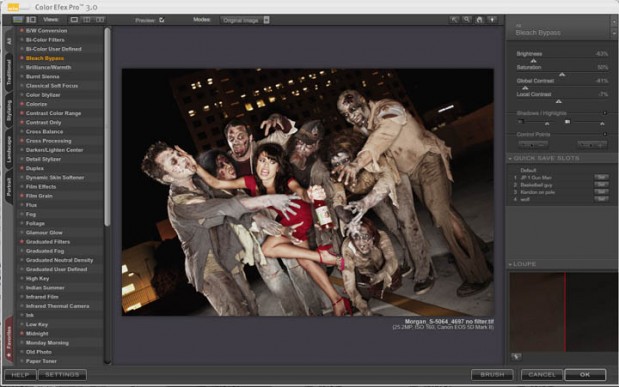
25. I took the image into Nik Color Efex pro 3 and used the bleach bypass filter to remove saturation and create some tonal contrast.
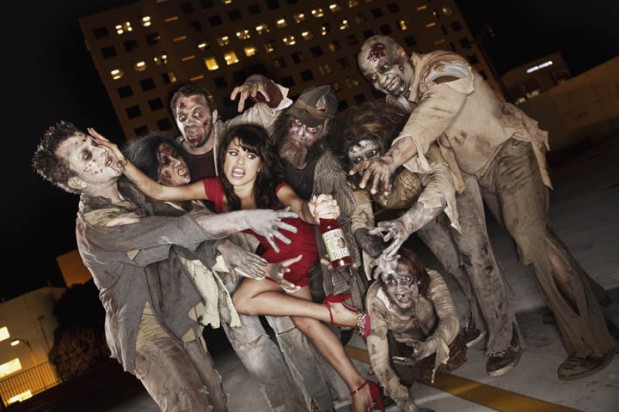
26. Here is our final image. I?m very pleased with the outcome but it needs a better bottle.
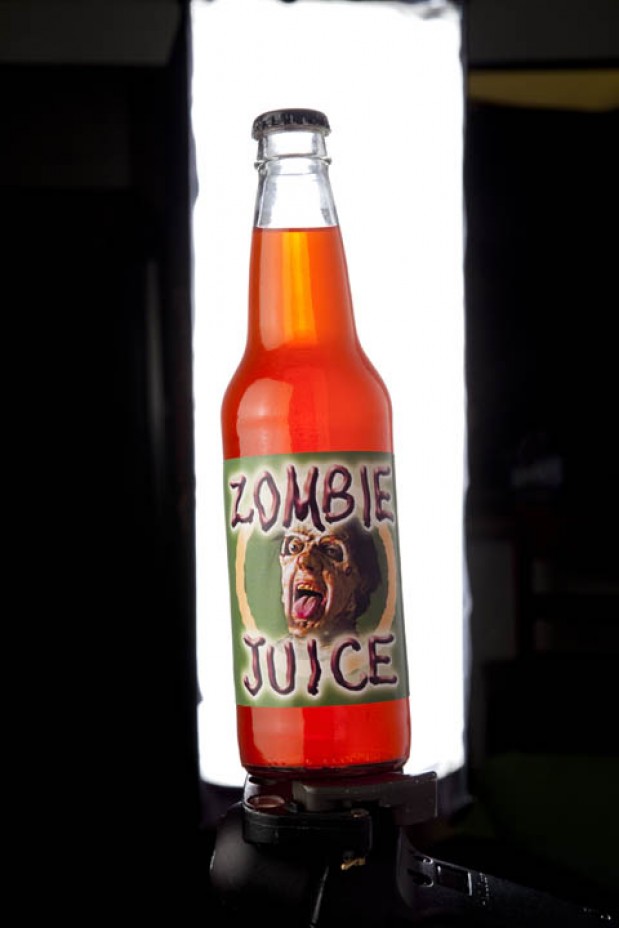
27. I shot the bottle the same way as demonstrated in a TSL lesson called “Shooting a bottle”. I used a simple Photoflex soft box as a background light and a box up front to give a highlight on the bottle. To get the whole rundown go to the lesson called “Shooting a bottle”.
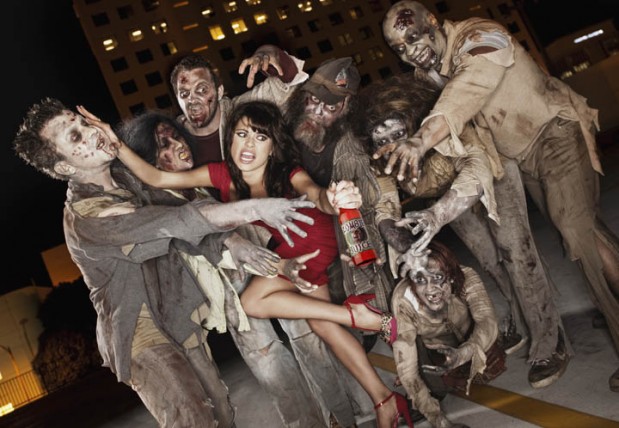
28. Julene composed the new bottle into the shot. Here is the final image.