

Filmtools
Filmmakers go-to destination for pre-production, production & post production equipment!
Shop NowA quick look at the long-awaited Mission 1 ILS interchangeable lens system.

The long-awaited GoPro Mission 1 Pro ILS finally arrived, and with much anticipation I scrambled to assemble a few different lenses and crank out a couple tests before the embargo period was lifted today! There are just so many things I want to still cover on this camera with more thorough setups, including really testing the Media Mod with external monitor, sound, and multiple lenses. But for today, let me just give you some info and a few quick test shots I was able to fire off before press time! Note that contrary to the Mission 1 Pro that I’ve shared over the past couple months, the Mission 1 Pro ILS is NOT an action cam. It’s not waterproof and depending on the lens you’re using, is not happy being tossed about if you want useable footage. It’s really a good companion for shooting with a small cine setup or on a tripod. It’s really all about what you can do with manual lenses – and that’s not often a handheld endeavor, let alone strapped to anything moving quickly!
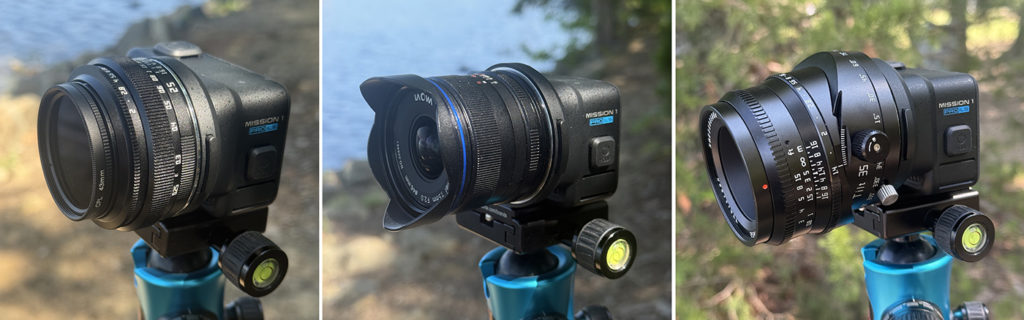
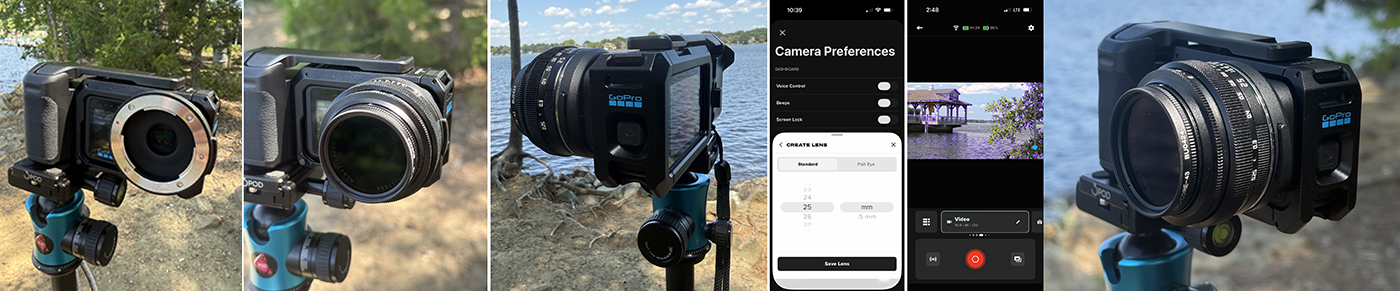
The three MFT lenses I am testing (pictured L-R)
- TTARTISAN 25mm F2 (w/Chiaro CORE CPL 43mm circular polarizer)
- LAOWA MFT 7.5mm F2.0 C-Dreamer (Ultra-wide Aspherical/Macro)
- TTARTISAN Tilt APS-C 35mm F1.4
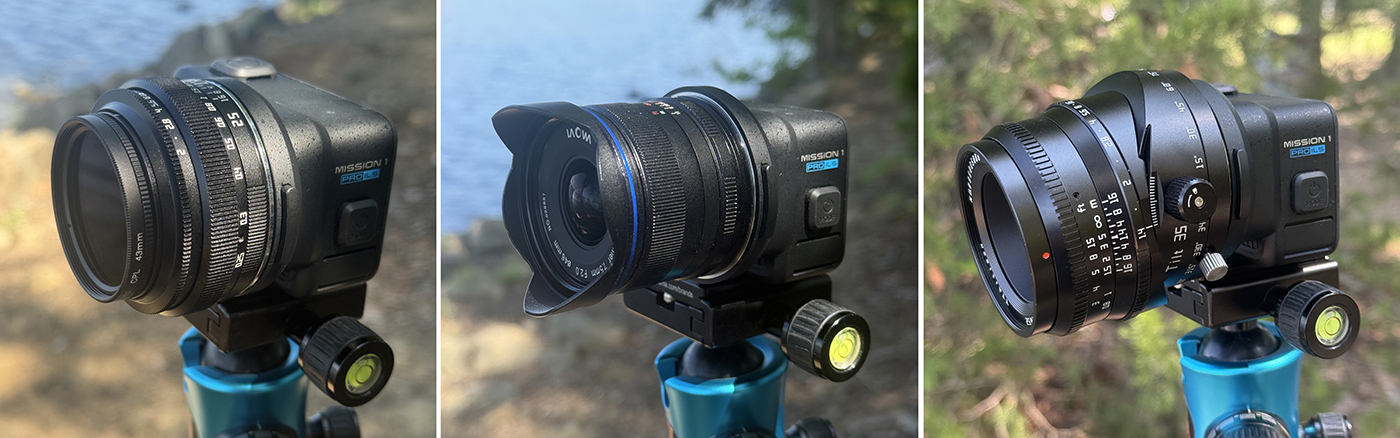
MISSION 1 PRO ILS
This marks a major first for GoPro: after 24 years of producing fixed-lens cameras, the company has developed a model built around interchangeable optics. GoPro positions it as the world’s smallest cinema camera, combining a compact, rugged form factor with greater creative flexibility and a relatively accessible price point.
The interchangeable-lens system allows users to move between close-up macro work, compressed telephoto compositions and expansive cinematic views. Behind the lens is a 1-inch sensor designed for improved low-light performance, paired with GoPro’s next-generation GP3 processor. Recording options include 8K at up to 60 fps, 8K Open Gate, 4K at 240 fps for up to 8x slow motion, HLG HDR, 10-bit color and GP-Log2 encoding at bit rates reaching 240 Mbps. The camera also supports 32-bit float audio and captures 50-megapixel still images—all in a small, lightweight and durable body.
Interchangeable Micro Four Thirds (MFT) Lenses
MISSION 1 PRO ILS is compatible with a wide variety of manual focus and manual aperture Micro Four Thirds (MFT) lenses and adapters that can be attached to your camera using its standard MFT mount. Some lenses may feature manual focus adjustment, but can only drive that focus with cameras that have electronic contacts. Since MISSION 1 PRO ILS does not feature electronic contacts on the camera body, it cannot communicate with these lenses and thus they will not work.
Supported Fisheye Lenses
Five fisheye lenses will have stabilization supported in-camera. These lenses have been specifically profiled to enable HyperSmooth compatibility in-camera.
| Brand | Lens |
| Laowa | 4mm f/2.8 Fisheye (MFT) |
| 7Artisans | 6mm f/2 Fisheye Lens (MFT) |
| 7Artisans | 7.5mm f/2.8 Fisheye Lens (MFT) |
| Brightin Star | 7.5mm f/2.8 Fisheye Lens (MFT) |
| Meike | 7.5mm f/2.8 Fisheye Lens (MFT) |
Supported Rectilinear Lenses
All standard, non-fisheye, rectilinear MFT lenses between 6mm and 500mm can be added via the lens selection focal length entry process in Step 3a above. GoPro has tested rectilinear lenses up to 50mm for guaranteed performance. Lenses with focal lengths longer than 50mm may have varied performance.
Focal Length Conversion/Equivalence
The crop factor for the 1” sensor, when compared to a full frame 35mm sensor, is approximately 3x (with HyperSmooth ON) or 2.7x (with HyperSmooth OFF).
Sample Conversion/Equivalence to Full Frame 35mm
| MFT Focal Length | 35mm Full Frame Focal Length – HyperSmooth ON | 35mm Full Frame Focal Length – HyperSmooth OFF |
| 6mm | 18 mm | ~16mm |
| 7.5mm | ~23mm | ~20mm |
| 9mm | 27mm | ~24mm |
| 10mm | 30mm | 27mm |
| 17mm | 51mm | ~46mm |
| 25mm | 75mm | ~68mm |
| 35mm | 105mm | ~95mm |
| 50mm | 150mm | 135mm |

Supported Lenses + Adapters
Ideal lenses to use with MISSION 1 PRO ILS are built around manual control and a compact, lightweight form factor: they should offer true manual focus (not an electronically-driven focus-by-wire system, which won’t work with the camera) along with manual aperture control, or a fixed aperture no higher than f/4.5 to avoid diffraction-limited softness. Compact, lightweight lenses are strongly preferred. Anything over 250g, or even lighter lenses used in more dynamic shooting situations, should be paired with a lens support system rather than mounted unsupported.
A full list of compatible lenses for MISSION 1 PRO ILS go to: https://gopro.com/en/us/mft-lens-compatibility
Compatible Lenses
Note: The below list is not comprehensive
| Lens Brand | Focal Length and FStop | Weight |
| Venus Optics Laowa | 4mm f/2.8 Fisheye | 135g |
| Venus Optics Laowa | 4.5-10mm f/2.8 Zoom Fisheye* | 338g |
| Venus Optics Laowa | 6mm T2.1 | 180g |
| Venus Optics Laowa | 7.5mm f/2 | 170g |
| Venus Optics Laowa | 9mm f/2.8 | 215g |
| Venus Optics Laowa | 17mm f/1.8 | 175g |
| Venus Optics Laowa | 50mm T2.9 | 289g |
| 7Artisans | 10mm f/3.5 | 125.5g |
| 7Artisans | 25mm f/1.8 | 143g |
| 7Artisans | 35mm f/1.4 | 228g |
| 7Artisans | 35mm f/1.2 | 218g |
| 7Artisans | 50mm f/1.4 | 410g |
| 7Artisans | 60mm f/2.8 | 339g |
| TTArtisan | 7.5mm f/2 | 370g |
| TTArtisan | 10mm f/2 | 345g |
| TTArtisan | 17mm f/1.4 | 248g |
| TTArtisan | 25mm f/2 | 189g |
| TTArtisan | 35mm f/1.4 | 180g |
| TTArtisan | 35mm f/1.4 Tilt | 345g |
| TTArtisan | 40mm f/2.8 | 371g |
| TTArtisan | 50mm f/1.2 | 336g |
| Rokinon | 7.5mm T3.8 Cine | 195g |
| Rokinon | 12mm T2.2 Cine | 260g |
| Rokinon | 50mm T1.3 Cine | 385g |
| Meike | 7.5mm f/2.8 | 260g |
| Meike | 25mm f/1.8 | 190g |
| Meike | 35mm f/1.7 | 176g |
| AstrHori | 9mm f/2.8 | 307g |
| AstrHori | 14mm f/4.5 | 120g |
| Mitakon | 20mm f/2 | 230g |
| Mitakon Zhongyi | 25mm f/0.95 | 230g |
| Mitakon Zhongyi | 42.5mm f/1.2 | 310g |
| Meyer-Optik Gorlitz | 30mm f/3.5 | 270g |
| Meyer-Optik Gorlitz | 35mm f/2.8 | 300g |
| Meyer-Optik Gorlitz | 50mm f/2.8 | 240g |
| Meyer-Optik Gorlitz | 58mm f/1.9 | 270g |
| Meyer-Optik Gorlitz | 75mm f/2.8 | 360g |
| ArtraLab Oculilumen | 7.5mm f/2.8 | 320g |
| ArtraLab Latalumen | 12mm f/2 | 275g |
| Brightin Star | 7.5mm f/2.8 | 260g |
| Brightin Star | 12mm f/2 | 268g |
| SLR Magic | 8mm f/4 | 110g |
| Opteka | 35mm f/1.7 | 204g |
| Lensbaby | 28mm f/3.5 | 140g |
| Lensbaby | 56mm f/1.6 | 400g |
*The Venus Optics Laowa 4.5-10mm f/2.8 Zoom Fisheye should be used as a ‘variable prime’ rather than traditional zoom lens if HyperSmooth stabibilization is enabled. Use the focal length selection tool (Step 3a above) to select the focal length point of the lens for your specific shot.
Note:
MISSION 1 PRO ILS has a Type-1 inch sensor size of approximately 13mm x 10mm
MFT lenses are typically designed to cover a diagonal of over 21mm, so they provide greater optical coverage than the sensor requires. This means only the best portion of the lens (the center) is being used (compared to less performance on the edges).
16mm and Super16mm lenses were typically designed to cover less than 13mm and 15mm respectively, so they may not always be a good choice for use with MISSION 1 PRO ILS unless you plan on cropping or scaling the image.
Focal Flange Distance
The short focal flange distance of the Micro Four Thirds lens mount on MISSION 1 PRO ILS makes it ideal for use with lens adapters (PL mount, etc).
HyperSmooth Image Stabilization
MISSION 1 PRO ILS includes GoPro’s Emmy® award-winning HyperSmooth in-camera image stabilization. HyperSmooth allows you capture stabilized content hand-held, even with longer focal lengths that would normally accentuate jitter and shake.
Available HyperSmooth Strengths
There are two HyperSmooth strengths available in-camera.
- OFF = 0% stabilization
- ON = 10% stabilization crop
- Boost = 20% (for high-movement activities)
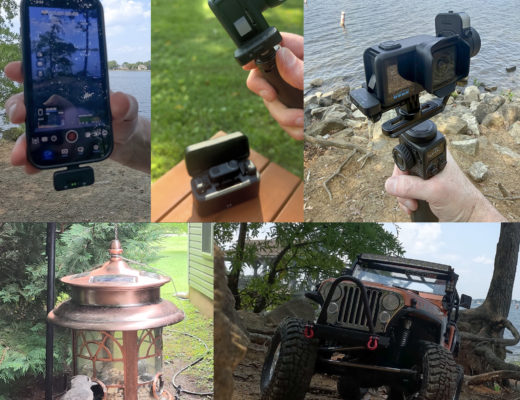
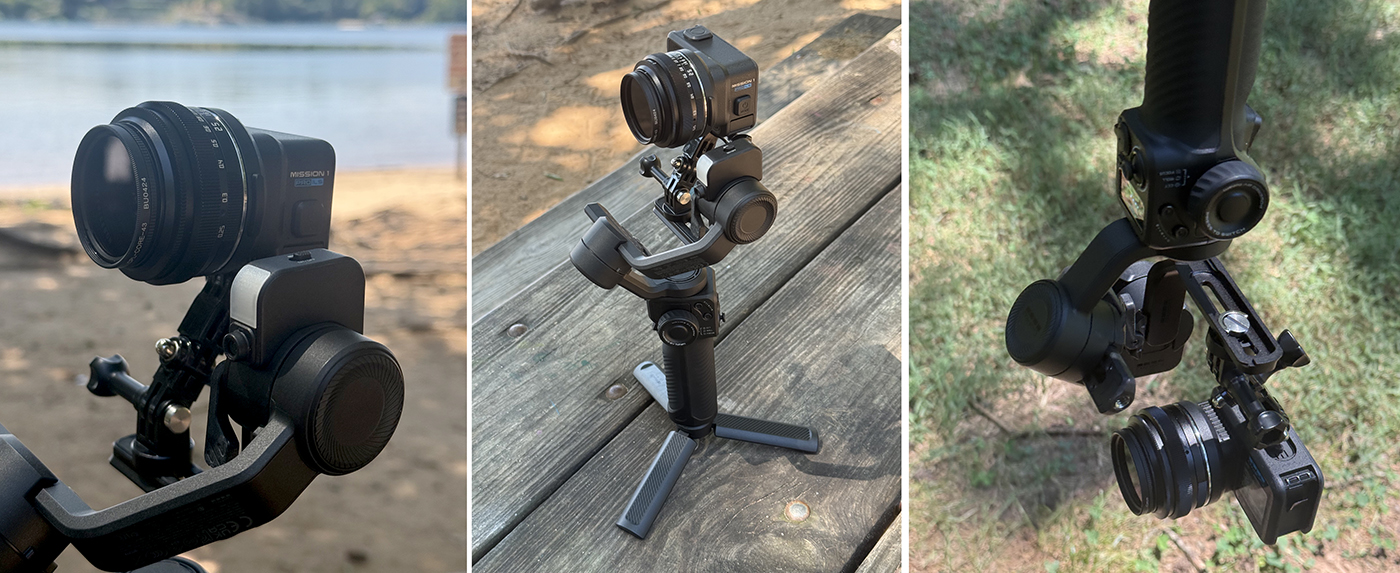
NOTE: While the image stabilization works to a point, any sudden jarring movements while handheld or mounted on a moving object are going to be less forgiving that the typical GoPro lens. I have to do extensive testing to find the sweet spot of HyperSmooth stabilization and lens combo. I’ll also be finding a better way to attach the Mission1 Pro ILS (with lens) to the GoPro Fluid Pro stabilizer. I used what I had to try to center balance the camera in the upright position, but found that it was considerably more stable in the low-slung (hanging) mode.
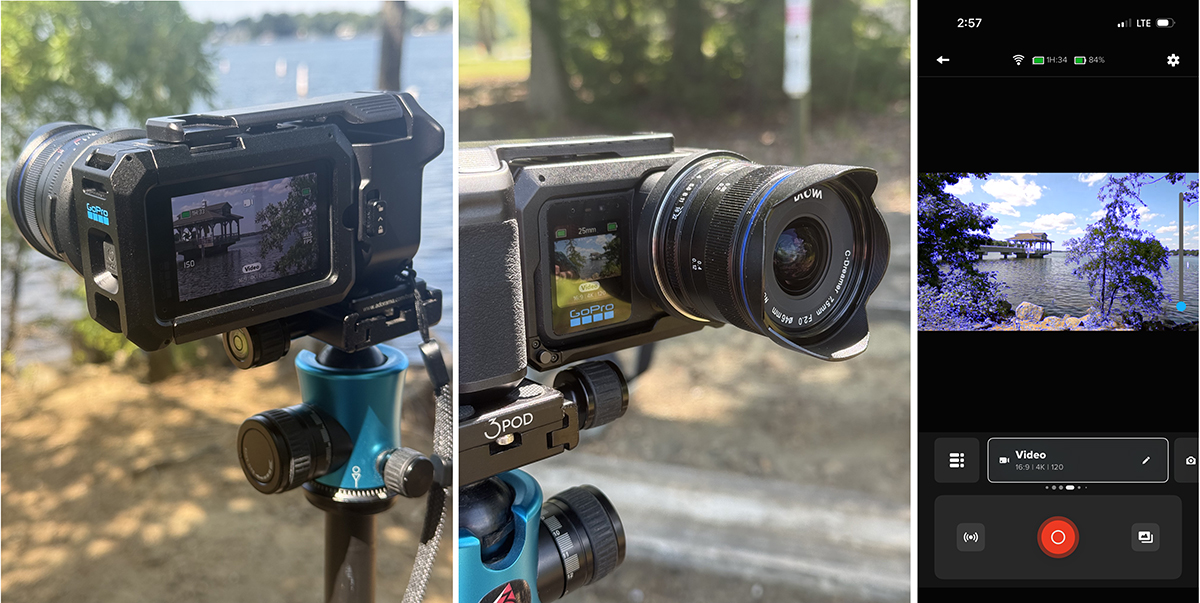
Focus Assist + Focus Peaking
Focus Assist
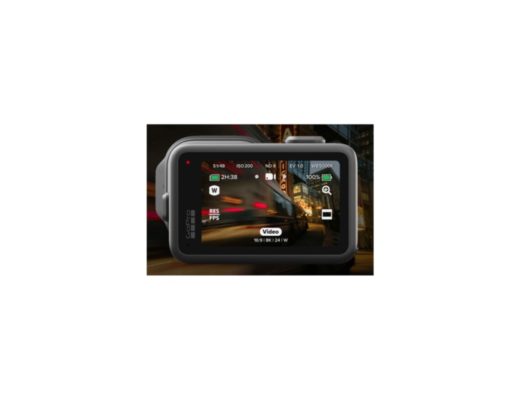
Focus Assist lets you magnify your shot up to 8x on the rear touch screen to verify the focus before you start recording.
- Double-tap anywhere on the rear touch screen from your camera’s capture screen or while your camera is recording. The live preview will be instantly magnified.
- Tap + or double-tap the screen to cycle through zoom settings (4x, 8x, back to 1x).
Focus Peaking
Focus Peaking uses contrasting color overlays to highlight the parts of your shot that are in focus when you’re setting up your shot and while recording. You can toggle Focus Peaking on or off by tapping the focus peaking button.
Change the color of Focus Peaking within Capture settings:
- Scroll to the Capture settings and tap Focus Peaking.
- Use the slider to set a highlight color. Choose Blue, Yellow, Red, or Auto Color (automatically uses the most visible color based on the color and brightness of shot).
High Sensitivity Focus Peaking
Toggle High Sensitivity On to extend the range of what your camera highlights as in focus. High Sensitivity works best for low-contrast or low-light shots and in situations where you’re having trouble seeing the peaking highlights.
NOTE: I’ve found that relying on Focus Peaking alone – especially with longer lenses and handheld, won’t always tell you the truth about the real focus. It’s most evident when taking photos, as you’ll see in the tests below.


First Look Testing
Since I had limited time to just “run-n-gun” with the Mission 1 Pro ILS, I basically used presets and a few mods just to see what’s capable out of the box. There are so many settings and options for mounting and uses, that I really need to deep dive to get the most out of this camera. As I stated in the intro, this is not like other GoPros that deliver predictable results in most any situation. Shooting with the Mission 1 Pro ILS requires planning, patience and a lot of trial and error, comparatively.
Photos – 12mp & 50mp
If you’re going to be serious about shooting photos with the Mission 1 Pro ILS, the first thing I’d recommend is a tripod. My first tests were using the GoPro Grip with the “diving board” shutter release (which I find utterly ridiculous and as awkward as it appears) – even worse if you’re using it handheld like a point-and-shoot camera. Especially when shooting 50mp images. It creates incredible camera shake when its pressed, even on a tripod.
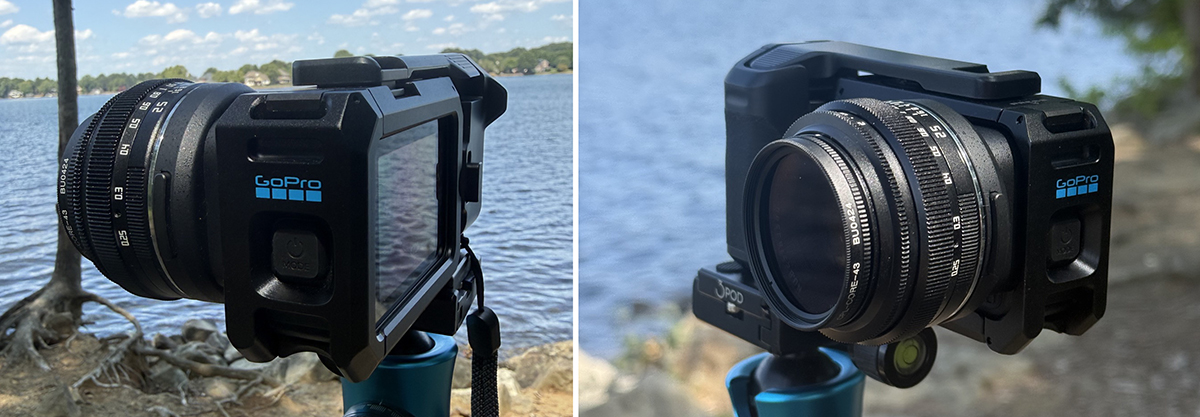
The only real way to shoot photos or videos with this Grip attached is using the iPhone app and just don’t touch the camera – which negates the needs for the grip at all in my opinion. Even better if you can zoom in to obtain best focus and then back out to take the photo.
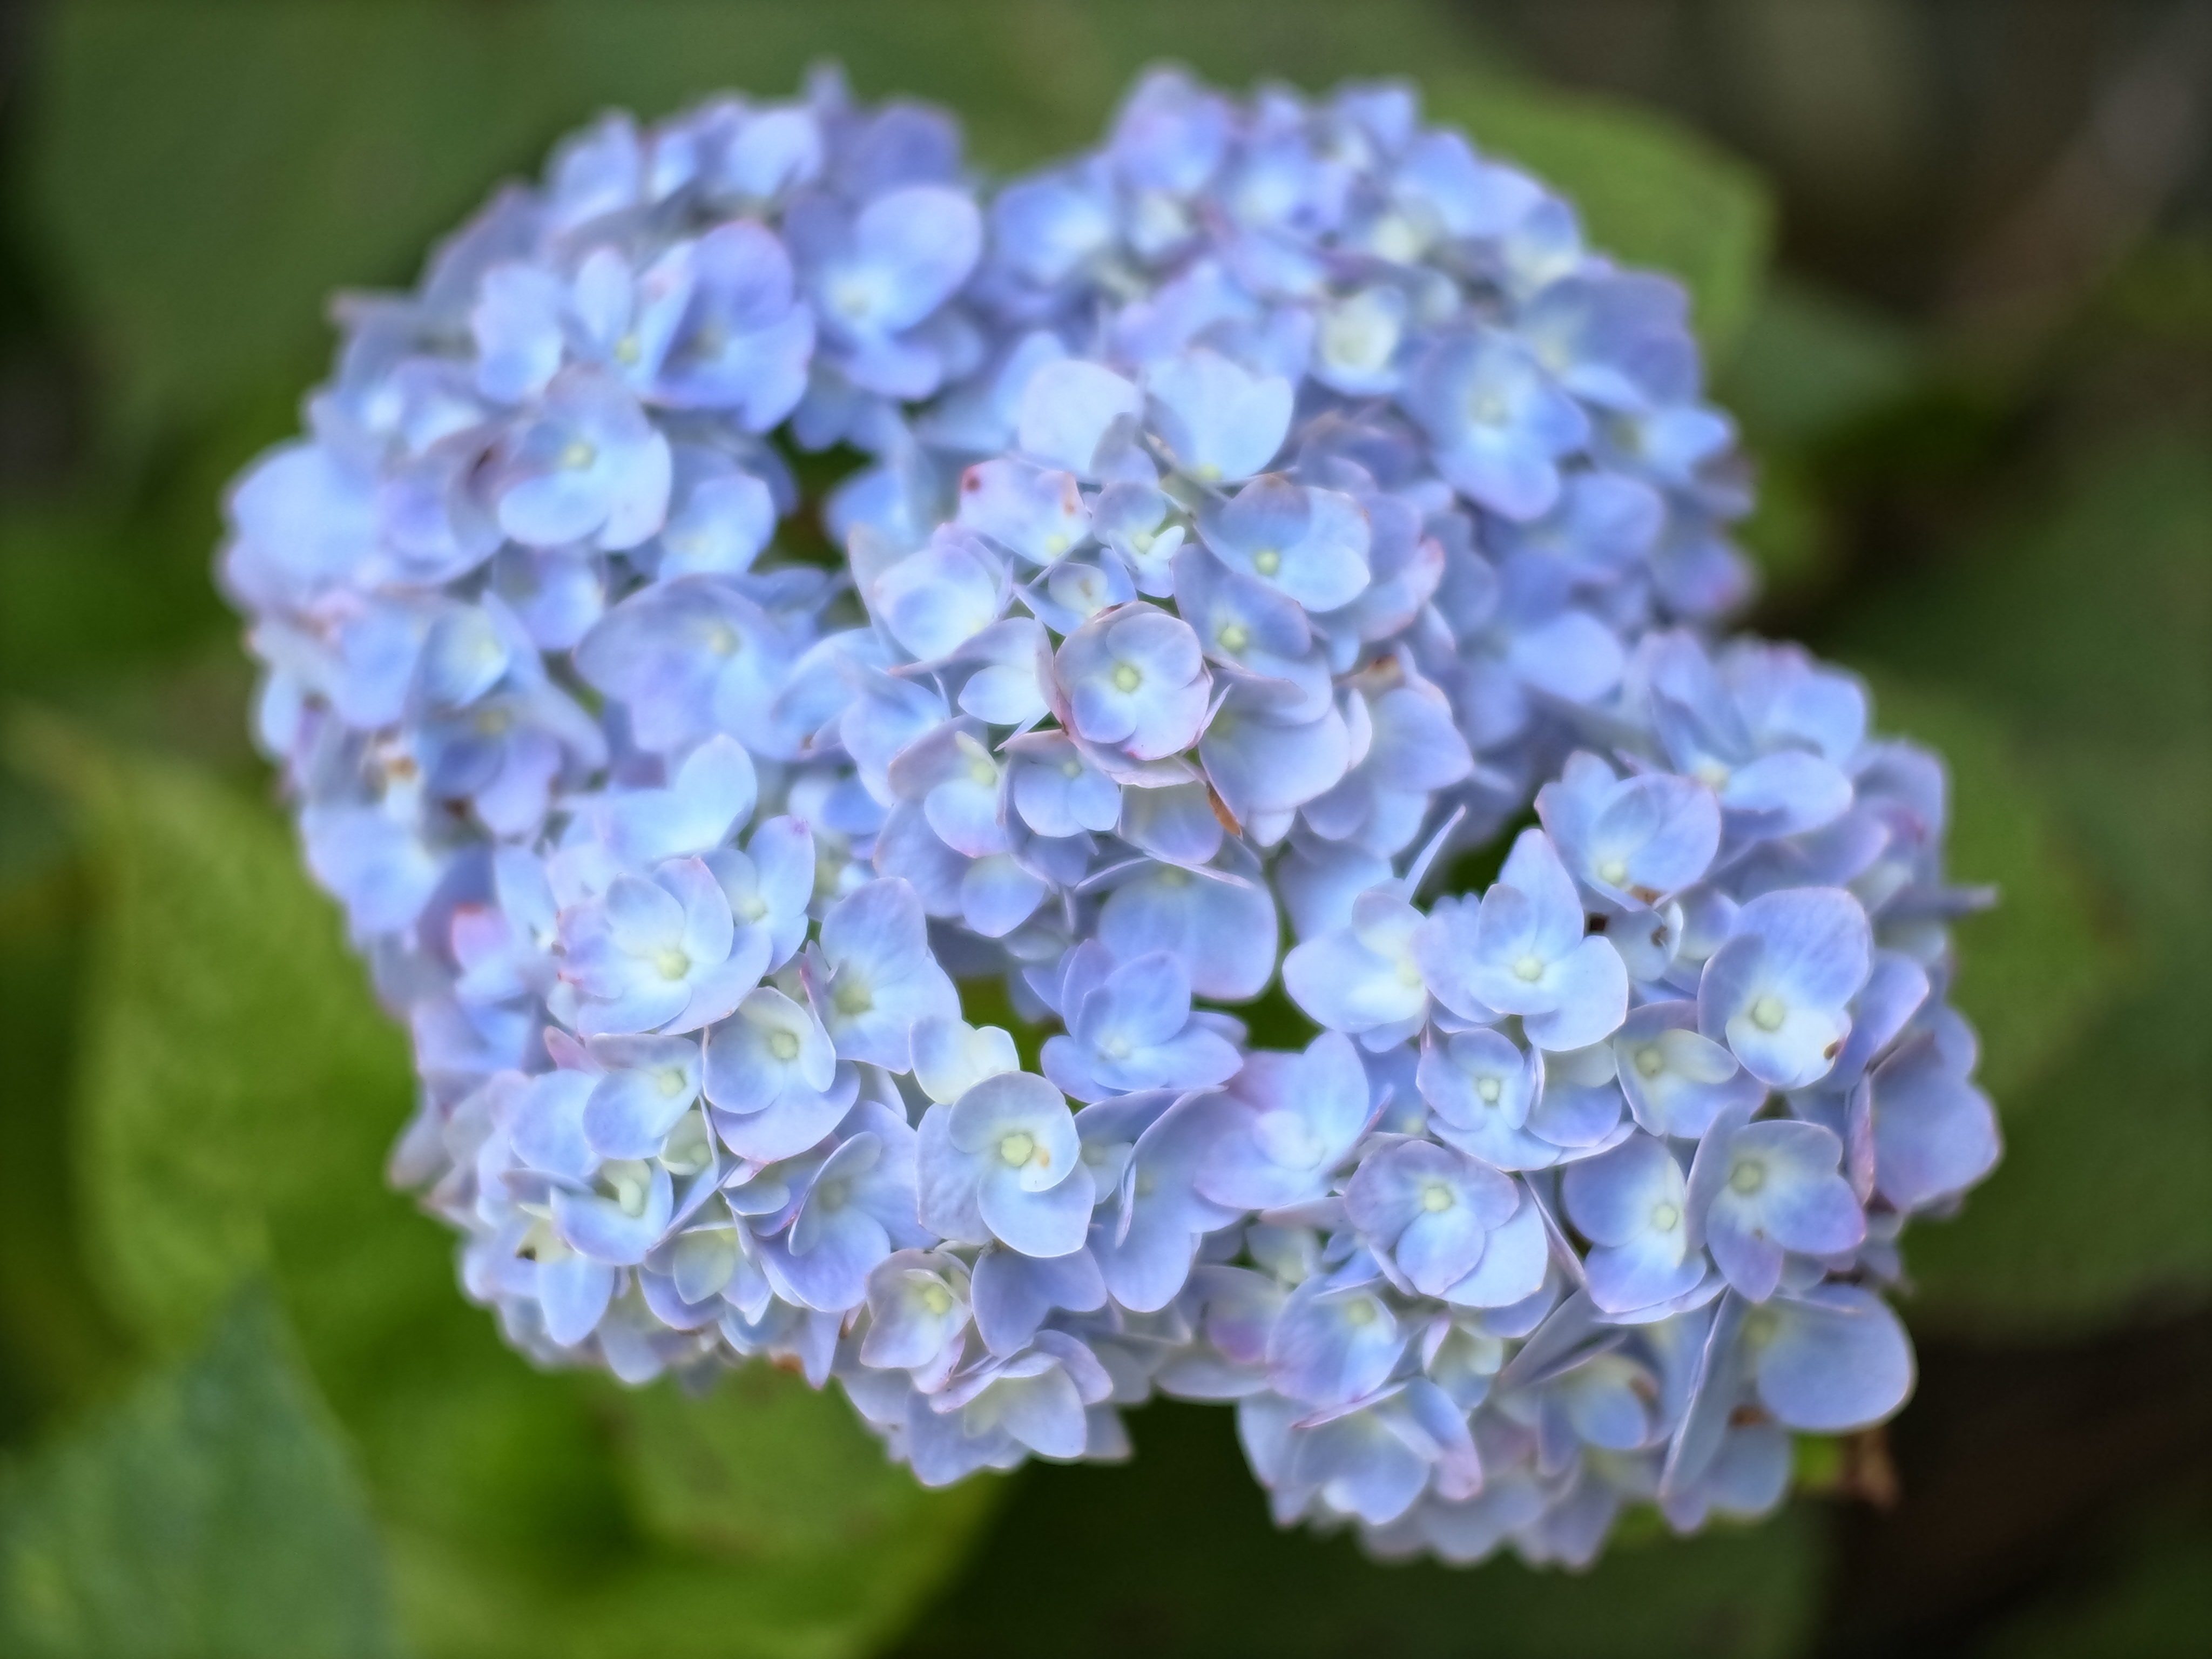
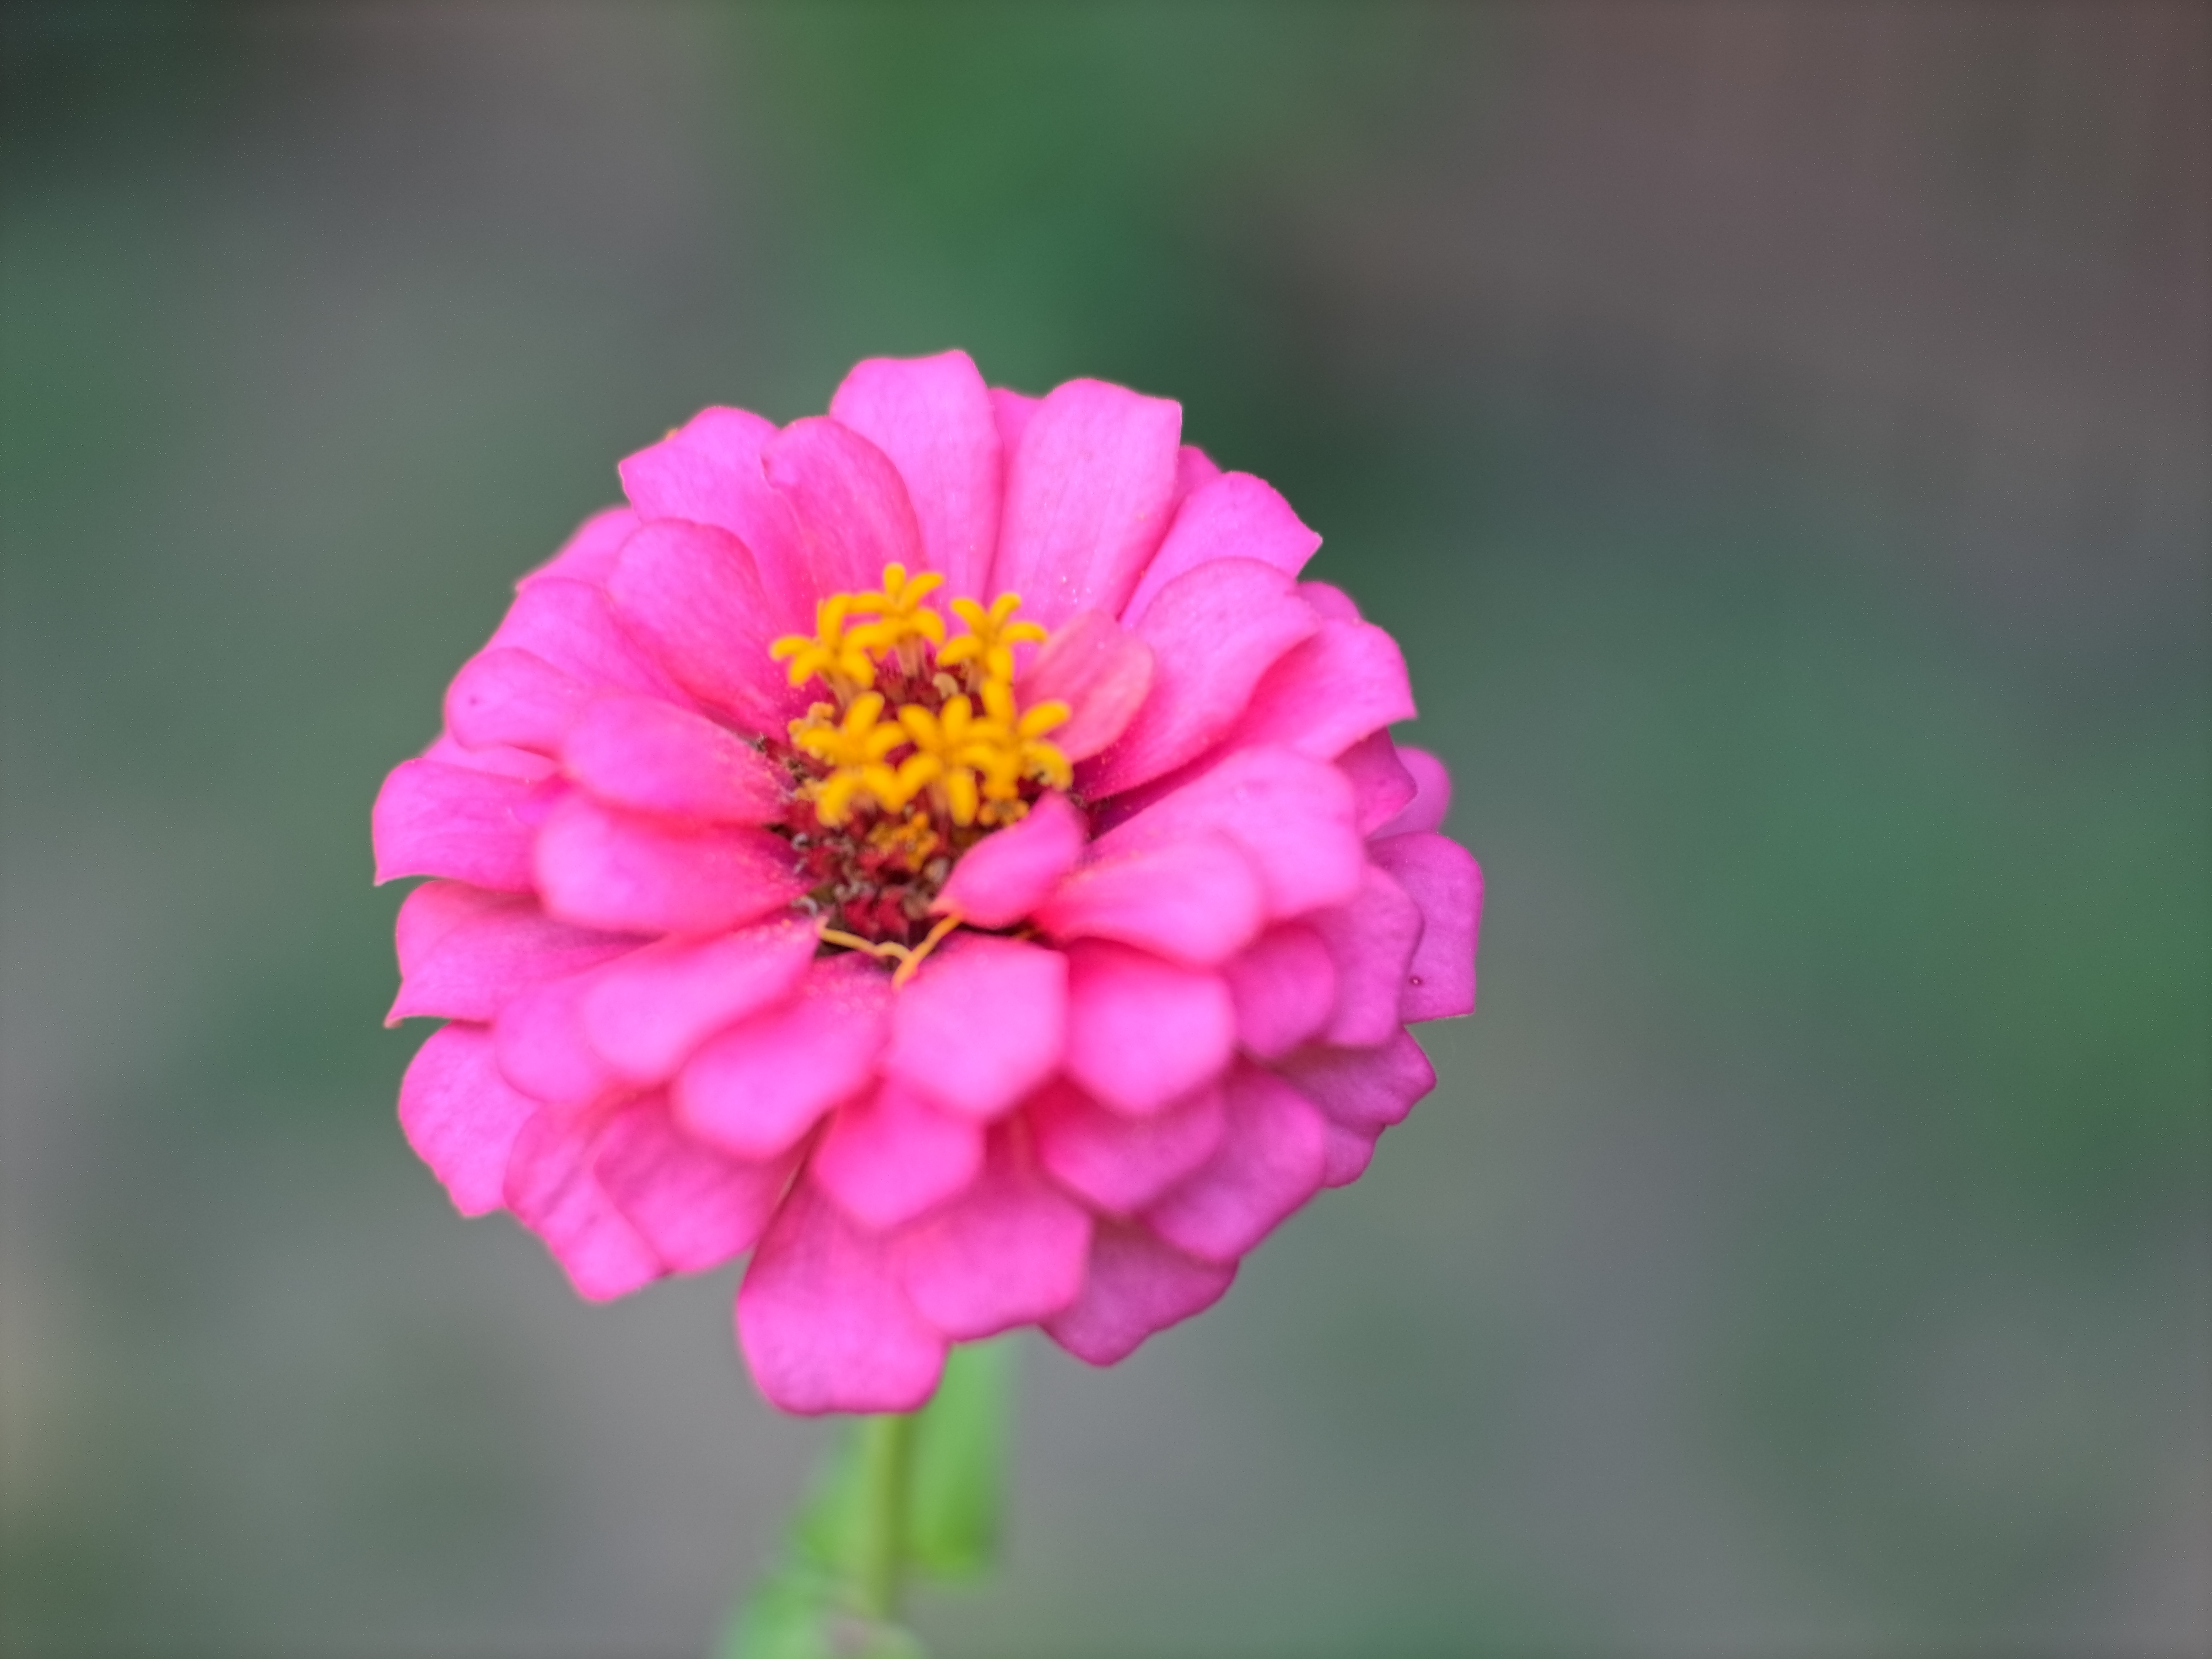
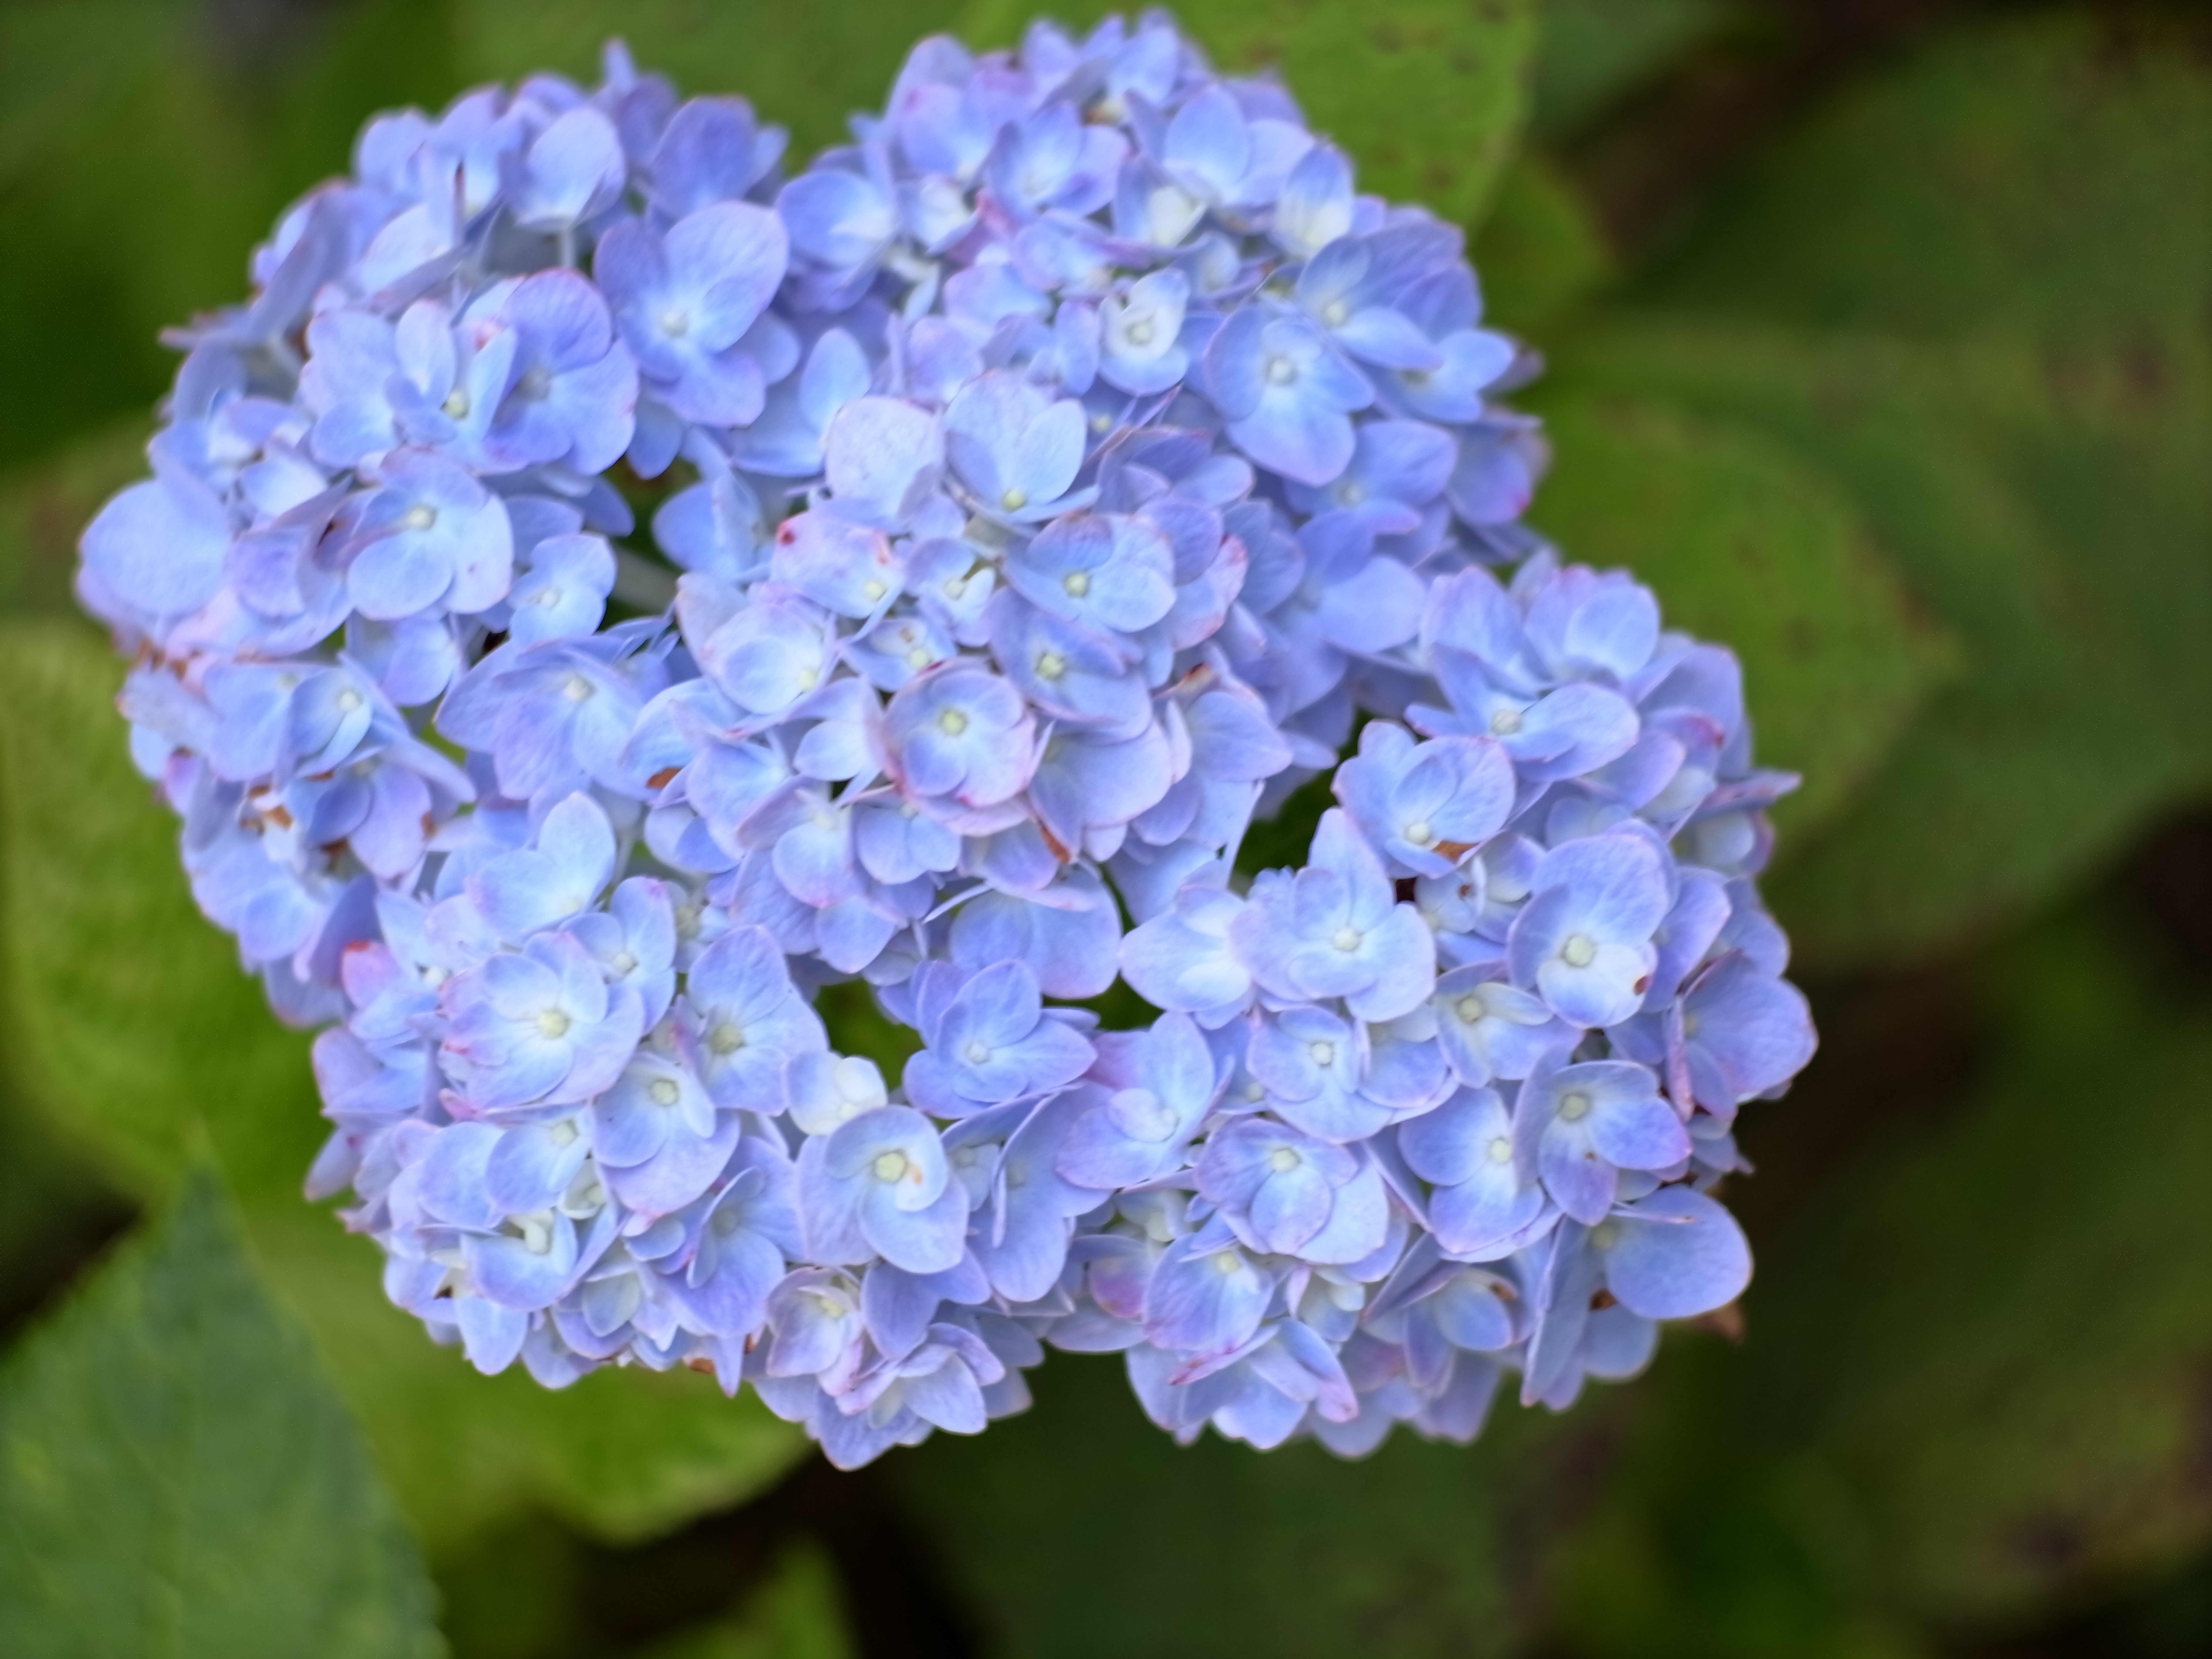
So for my first “yard tests” with a few flowers, handheld shots trying to rely on only the Focus Peaking to determine the proper focus plane, and with a very shallow DOF, you can see it’s only marginally effective and reliable.
First, we have the 12mp images (4096 by 3072 px), straight out of the camera with no scaling or corrections at all. (Click image to see full size)


Next we have the 50mp images (8192 by 6144 px). Again straight out of the camera (Click to see full res)

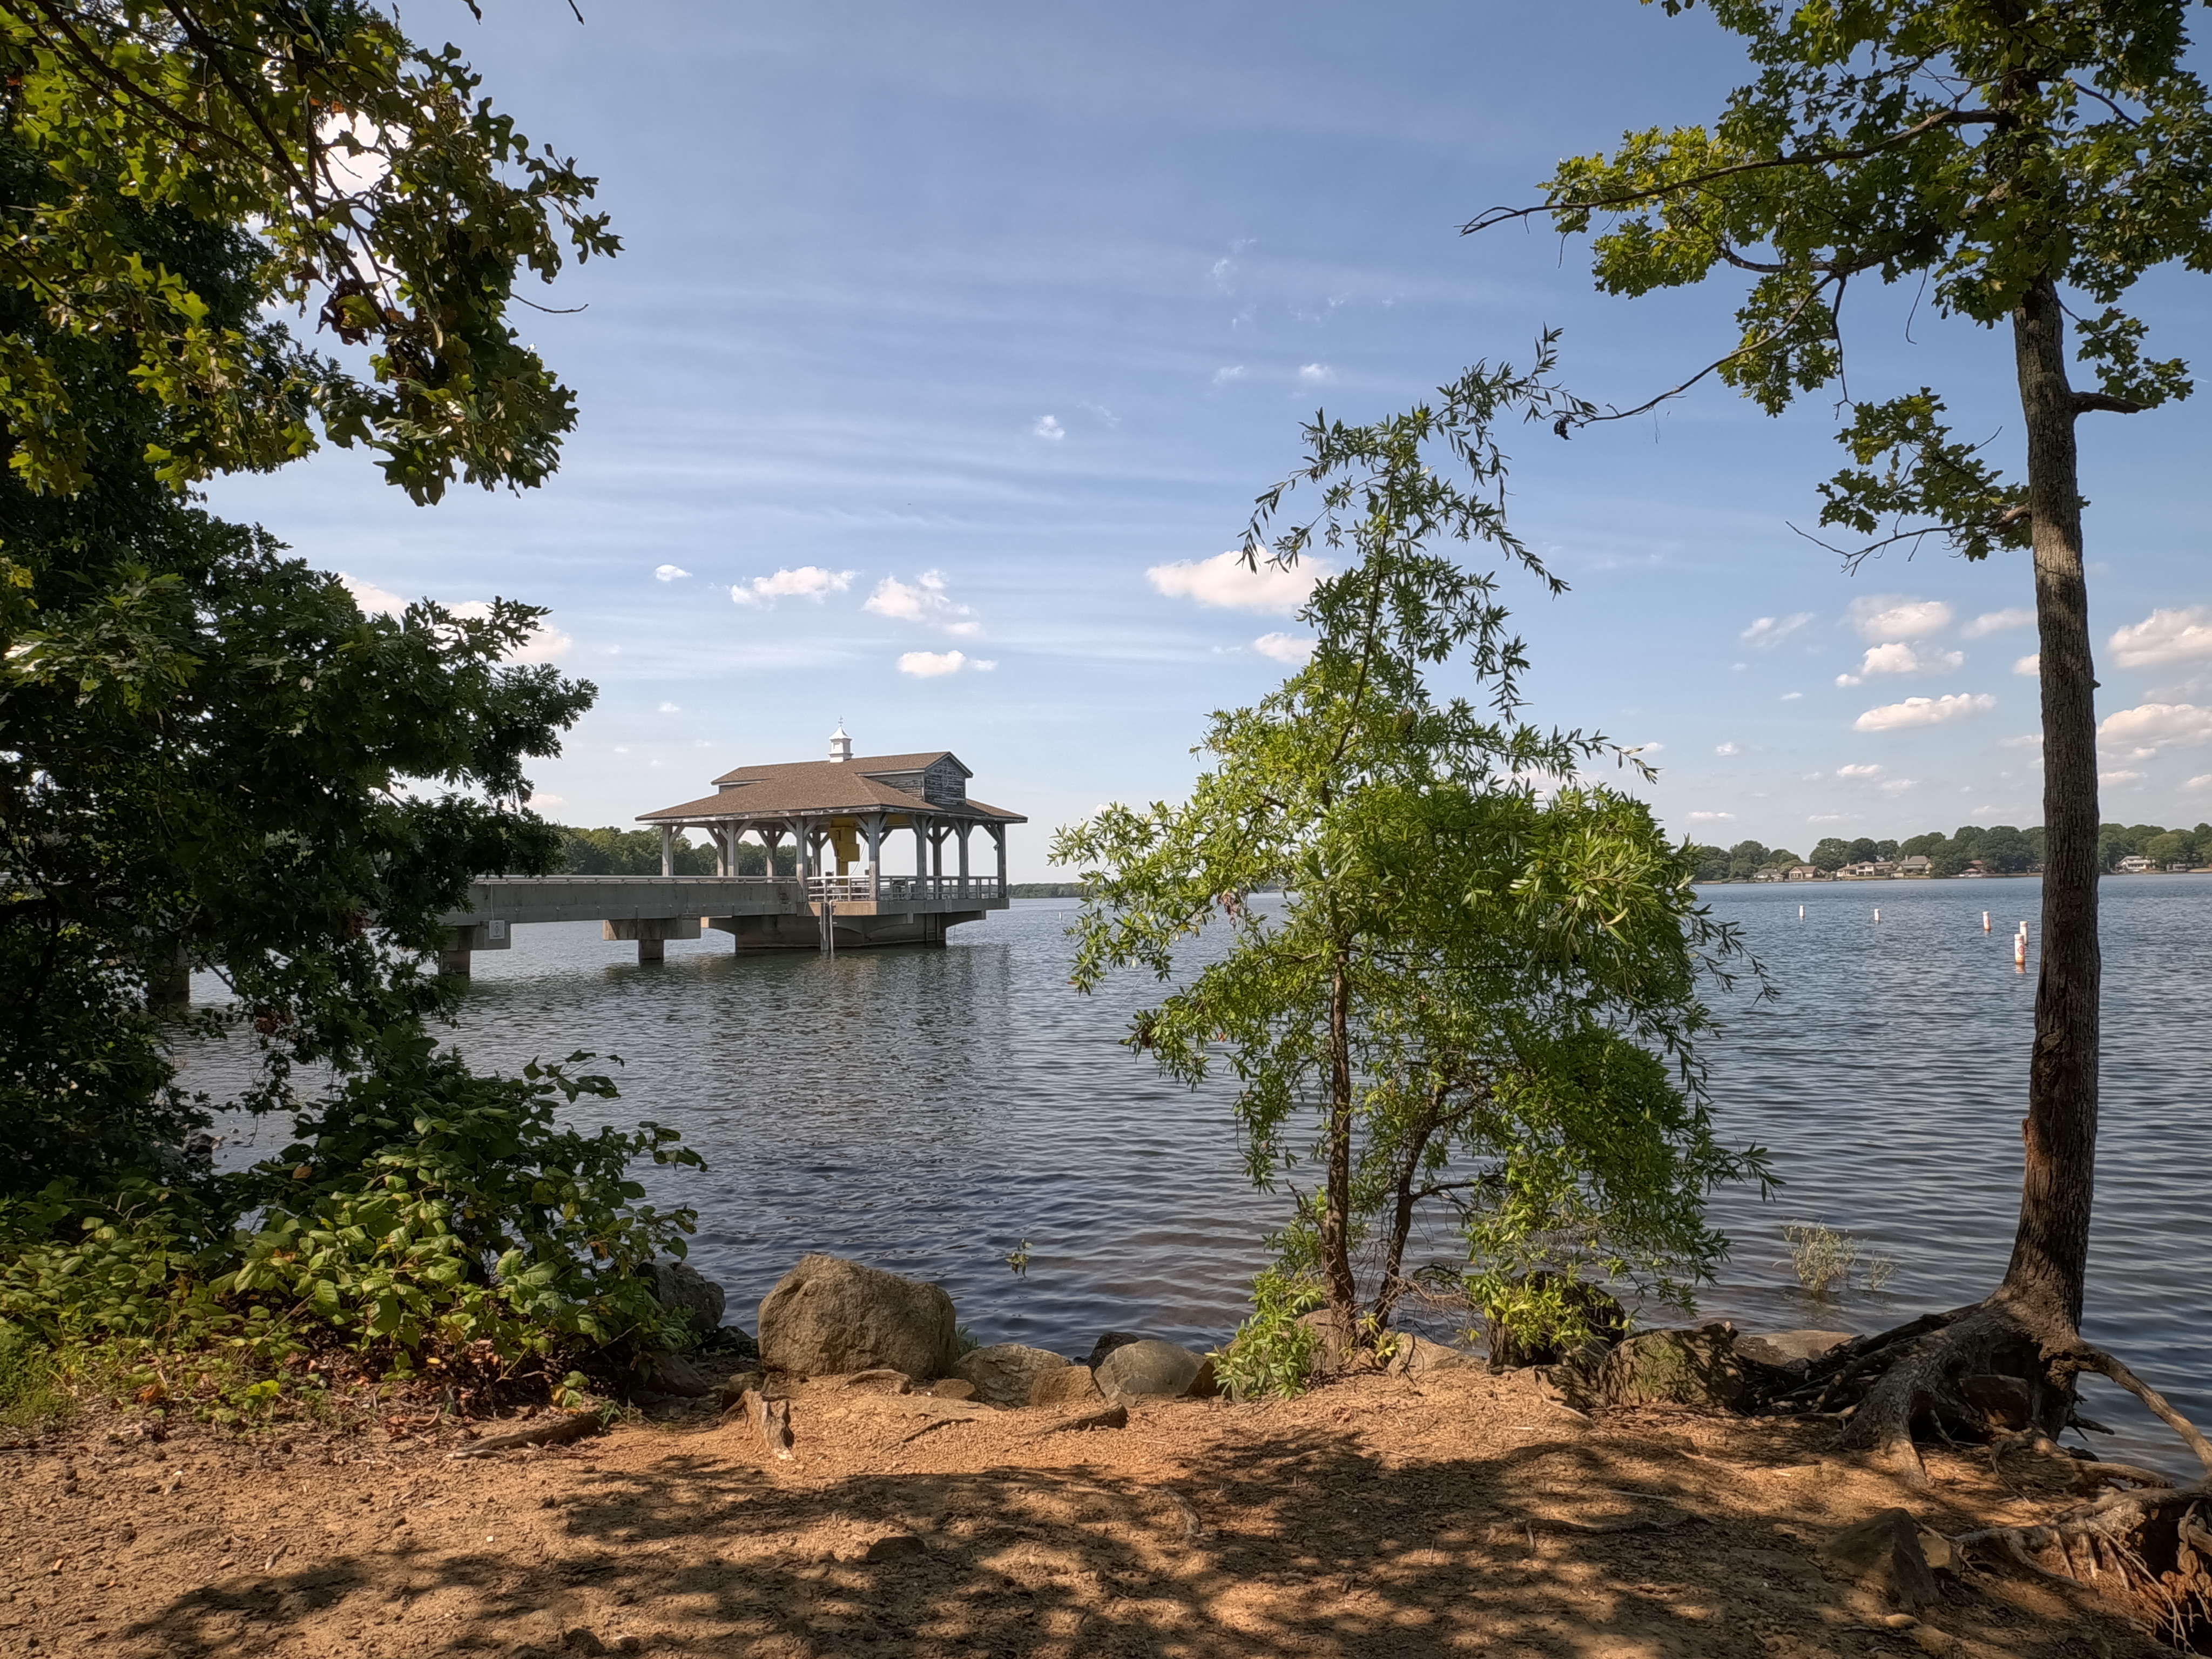
These two images at 12mp on tripod shot with two different lenses (7.5mm and 25mm)

Video tests – 4K/8K and Slo-Mo
If you saw my article last month, GoPro Mission 1 Pro updates, you’ll see a few repeated elements in my overview test video for the Mission 1 Pro ILS. This isn’t really anything spectacular as I literally only had one day to run around and shoot things while figuring out how everything works. Know that I’m going to deep dive into the features, settings and various scenarios for an all-inclusive review next month. I plan on utilizing the Media Mod to properly mount and control the camera with audio and external monitors.
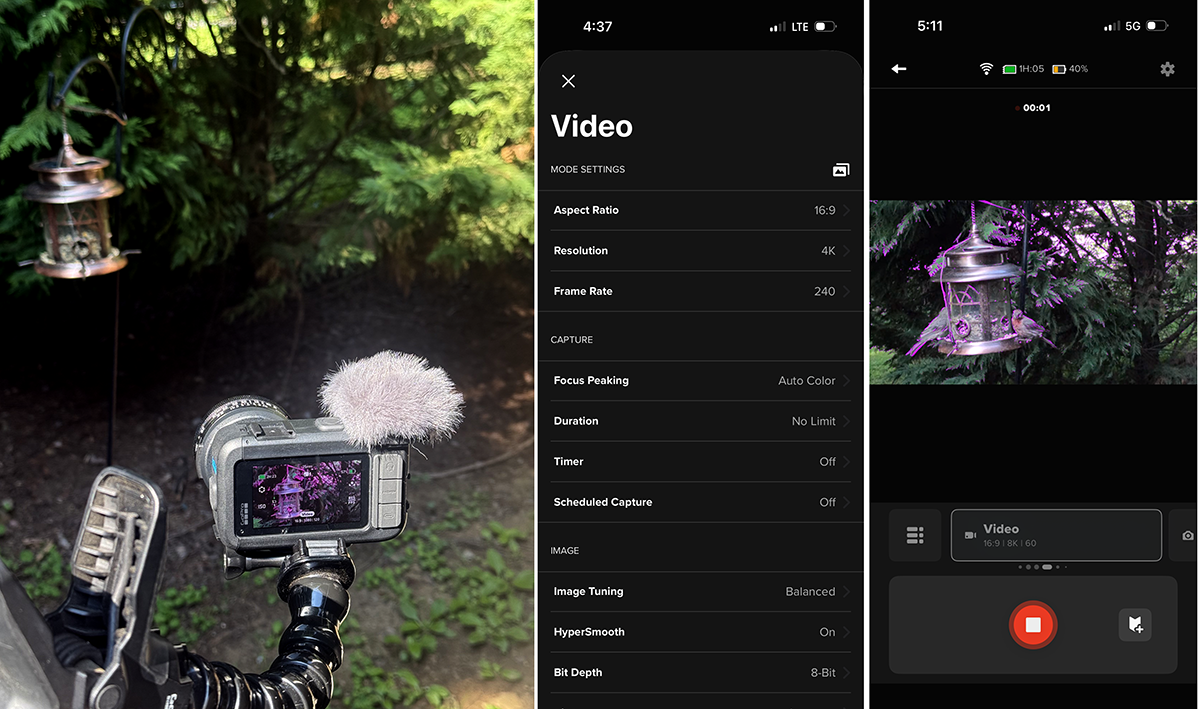
See the video below to get a range of shots, resolutions, speeds and lens tests (Video has no sound)
Check in again next month after I’ve had some time to really put the camera through a series of tests and scenarios…