Filmtools
Filmmakers go-to destination for pre-production, production & post production equipment!
Shop NowTL;DR: Premiere 26.2 added the Sequence Index panel (Window menu). It’s a searchable, filterable, exportable view of everything in your sequence — effects, fonts, codecs, file paths, dynamic links, offline media. Find legacy effects, missing fonts, or specific clips fast. Export filtered results to CSV.

Welcome to Tool Tip Tuesday for Adobe Premiere on ProVideo Coalition
NAB happened, and it was amazing to be there (as always!)
While the belle of the ball was very much Adobe’s new Color Mode (still in beta), you may have missed that a couple of major new features shipped in Premiere 26.2. The Sequence Index is one of them. And I’m thrilled with it on a couple of different levels.
First, a quick aside.
Two rules I have with software updates:
-
I try not to touch it for the first 7-14 days. If there’s a major bug, Adobe will release a quick update. That first dot release is usually way safer.
-
I’d like to read the release notes myself. Not filtered through some person or even a great YouTuber.
Opening the Sequence Index
This is the best new feature of the 26.2 release. All my timeline clips. Every effect, codec, label, and more in a list.
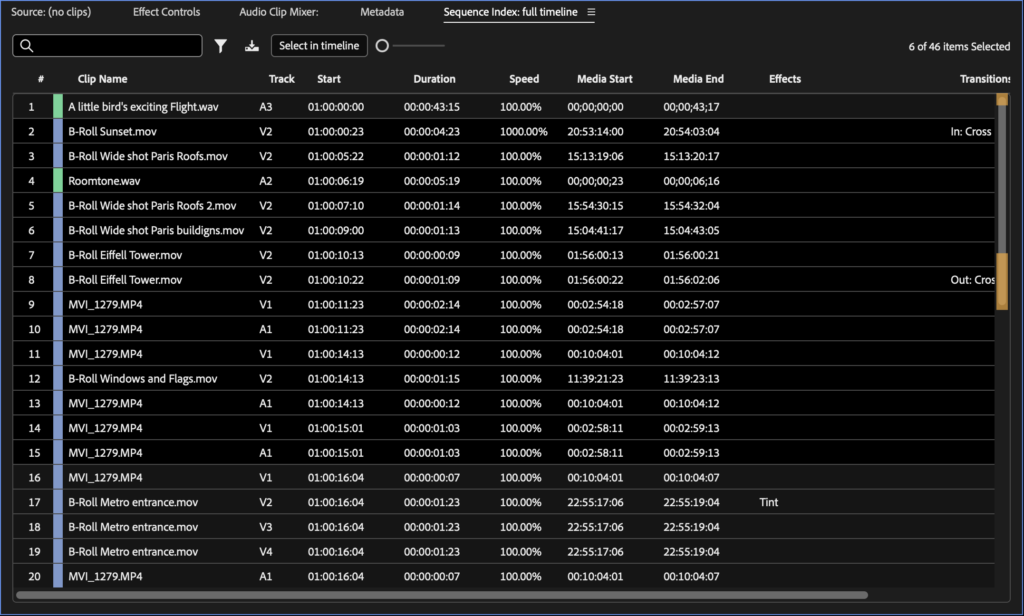
Window menu > Sequence Index. It’s a new panel. I dock it in the Source window — if I’m using it, I’m looking at the timeline, not sources, so it made sense there.
Immediate wins
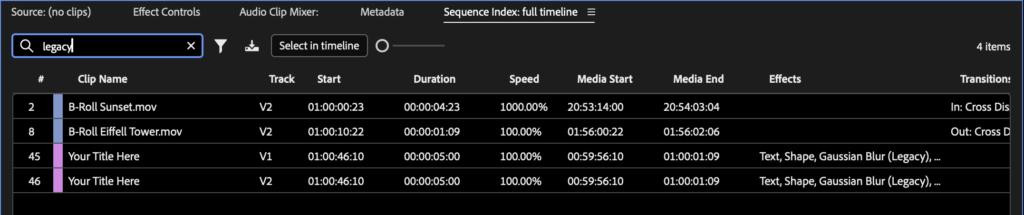
Legacy Effects. Type the name of an effect to find it. As I open older projects, the first thing I type is “legacy” — instantly shows me which effects need updating. See this prior PVC article.
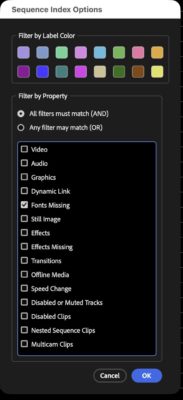
The filters. Some huge ones for me:
-
All my dynamic links
-
Anything with a missing font, missing effect, or offline media
-
Source labels. My music always has a label specifically for clearance. Same thing with stock media. I’m just beginning to really dig into the deeper usages. My biggest immediate request: save these as presets. Would be really helpful when opening an old project to quickly find items that need attention.
Export to CSV
It’s next to the Filter button. Super easy for sequence reports… such as a given label color on my needle drop music: export as CSV, hand it off to make sure everything’s been properly licensed.
Know that labels are based on source labels, not timeline labels.
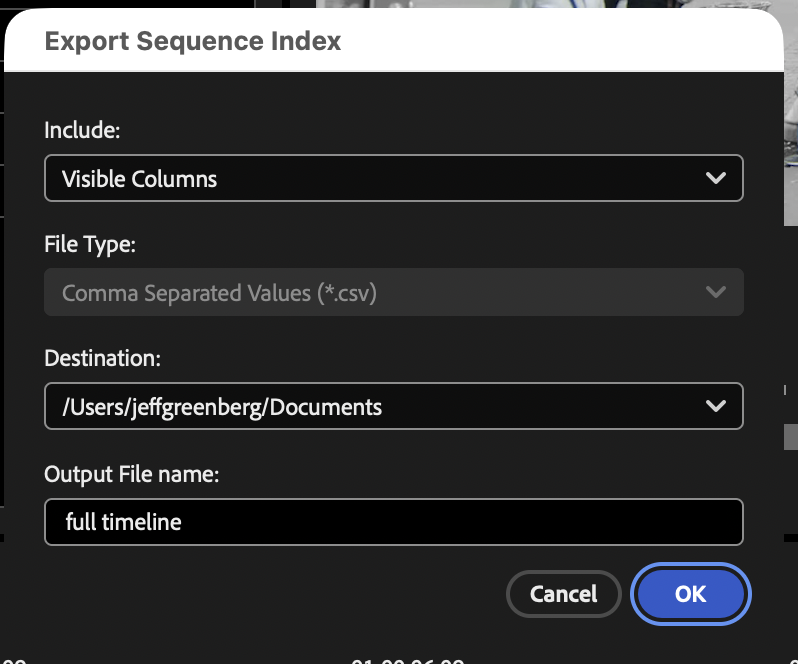
Select on Timeline
One quirk. Selecting something in the panel doesn’t select it on the timeline. There’s a Select on Timeline button you have to press. I realized that this was smarter because I can select multiple items. Easy way to change scaling or audio volume on multiple clips with the Properties panel. Although maybe I wish I could get the Selection Follows Playhead to select what I’ve selected in the Sequence Index.
Some fun extras
- I love having the file path visible. I had a prior tip about building search bins to find media sitting on your local drives (which is generally a mistake). Now I can just search the file path for my username and find anything living on my desktop, documents, or downloads.
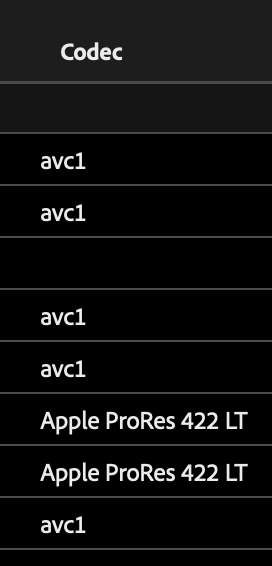
- I can see codecs too. Narrow it down to a specific format that doesn’t play great on my machine.
- Description and comment fields are visible. These are great if your workflow populates them with metadata, such as shot type or clearance info.
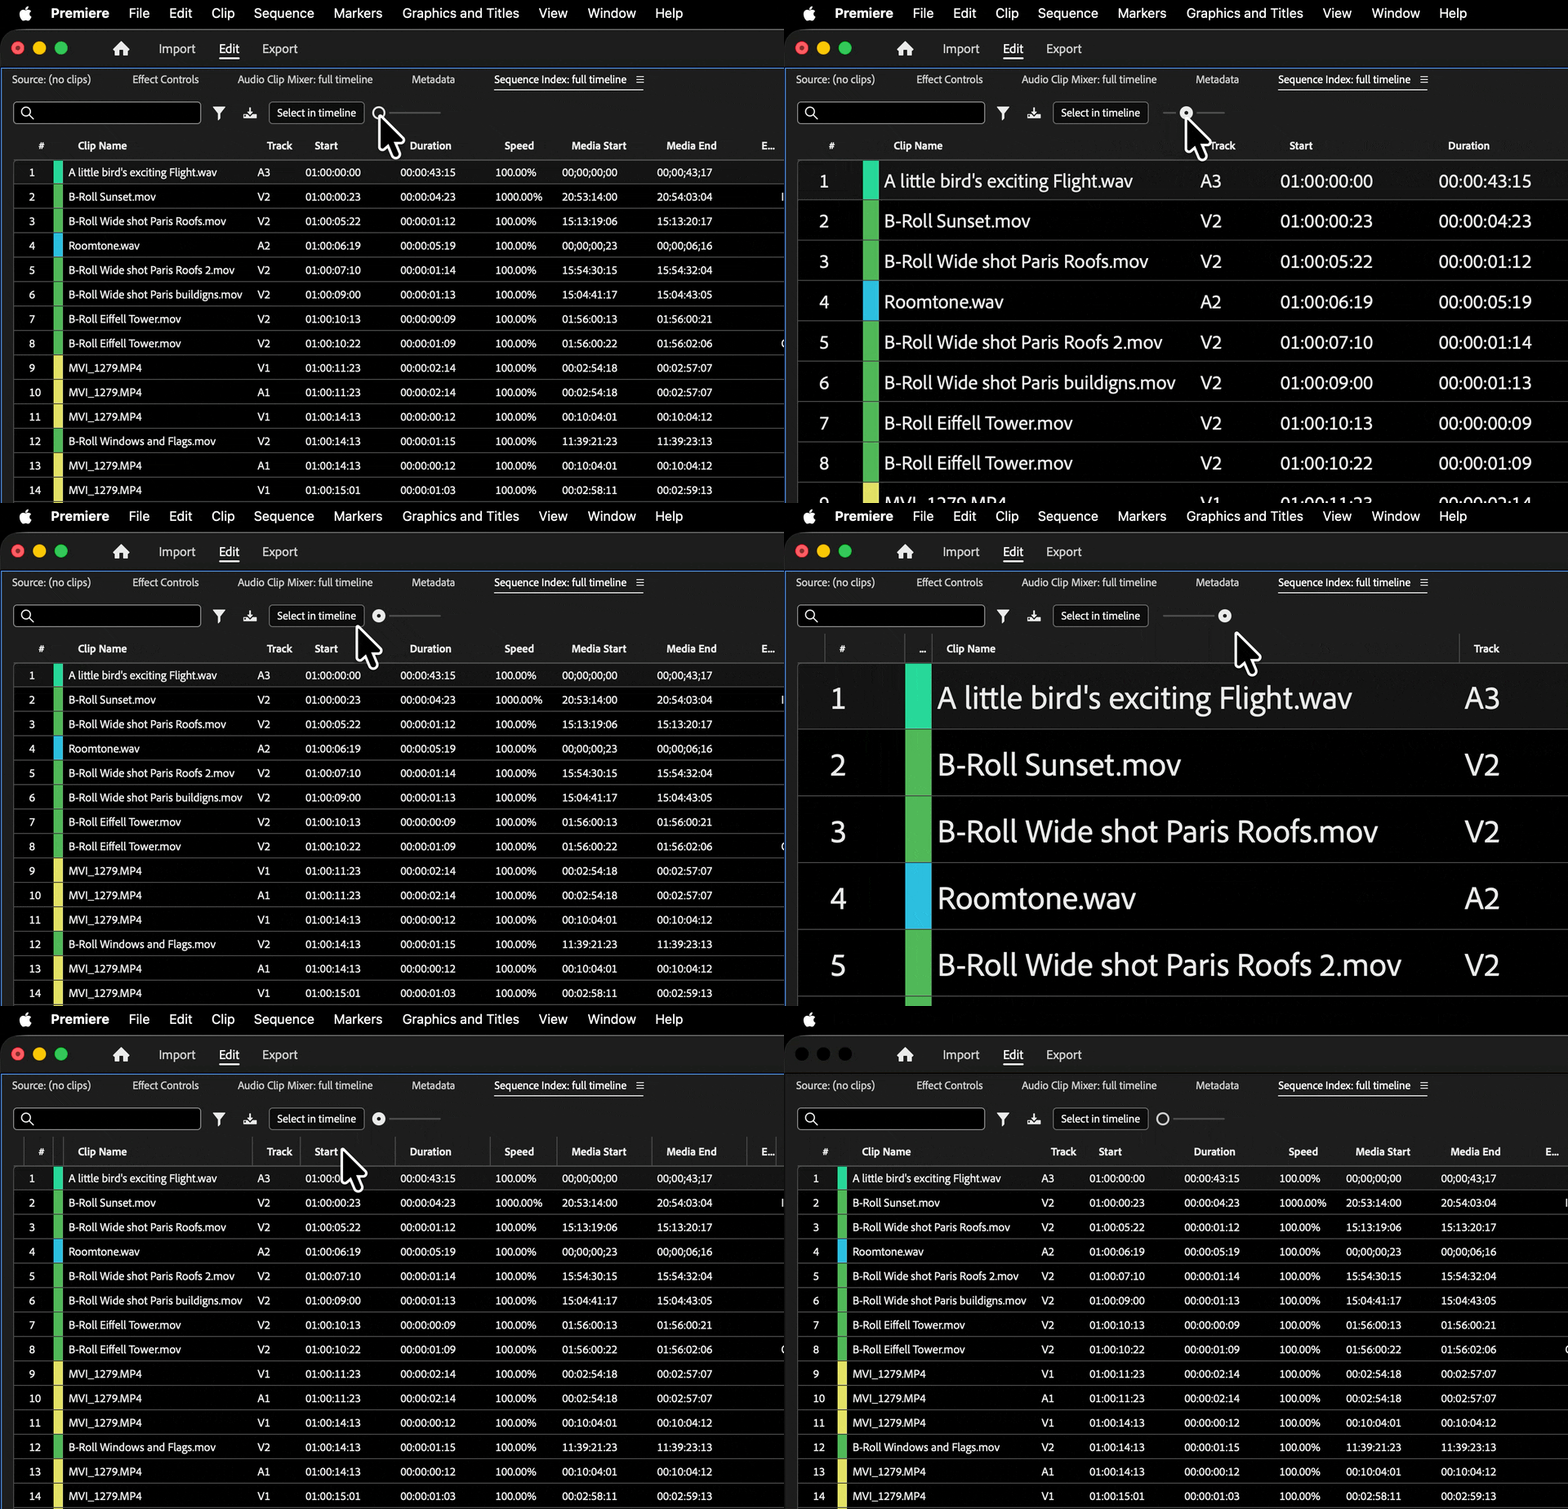
- Adobe’s new UI scaling tool lets me make things bigger or smaller on the fly. More of this everywhere please.
Two things I want
Yes, I want to be able to save the column layouts – and restore them quickly. Great preflight on older projects. …And the ability to select individual transitions and replace them. Right now, Select in Timeline grabs the clip rather than the transition itself. I can see where my transitions are, but I just can’t act on them directly.
Final thoughts
I love the new Sequence Index. It’s going to make working smarter and easier, and it’s clearly very well thought out in its implementation.