

Filmtools
Filmmakers go-to destination for pre-production, production & post production equipment!
Shop Now
Welcome to Tool Tip Tuesday for Adobe Premiere Pro on ProVideo Coalition.
Every week, we will share a new tooltip to save time when working in Adobe Premiere Pro.
When Adobe added the export mode to Premiere, custom export destinations were added in what might be one of the nicest little timesavers we’ve seen in quite some time. Destinations lets you set custom export locations that include more than just destinations; it can also include formats, effects, captions, and other parameters used when exporting. Editors can also turn on more than once custom export destination at a time to achieve multiple exports with one operation.
Begin by creating some custom export destinations. There is an Add custom destination option under the “meatball” menu of the Export mode. (Is this a mode, tab or page? 🤷♂️)
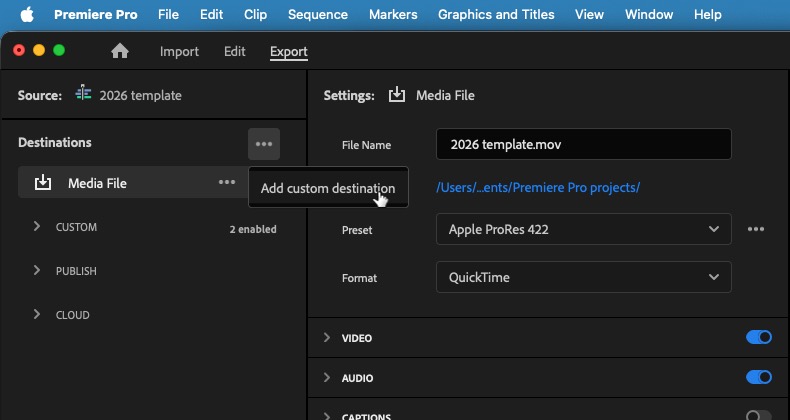
Once a new destination is added, head under the CUSTOM list, find the newly created destination called “Media File” and toggle the switch on to begin setting the custom parameters.
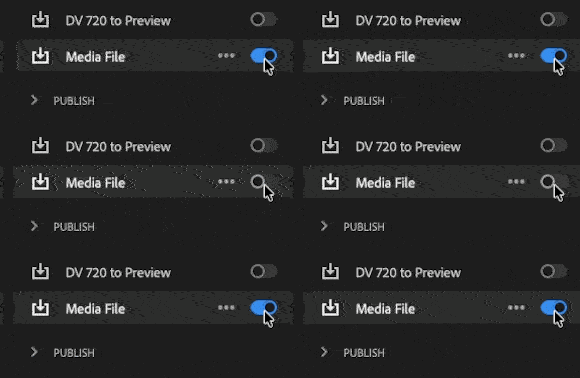
Once the destination is turned on, set options such as format, codec, effects, captions, and the exact export location, as all those items are saved to the custom destination. These custom destinations along with their unique settings are saved and available for other projects as well.
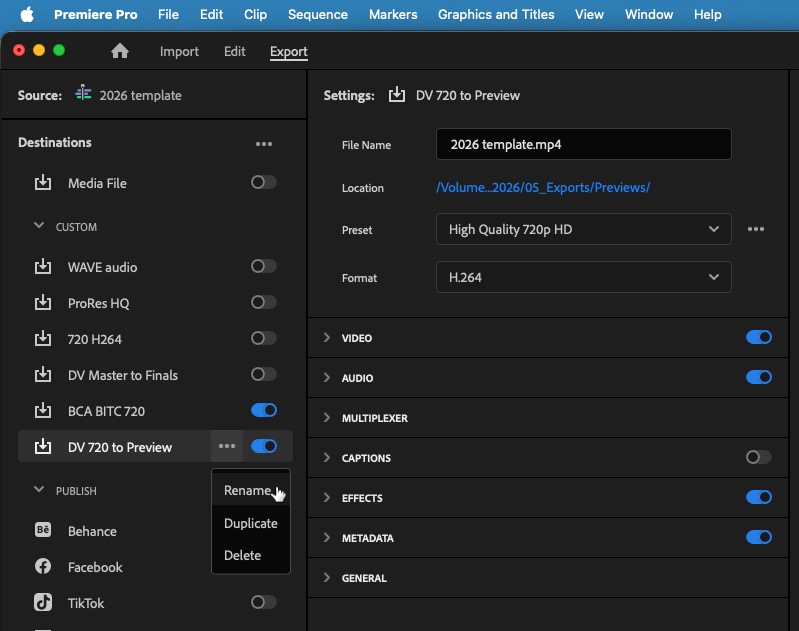
Once new custom destinations are created, they can be renamed, duplicated, and deleted under the little ‘meatball’ menu for each custom destination. The ability to turn on multiple exports at once really speeds things along, and in my humble opinion, makes the Export mode very useful.
This series is courtesy of Adobe.