

Filmtools
Filmmakers go-to destination for pre-production, production & post production equipment!
Shop NowTL;DR: The left and right bracket keys adjust clip volume from the keyboard. Map Add or Remove Audio Keyframes to a nearby key and adjusting/ducking happens without ever clicking a clip or the actual keyframes.

Welcome to Tool Tip Tuesday for Adobe Premiere on ProVideo Coalition
Let’s talk about audio keyframes. Yes, I know you’ve been using them for years. I know, you think you know this. This is a great example of how this series unearths hidden gems.
I want to show you how to work with audio keyframes them without ever clicking on a keyframe.
Minor workflow tip: turn off the audio (or video) keyframes.
Ever accidentally grab one of the lines on the audio keyframes or video keyframes? Yeah let’s stop that from happening.
Under the wrench menu there’s a switch for Show Audio Keyframes (and Show Video Keyframes).
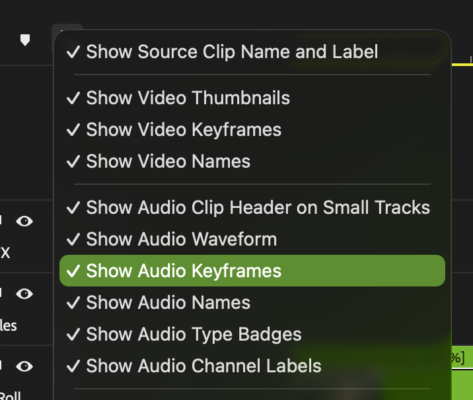
When I’m not using keyframes, I turn this off. I don’t want the visibility, and I don’t want that line there unless I’m intending to keyframe. It’s just a great way for me to slip and accidentally adjust the audio.
The bracket keys
The left and right bracket keys [ ], sit right underneath the plus and minus keys (zoom in and out on the timeline). The brackets adjust clip volume up and down. Add the Shift key and the adjustment jumps multiple dB instead of 1 dB.
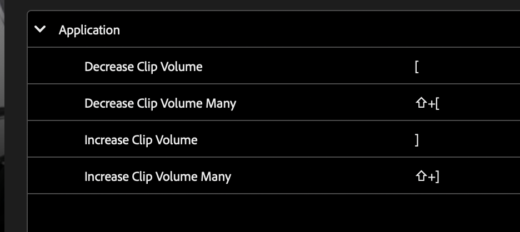
If you have a clip selected, it will do adjust the clip volume. If you have multiple clips selected, it will adjust multiple clips. Need four clips to have just a little more volume? Lasso, right bracket ], tap, tap, tap, done.
Where it gets interesting is the auto-selects.
If nothing is selected, they adjust every clip on every track that’s under the playhead.
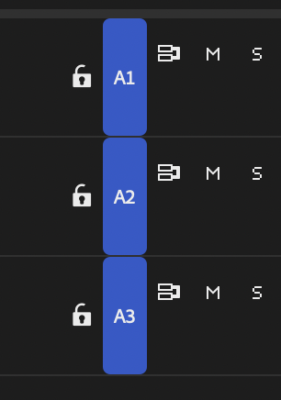
If you want just a single track, Shift-click the track, to turn everything off, then click that track again (no shift key to turn just that singular track.
Now your brackets are working on clips on that track.
Add: Map Add or Remove Audio Keyframes
In the keyboard shortcuts, find Add or Remove Audio Keyframes. I’ve set mine to F9 because it’s right near my bracket keys. Another place all three of these keys could live is a Stream Deck, so you can work quickly. I probably should just write a PVC tip on how I use the Stream Deck. I right now have three of them
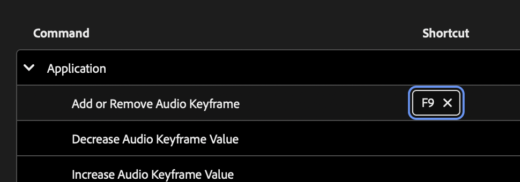
The Audio Keyframe workflow, revised
As I edit, I’m pre-planning my keyframing as I work. The beautiful part is that these keys work even while playback is happening. Sometimes I’m playing an interview and no clips are actually selected on the timeline. Just the interview audio track is live and I’m tapping the keys to lower or raise the audio
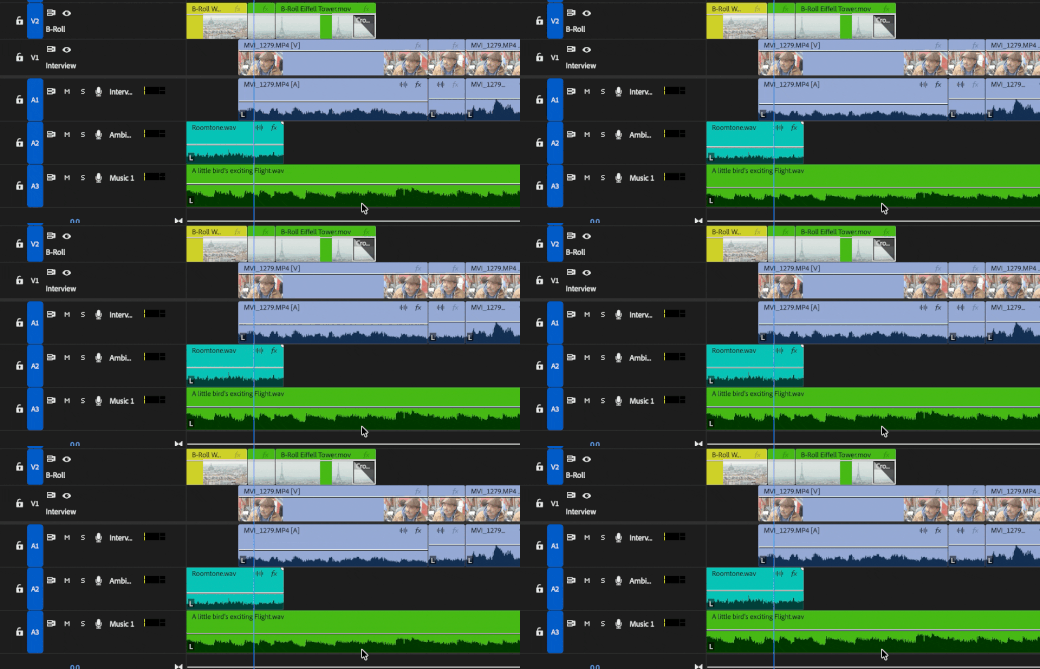
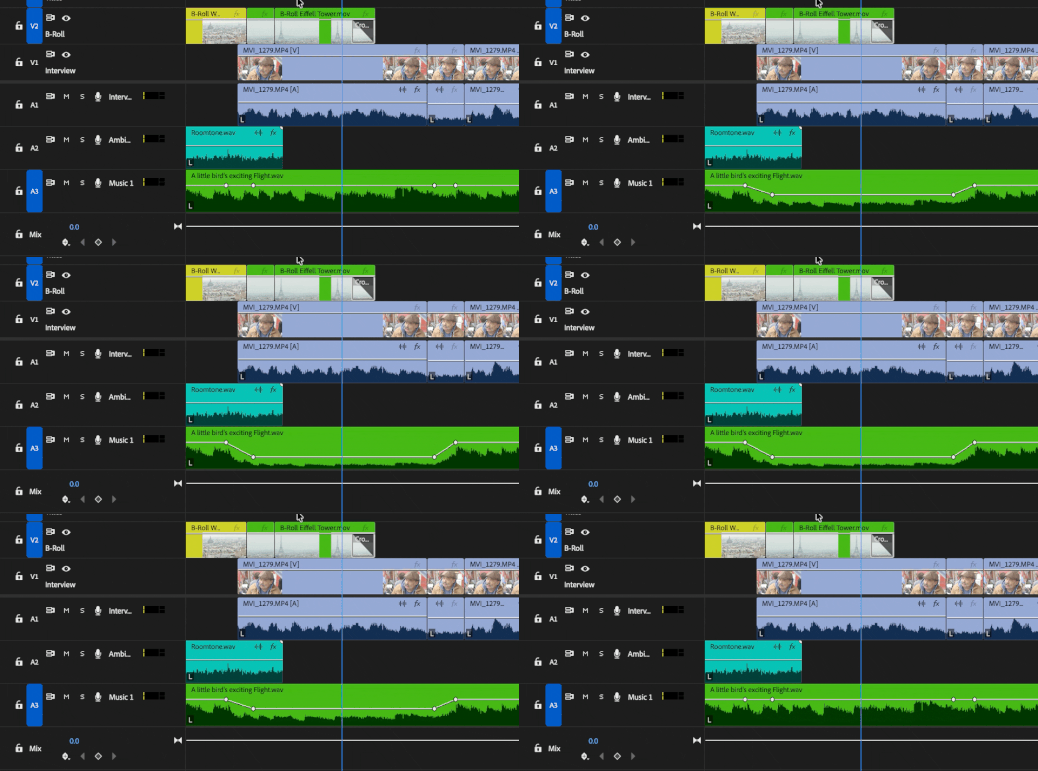
I’m always doing audio ducking for music. When we need audio keyframe, I’m just tapping F9 to drop a keyframe. Typically I add four for ducking, then put my playhead in the middle and use the left and right brackets.
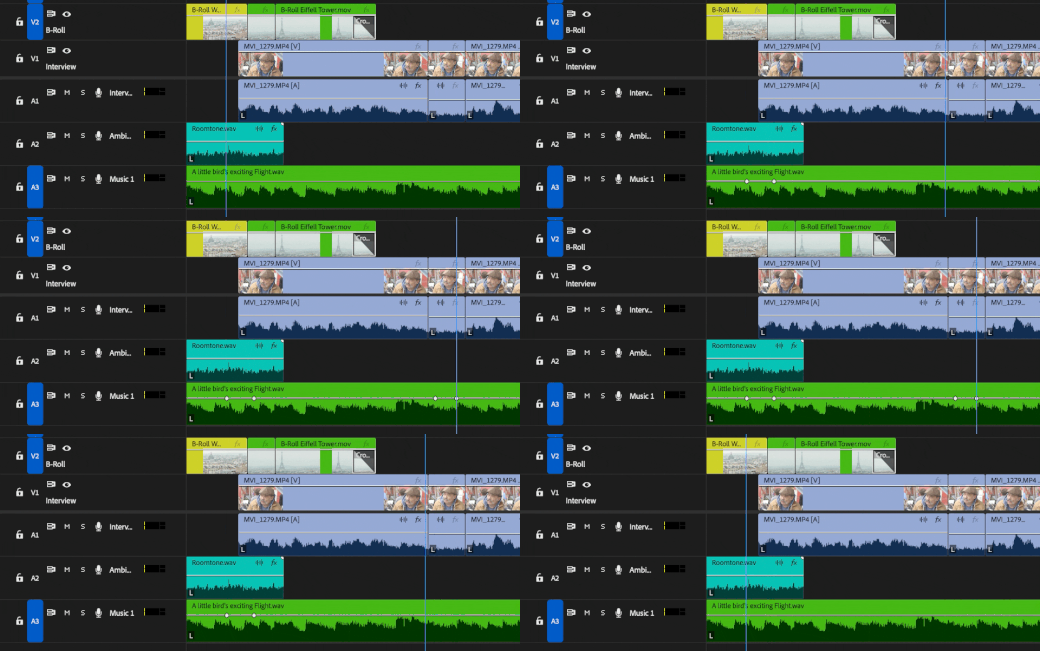
Notice what I’m not doing: I’m not clicking on a keyframe, and I’m not clicking the clip on the timeline. The auto-selects and the brackets move the line up and down. And when I’m between two keyframes, that section moves up or down.
Final thoughts
Nothing more amazing than hidden keyboard settings that have been in the software for a decade. This is working a little bit faster with audio keyframes.
This series is courtesy of Adobe.