

Filmtools
Filmmakers go-to destination for pre-production, production & post production equipment!
Shop NowA different way to think about tonal control


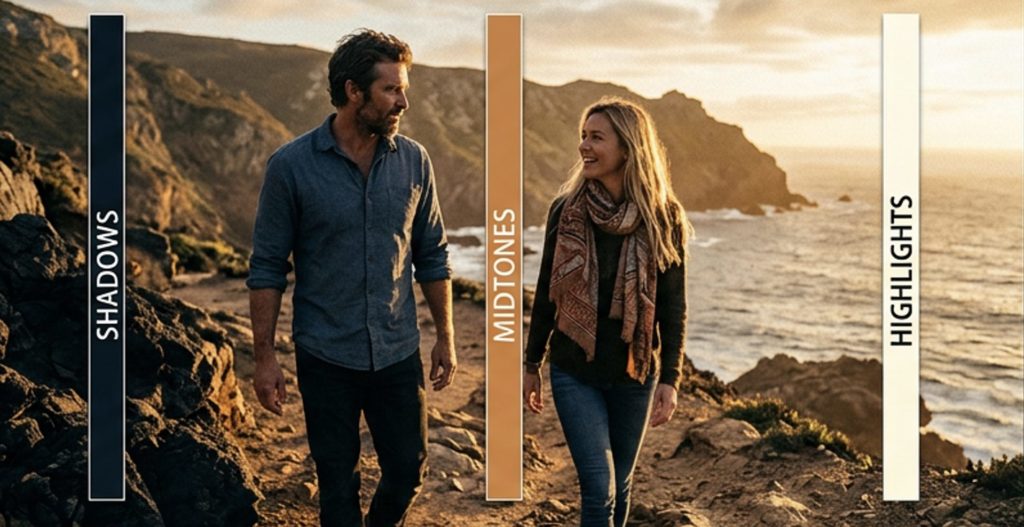
If you’re used to lift, gamma, and gain, you’re used to thinking in three parts: shadows, midtones, and highlights. That model made sense when most work lived in Rec.709, where images behaved within a relatively narrow dynamic and color range. It starts to break down once you’re dealing with log footage, wide-gamut media, or HDR, where both the dynamic range and color volume extend far beyond those assumptions.
Color Mode in Premiere (beta) offers a zone-based system. Instead of dividing the image into three broadly overlapping zones that push and pull against one another, you begin with a comprehensive set of global controls to do all the general shaping of your image and then define more tonally specific zones in order to tweak levels of the image that need special attention. You’re not deciding “this is a highlight adjustment”, you’re deciding exactly where the adjustment lives.
Why lift/gamma/gain stops holding up
The issue isn’t that lift/gamma/gain is wrong—it’s that it’s too broad. Each control affects more of the image than you intend. Push gain, and you’re not just touching highlights—you’re pulling upper midtones along with it. Adjust gamma, and the result depends heavily on how the image is encoded. Experienced colorists know how to adjust multiple controls together to get the result they want, but the gamma and highlight controls were never designed to work well in HDR, and this system never allowed for much specificity, requiring the use of other tools to do more in-depth work.
As dynamic range increases, those interactions get harder to predict. You end up compensating for the controls instead of shaping the image itself. Recovering highlights can flatten midtones. Adjusting shadows can create uneven contrast.
Take a log shot with a bright sky and a properly exposed subject, where the sky is sitting high in the signal but not clipped. You raise gain to push the sky brighter, but the adjustment doesn’t stay isolated—upper midtones come with it, and skin starts to feel off. To correct that, you pull gamma down to bring density back into the subject, which restores some weight to the midtones but tightens the transition into the highlights, reducing separation in the sky so it starts to feel compressed instead of luminous. You then adjust lift to rebalance the blacks, which shifts the overall contrast again. What should have been a simple highlight adjustment turns into a chain of compensations, with each move introducing a new imbalance.
The greater the latitude of the media, the worse this gets. The sky may extend much further than expected, so gain adjustments disproportionately affect a larger portion of the image. What should be a localized highlight adjustment turns into a global contrast shift.
The ability to use multiple zones in Color Mode reduces that friction. Each adjustment has a defined range and a controlled falloff, so changes behave more consistently regardless of the source.
Where to Find Lift, Gamma and Gain Controls
Zones aren’t just for contrast and exposure
So far we’ve focused on using zones to adjust contrast, but you can also adjust Temp/Tint, Balance, and Saturation within a specific zone. This means you can shape temperature, color balance, and saturation with as much specificity as you can exposure. Split tones where the highlights are warm and the shadows are cool are a snap to do with the default highlight and shadow zones. And if you want to do the kind of specific saturation shaping you’d do with a Lum vs. Sat curve, you can accomplish this as well by adding a highlight or shadow zone and using it to raise or lower saturation.
This makes zones incredibly efficient for taking care of a wide variety of image improvement tasks quickly and with great specificity.
What zones actually are
Under the hood, zones are curves. Each zone is a shaped section of a luminance curve with a center point, a width, and a soft transition into neighboring areas. Multiple zones combine to form the overall tonal adjustment.
There are a few implications that matter in practice. Zones do not have hard edges, so every adjustment transitions smoothly into the next part of the image. They can also overlap, which gives you more flexibility and allows zones to influence overlapping zones in predictable ways. And because the system scales with the image rather than relying on fixed tonal breakpoints, it behaves consistently across different formats and dynamic ranges. Thinking in terms of curves—not regions—makes that behavior easier to anticipate.
A common mistake in Color Mode in Premiere (beta) is jumping straight into targeted adjustments. That usually leads to stacking fixes on top of a weak foundation. Global adjustments—exposure, white balance, overall contrast—set the baseline. Zones refine that baseline. If the global image isn’t in the right place, zone work becomes compensatory and harder to manage. A more stable sequence would be to set the exposure and balance first, establish the overall contrast, and use zones to refine specific areas. If you reverse that order, you tend to overbuild the grade and make it harder to maintain across shots.
Highlight and shadow zones aren’t fixed endpoints—they’re adjustable ranges. A highlight zone can be tight, just catching specular detail, or broader, shaping a greater portion of the highlights extending into the midtones.Shadow zones can be extended upward to overlap the midtones, or pushed downward to only adjust the deepest shadows in your image. The key variable defining each zone is its threshold, which dictates the region of tonality that zone affects. Highlight zones affect the image from a particular level of tonality on up. Shadow zones affect the image from a level of tonality on down. This is what enables consistent operation when creating either SDR or HDR output. There’s no default “correct” specificity—you’re trading for falloff.
Building control with multiple zones
After using the Global controls to shape the overall image, you get better control by tackling your adjustments using broader zones first and then moving to more specific zones to add finer shaping. When adjusting the shadows, you could start by pushing the default shadows zone down for deeper shadows, and then add a ‘Darker’ zone and use that to pull the darkest shadow details back from the brink. It’s very similar to building a curve by hand.
Using a ramp to see what’s really happening in Color Mode in Premiere (beta)
A simple black-to-white linear gradient makes this easier to see. Apply your adjustments to a ramp and watch how it bends. Clean adjustments create smooth, controlled shifts.
Where this can still go wrong
More control doesn’t automatically mean better results. Zones aren’t meant to be used by themselves. They’re meant to be used to add detailed shaping after making more generalized adjustments with the global controls. Using zones without global adjustments can be fine if you’re making targeted adjustments, but trying to shape image contrast with multiple zones by themselves is no substitute for using Global Contrast and Pivot.
In Color Mode in Premiere (beta), the zone-based model replaces a coarse system with a continuous one. You gain precision and consistency, especially in modern pipelines. But that precision depends on how you use it—clear global setup, deliberate placement, and restraint in how much you stack. Zones are like any other tool; it takes some practice to learn how to get the best out of them.
This is article eight in a series on Color Mode in Premiere. If you missed any of the previous articles, start with Why Adobe built Color Mode. In the next article, we’ll demistify the 2D controls that allow you to shift the image dramatically, changing how you think about corrections and allowing you to move faster toward a target look. To try it for yourself, check out the beta of Color Mode.