

Filmtools
Filmmakers go-to destination for pre-production, production & post production equipment!
Shop NowTL;DR Make the Effects Controls panel much more usable

Welcome to Tool Tip Tuesday for Adobe Premiere Pro on ProVideo Coalition.
Every week, we will share a new tooltip to save time when working in Adobe Premiere.
There’s a very useful trio of unmapped keyboard shortcuts in the Adobe Premiere Keyboard Shortcuts editor that everyone who keyframes any motion parameters or effects in the Effect Controls panel needs to map to their keyboard. To access, open the Keyboard Shorcuts editor and search for “properties” in the search bar at the bottom.
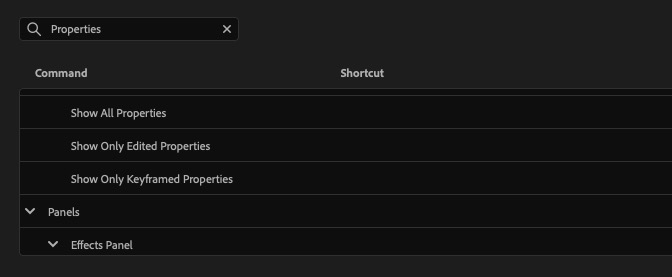
You may have to scroll down a bit in the lower left where you find the diffferent items but the key is to locate these three unmapped commands:
- Show All Properties
- Show Only Edited Properties
- Show Only Keyframed Properties
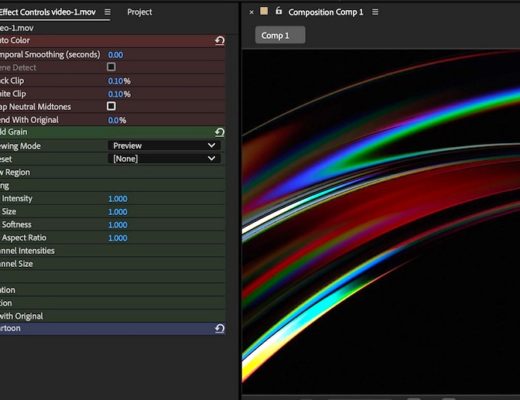
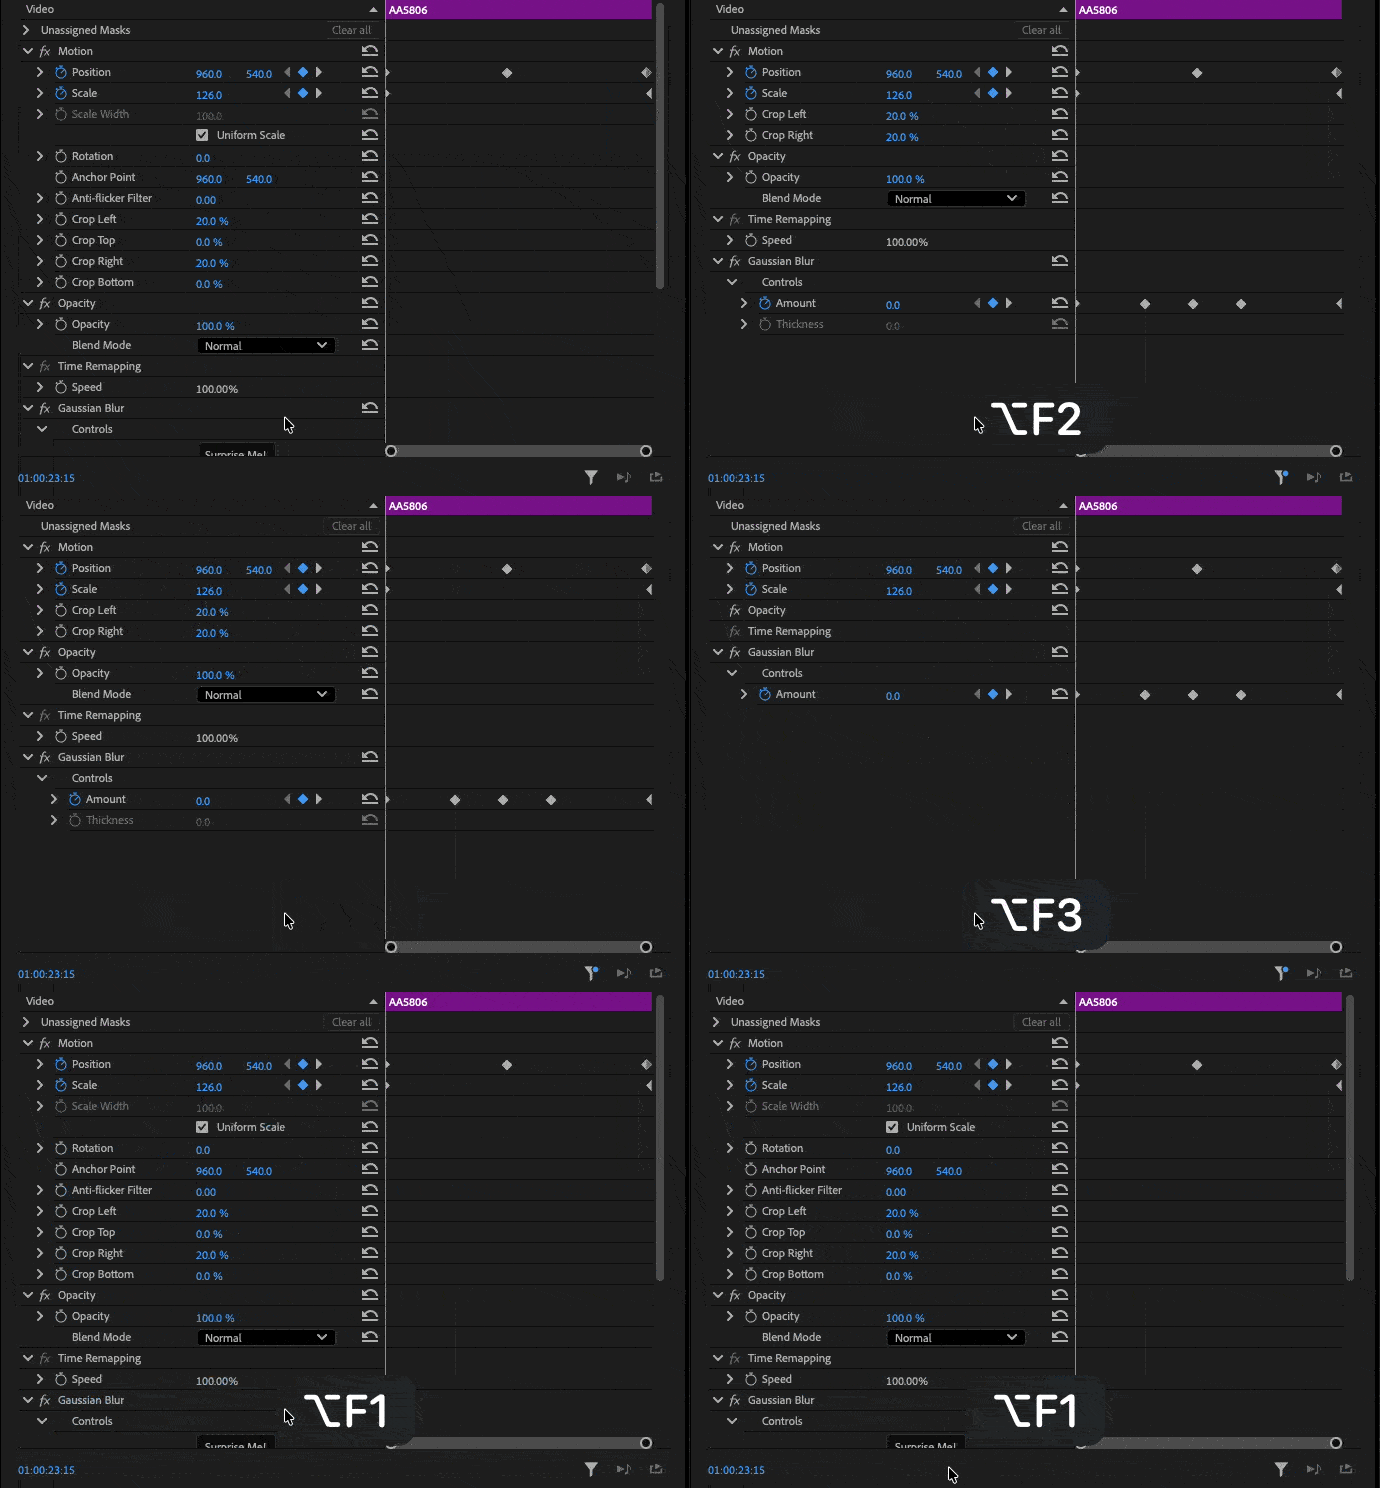
When mapped to keyboard shortcuts, these commands let you quickly hide unaltered or unkeyframed properties in the Effect Control panel. There can be a lot of items in that panel, but if you’ve only keyframed a few of them, then there’s no need to sort through everything just to adjust a few.
Edited Properties will show parameters that have been adjusted from their default state. Keyframed Properties will show parameters that have had keyframes added.
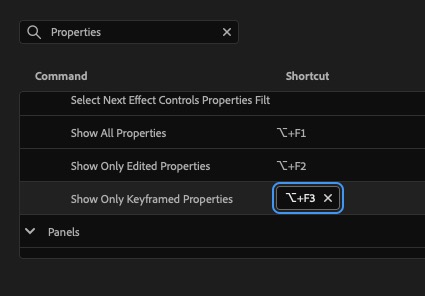
I mapped these shortcuts to option + F keys myself.
Once you start to use these commands, it’ll be second nature to enable them once you set your first animation keyframes. Usually, once you start an animation, you don’t go back and add new parameters to the clip. But if you need to, All Properties are only a keystroke away. I mapped these a long time ago, but it was this Reddit thread that gave me the idea for this Tool Tip Tuesday. Maybe 99% of editors don’t know about this.
This series is courtesy of Adobe.