https://www.youtube.com/watch?v=xqYiSxe4bzE&feature=push-u-sub&attr_tag=6P09t93w8vS-acUf-6
This week on MacBreak Studio, I show Ripple Training’s Steve Martin how you can use the new color tools in Final Cut Pro 10.4 to create custom greyscale and tint effects.
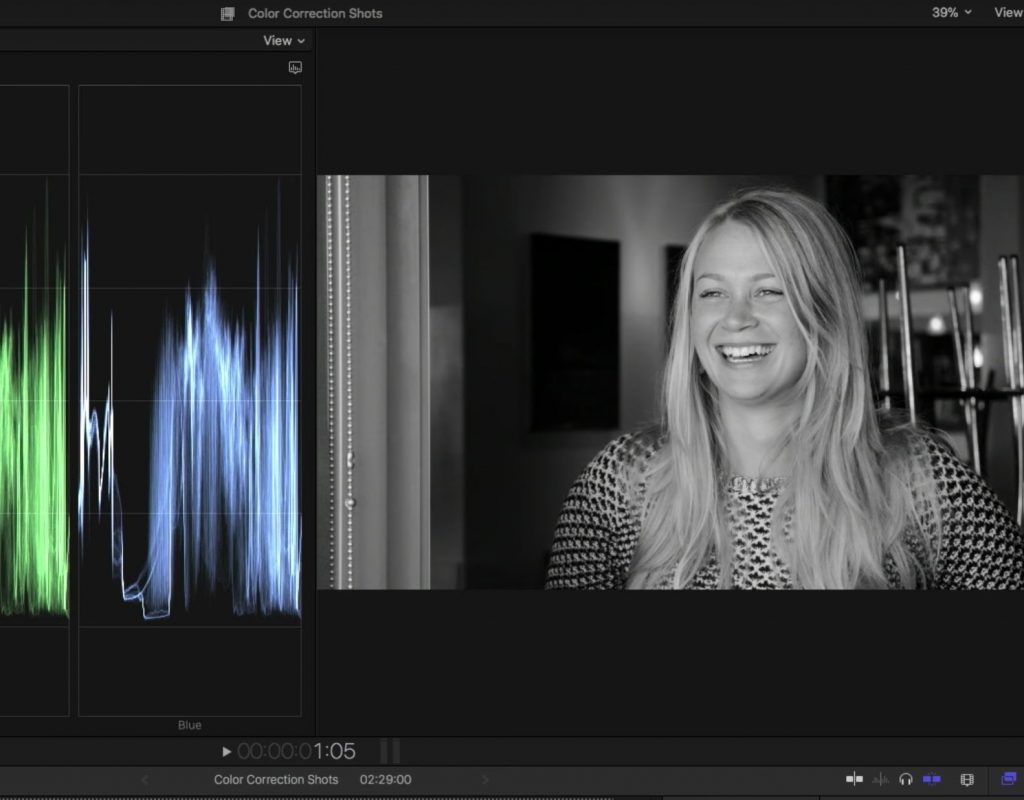
If you apply a Color Curves correction to a clip and then attempt to isolate a specific \ red, blue, or green channel by pulling down on the upper right control point the other channels to remove them completely, you’ll notice in the RGB parade that those channels don’t get completely removed.
This is because the Preserve Luma checkbox at the bottom of the correction window is enabled by default, so that you can make channel-specific color corrections without affecting the luma values of your shot. If you disable it, you’ll find you can now complete remove one or two of the primary channels, leaving an image that is isolated to just the color and luma information from that single channel.
Now, to make this channel greyscale, you might think you could simple add a Color Board or Color Wheels correction and bring the master saturation all the way down. But doing so re-introduces the standard mix of color channels in a black and white image as defined in the Rec. 709 specification: 59% green, 30% red, and 11% blue. This forumla attempts to balance the mix of channels based on our visual perception: we are much for sensitive to green than to red or blue.
But we want to start with a black and white representation of a single color channel. To do this, instead of adding another correction, we can use the Hue/Saturation effect, because it will desaturate without adding in the other channels.
From there we can go back to the curves correction and choose exactly how we want to mix our channels for the most pleasing black and white representation. Or, we can introduce tints to the midtones while leaving the shadows and highlights unaffected.
All the good details in the video above. If you want to master the new color tools in Final Cut Pro X, check out our Advanced Color Grading tutorial.

