Filmtools
Filmmakers go-to destination for pre-production, production & post production equipment!
Shop Now
Filmmakers go-to destination for pre-production, production & post production equipment!
Shop NowTL;DR: Use the saturation slider as a diagnostic tool: drop to 0 to evaluate luminance, over crank to 200+ to magnify chroma issues.
Welcome to Tool Tip Tuesday for Adobe Premiere Pro on ProVideo Coalition

I taught an Adobe MAX class at the beginning of the pandemic. It was called Color Lab – a guide to intuitive color.
I can absolutely teach you to color grade intuitively. I can also give you very strong arguments that working intuitively isn’t the best and that you should learn scopes instead. But if you’re struggling with color correction, this trick from my former Adobe MAX ColorLab course might help.
Here is my guide to Intuitive color.

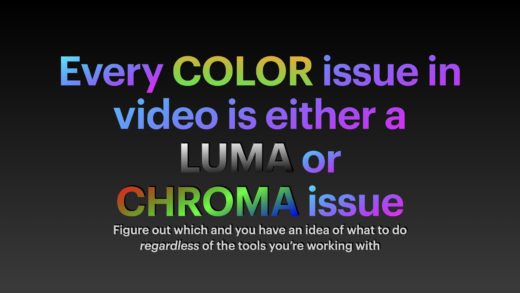
That sentence took me almost a decade to figure out, but it’s my favorite piece of color advice.
Here’s how it works in practice. Let’s say you’re looking at a shot and struggling to identify the problem. You think it might be underexposed, you suspect there’s a color cast, but you can’t tell for sure.

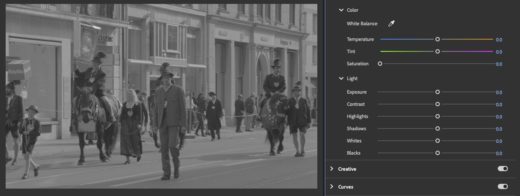
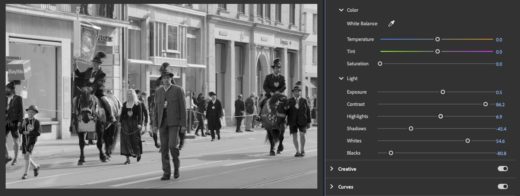
Take the saturation slider from 100 down to 0.

Now you’re evaluating the image purely on its luminance. How do the shadows feel? What about the darkest points? The brightest points? With chrominance out of the equation, you can focus entirely on exposure and contrast.

Make whatever luminance adjustments you need until the image looks right.
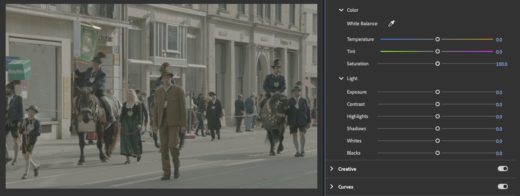
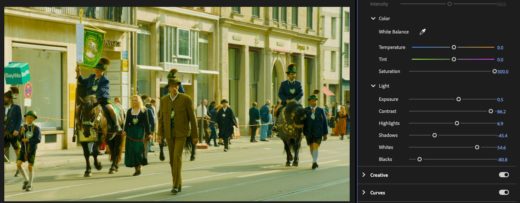
Once you’ve handled the luma, it’s time to tackle chroma. Crank the saturation all the way up to 200. Better yet, the text field allows you to scrub beyond 200 to 300.

You’re not doing this to set your final saturation – you’re doing this to magnify whatever color cast or chroma issues exist so your eyes can actually see them.
With the saturation cranked up, any color casts become obvious. In this example, there’s definitely a yellow-green cast that needs addressing.

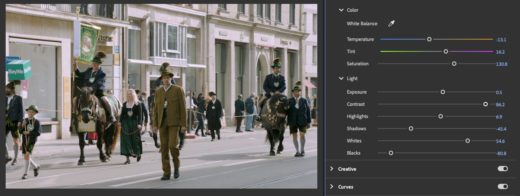
Once I’ve identified the chroma issues, I typically return the saturation to around 130 – just enough magnification to keep the problems visible while I correct them.
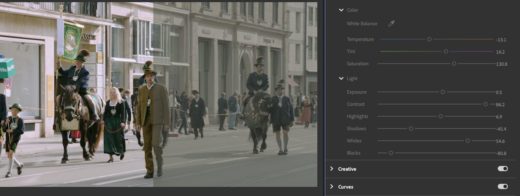
I made corrections to remove/reduce the color cast.

I want to be clear: I’m not minimizing the importance of proper color correction, reading scopes, or having a professional monitoring setup.
This saturation slider technique is a simple way to evaluate an image in an intuitive and quick manner.
The goal is to train your eye to see these issues more clearly and gain some intuitive confidence. Ultimately, you should learn to use scopes and develop a more technical approach to color work – but this is a great start, especially for people who say they are not great at color correction.
This series is courtesy of Adobe.
Sign up for the ProVideo Coalition weekly e-newsletter and get the most popular articles, blogs, and reviews right to your inbox.