

Filmtools
Filmmakers go-to destination for pre-production, production & post production equipment!
Shop NowImproved stills, timelapses and dynamic range

The Osmo 360 II is a minor but welcome improvement over last year’s Osmo 360. Though it’s got the same shape and many of the same specs, several smaller details might swing your decision. Like most other new DJI gear, it’s not available in the US right now, and that may make your decision for you. If you’re elsewhere on the planet, the main reasons you might want to consider this camera are:
- Improved 120MP HDR 360° photos
- Improved dynamic range (14.5 stops)
- 16K 360° Timelapse
- Improved night mode
There are many other improvements too, and here’s the official page if you want all the specs, but I’ll focus on those areas here. First up, a quick look at the most obvious differences.
Hardware and software changes
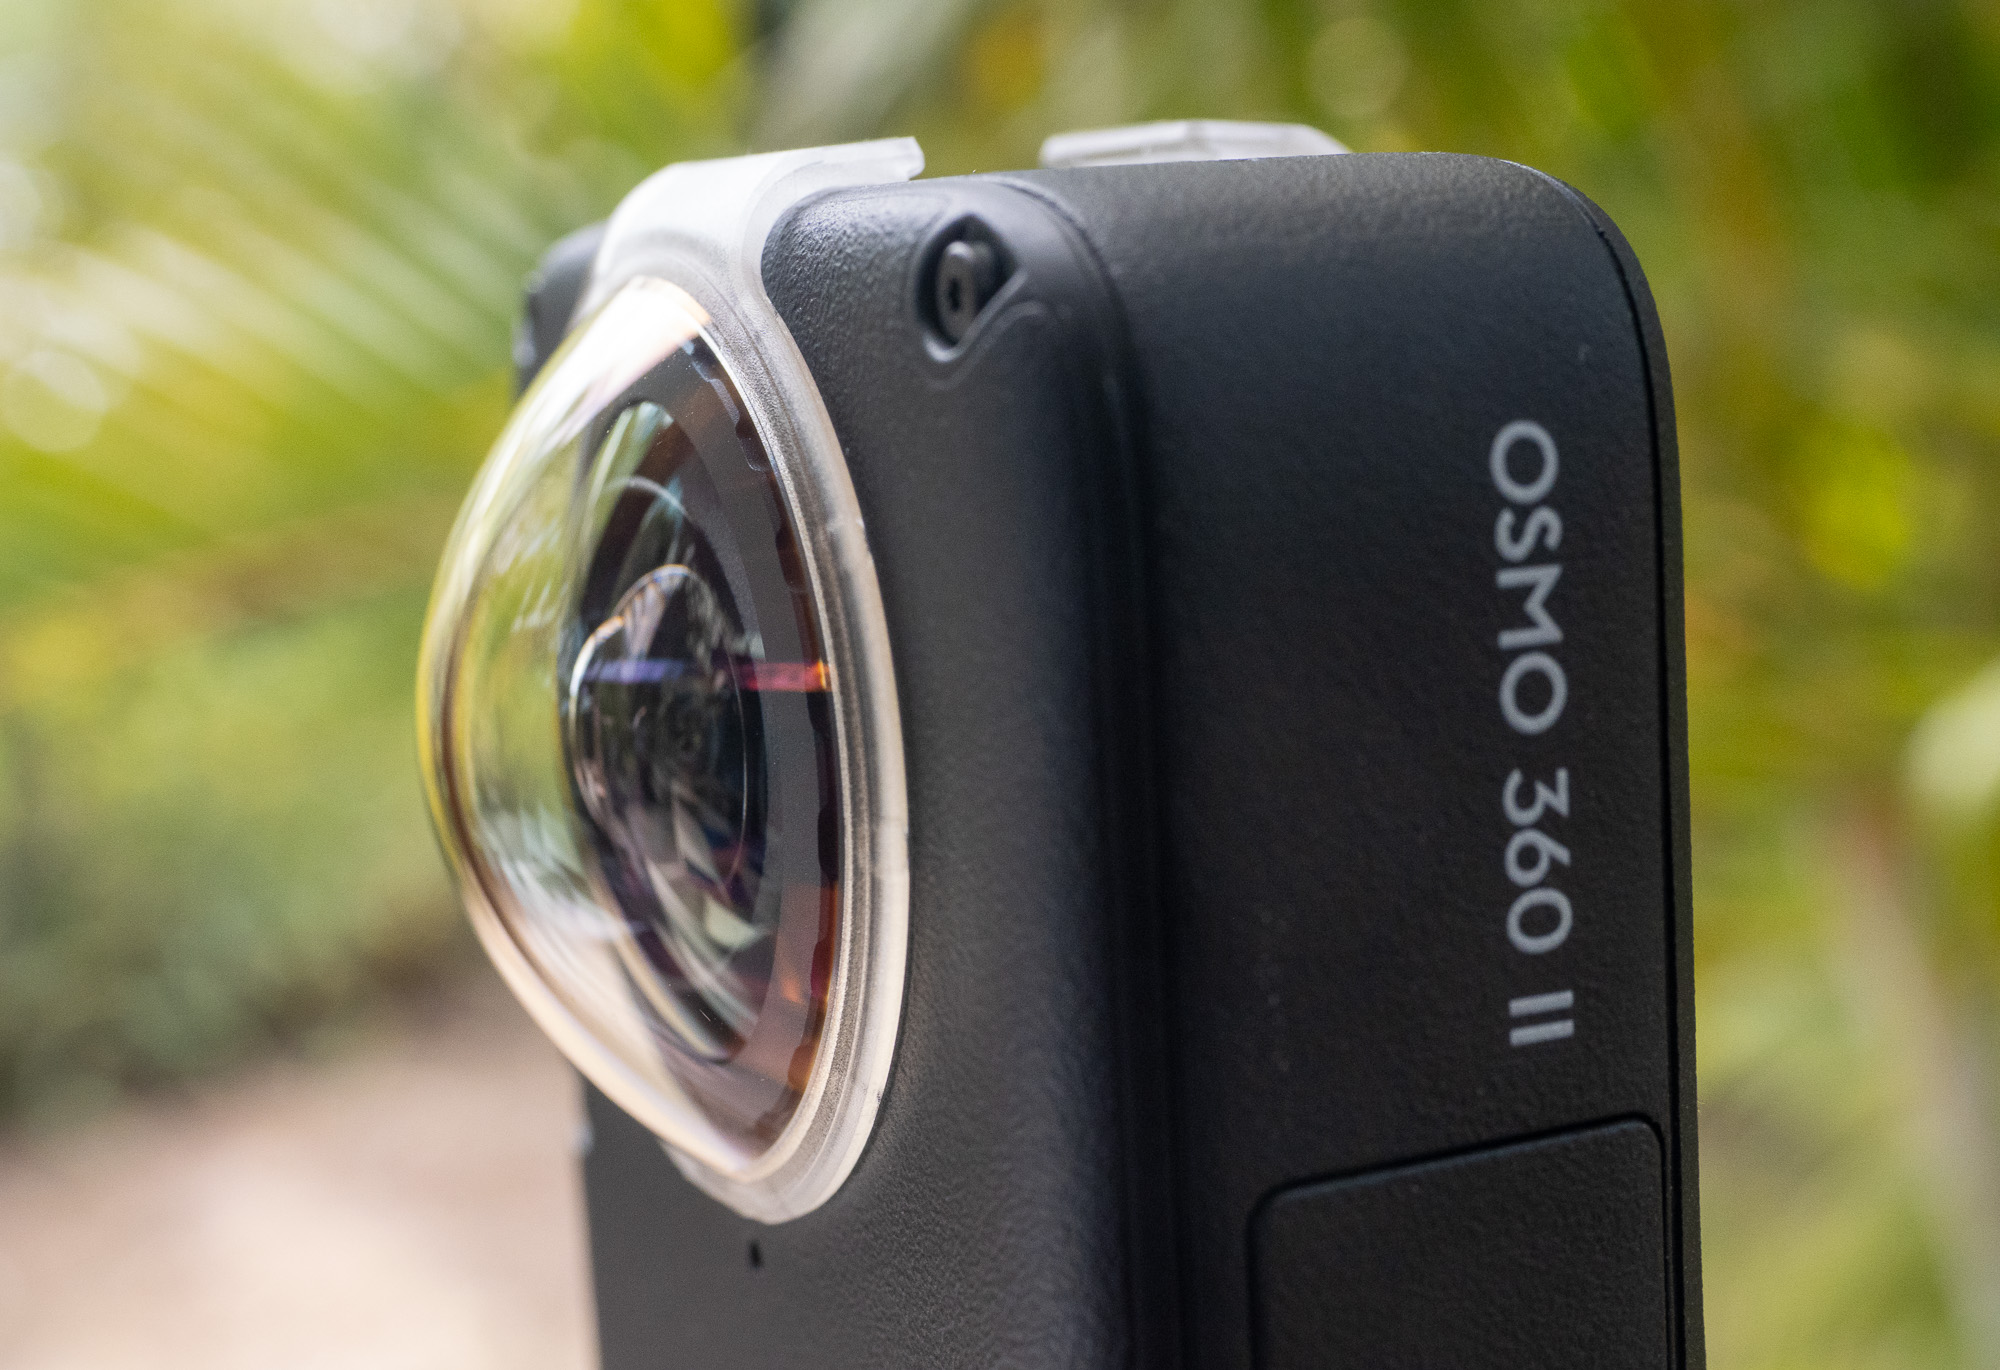
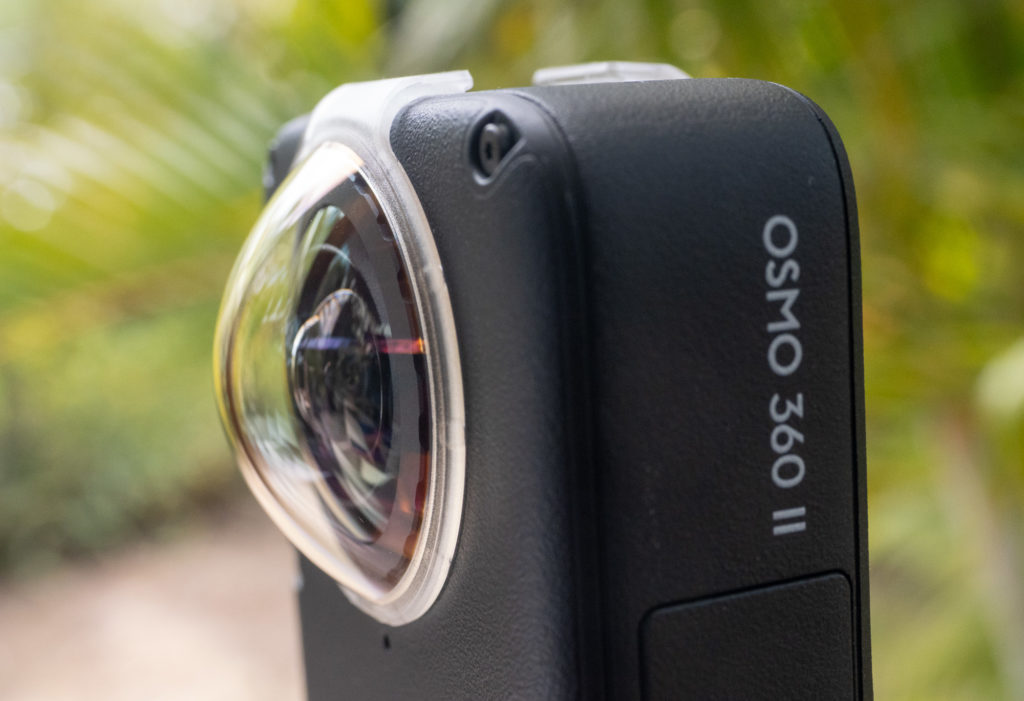
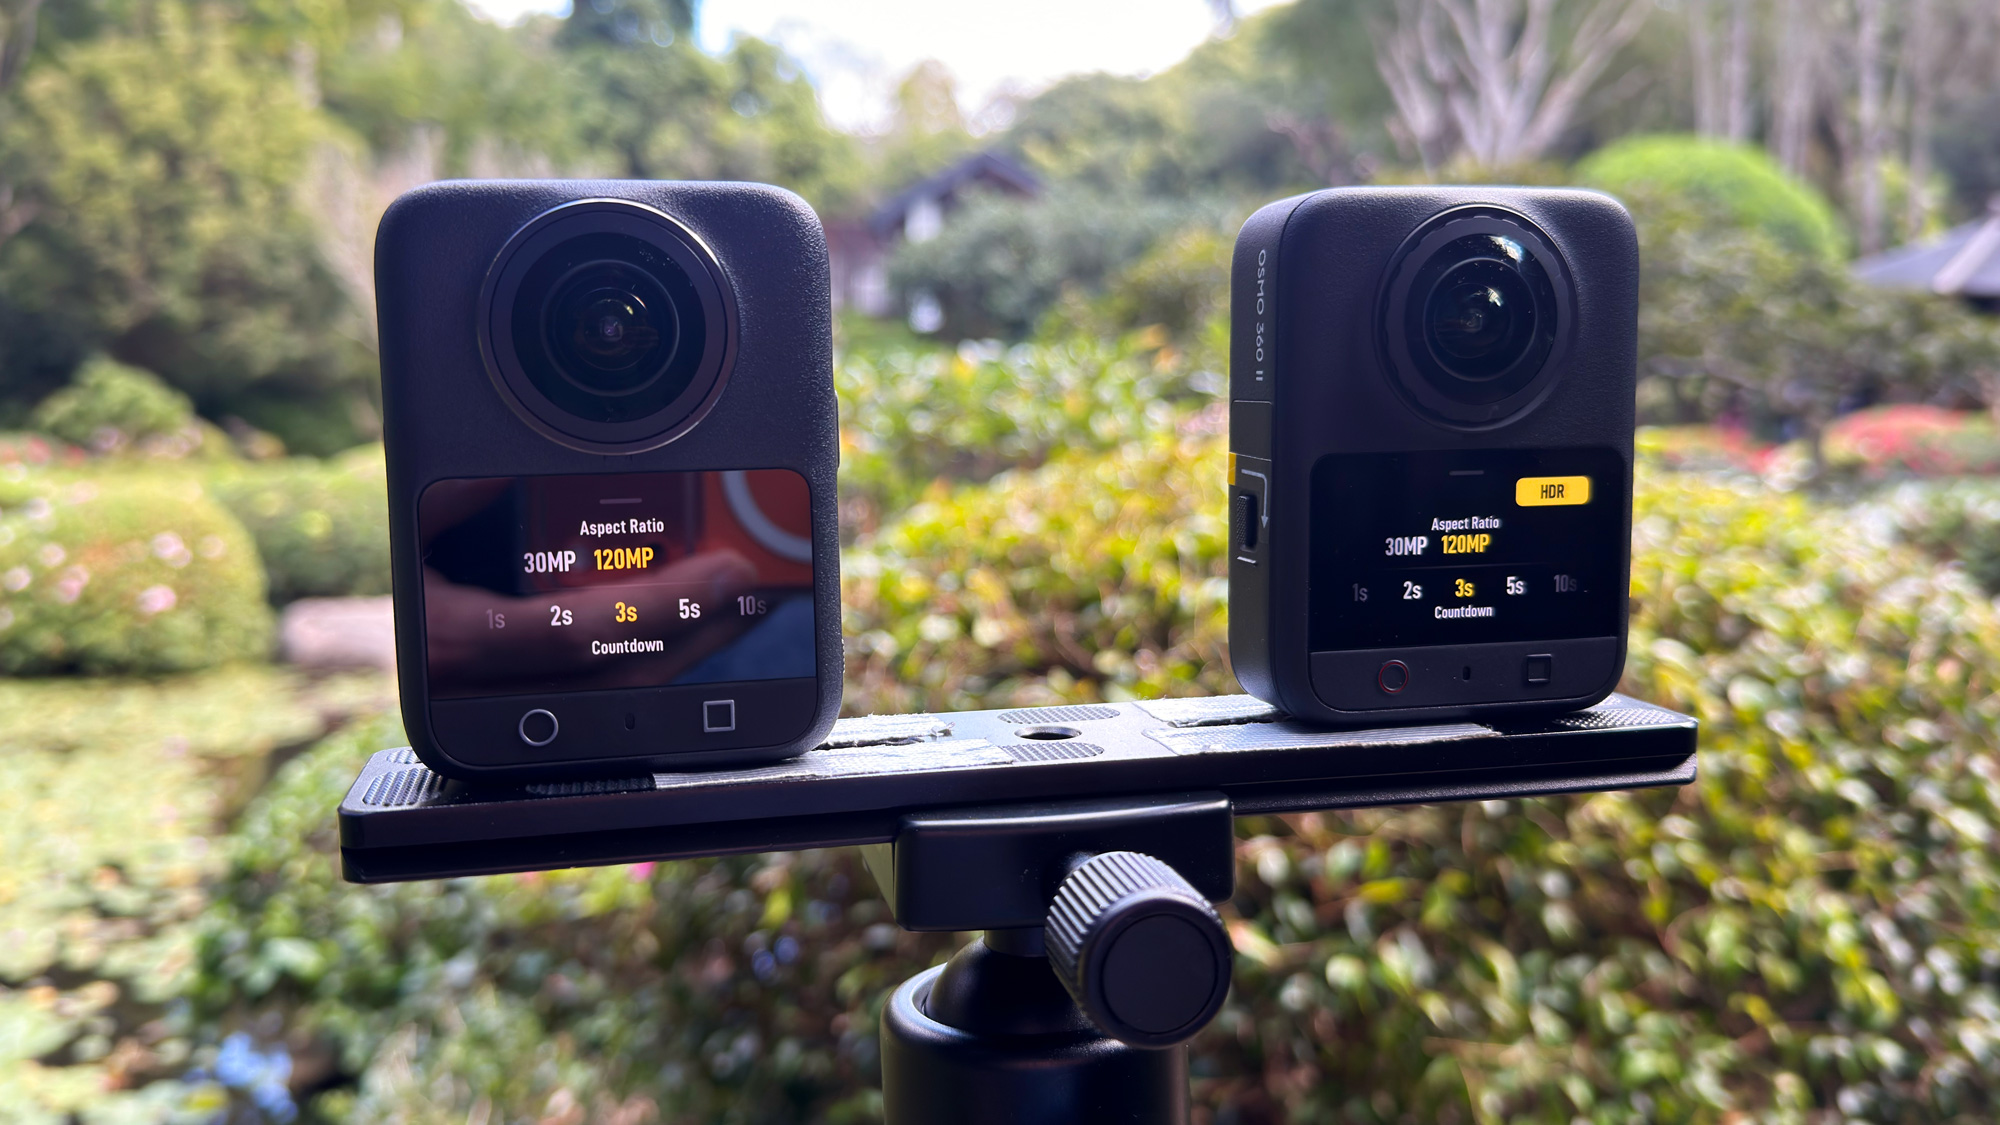
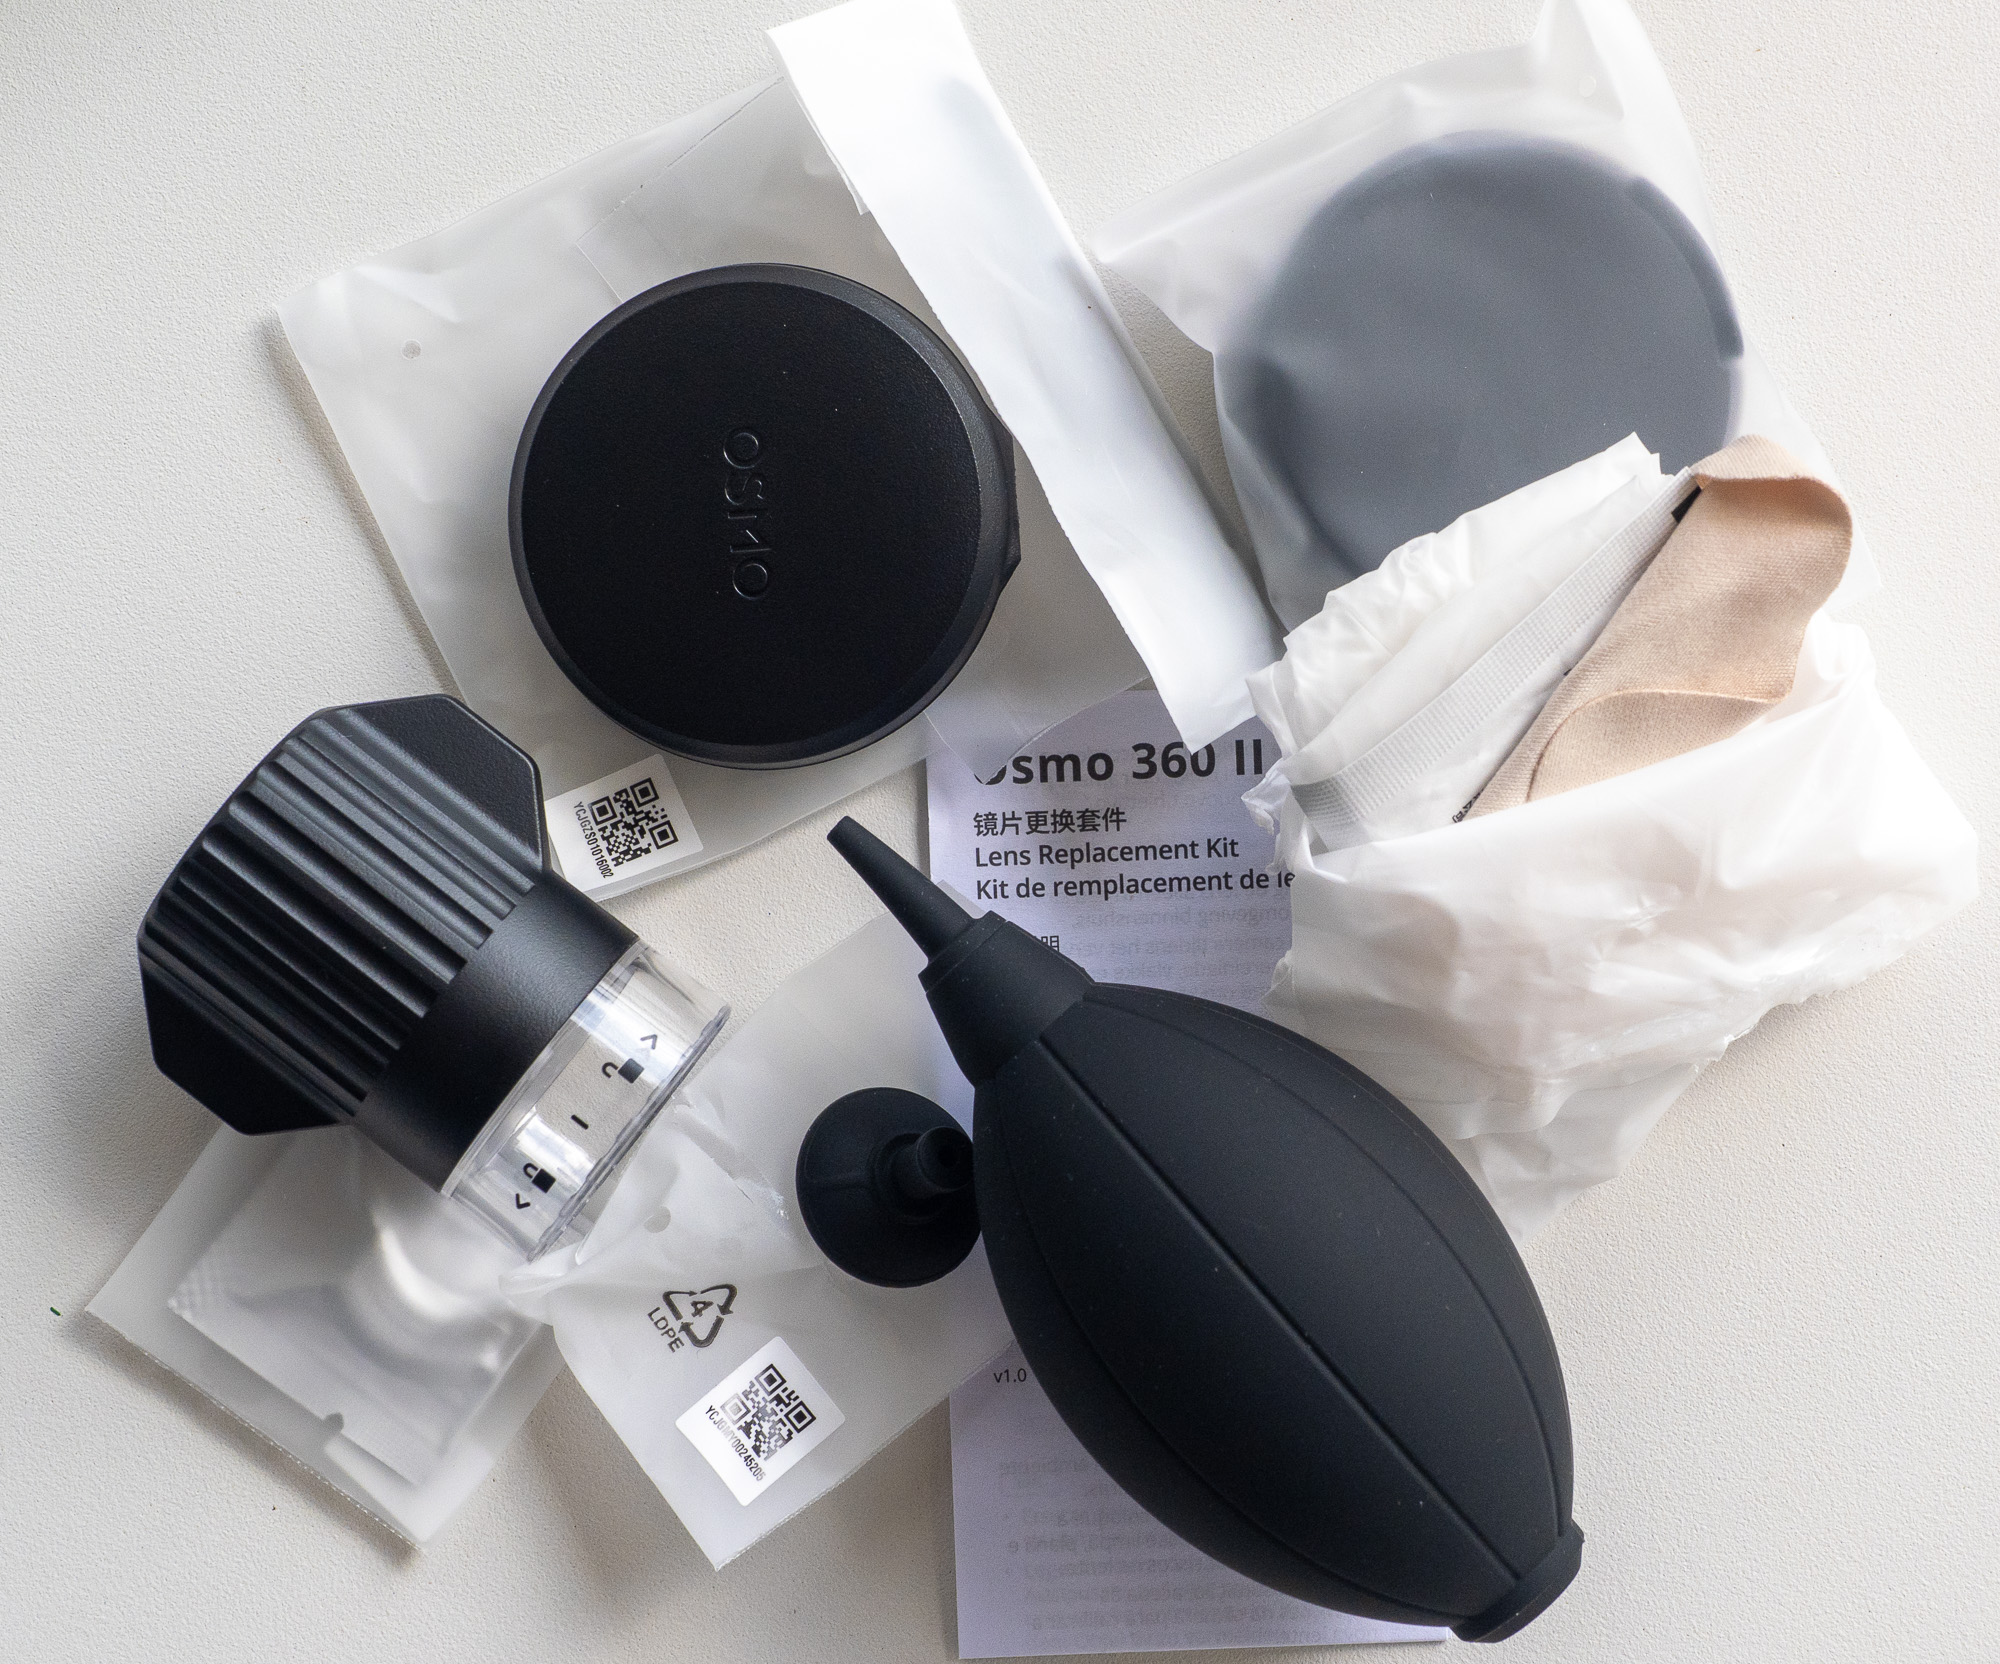
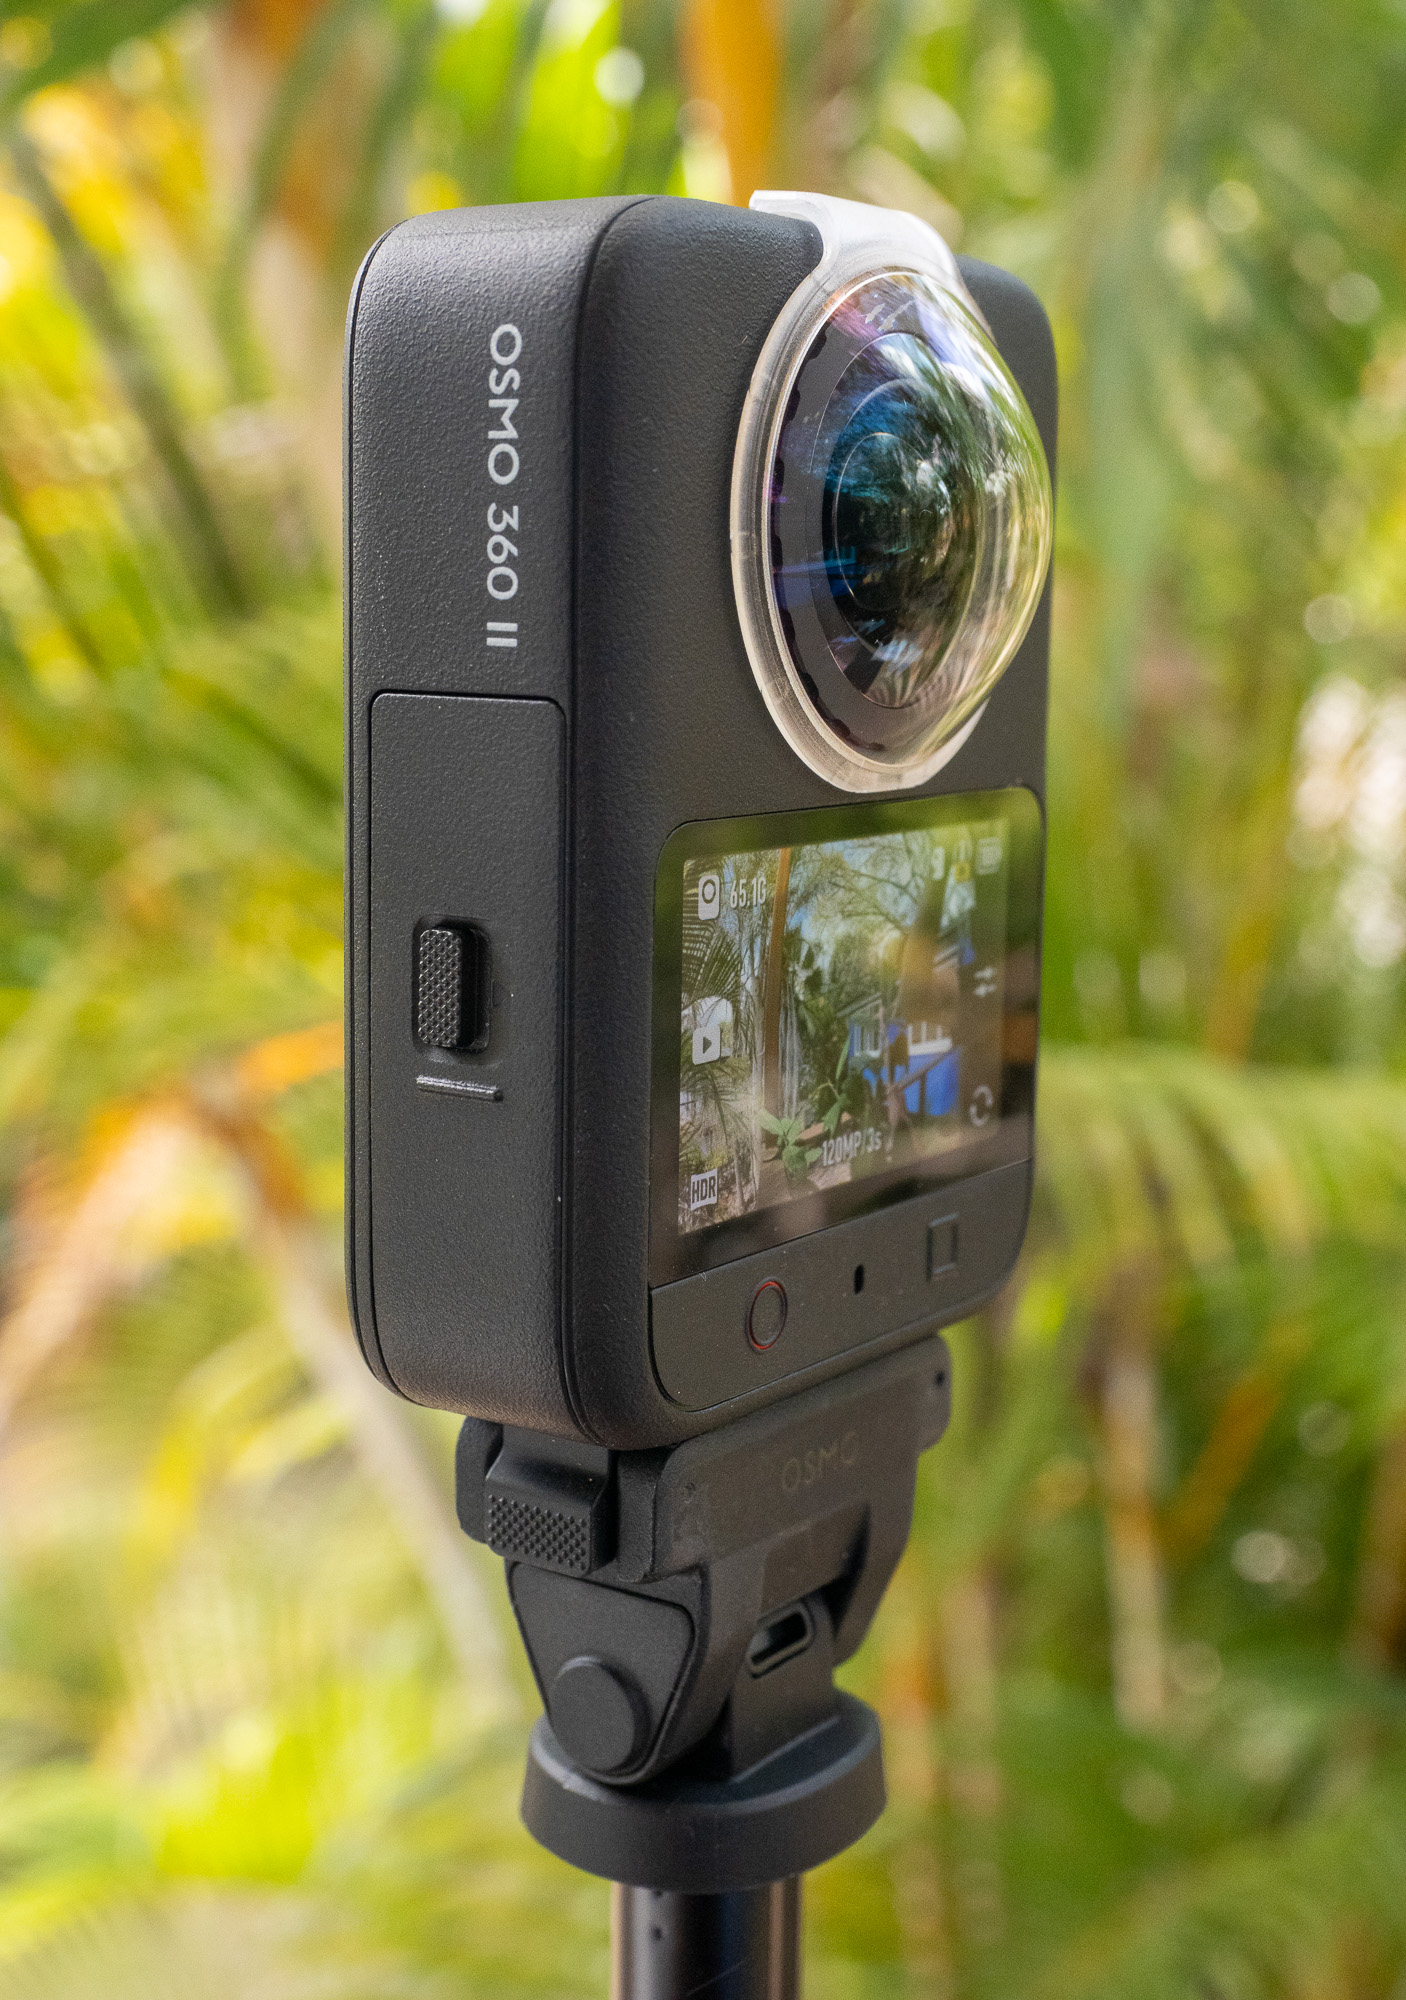
Compared to last year’s model, the new version has “OSMO 360 II” written on the side, a red record button, and a larger mic on the side opposite the screen. The lenses are now replaceable, allowing you to rescue a broken camera in the field.
There are a few differences in the interface, but these changes are minor. There’s still 105GB of on-board storage, welcome in these times of expensive memory cards, and though the battery has slightly higher capacity, it’s the same size and promises the same runtime as before.
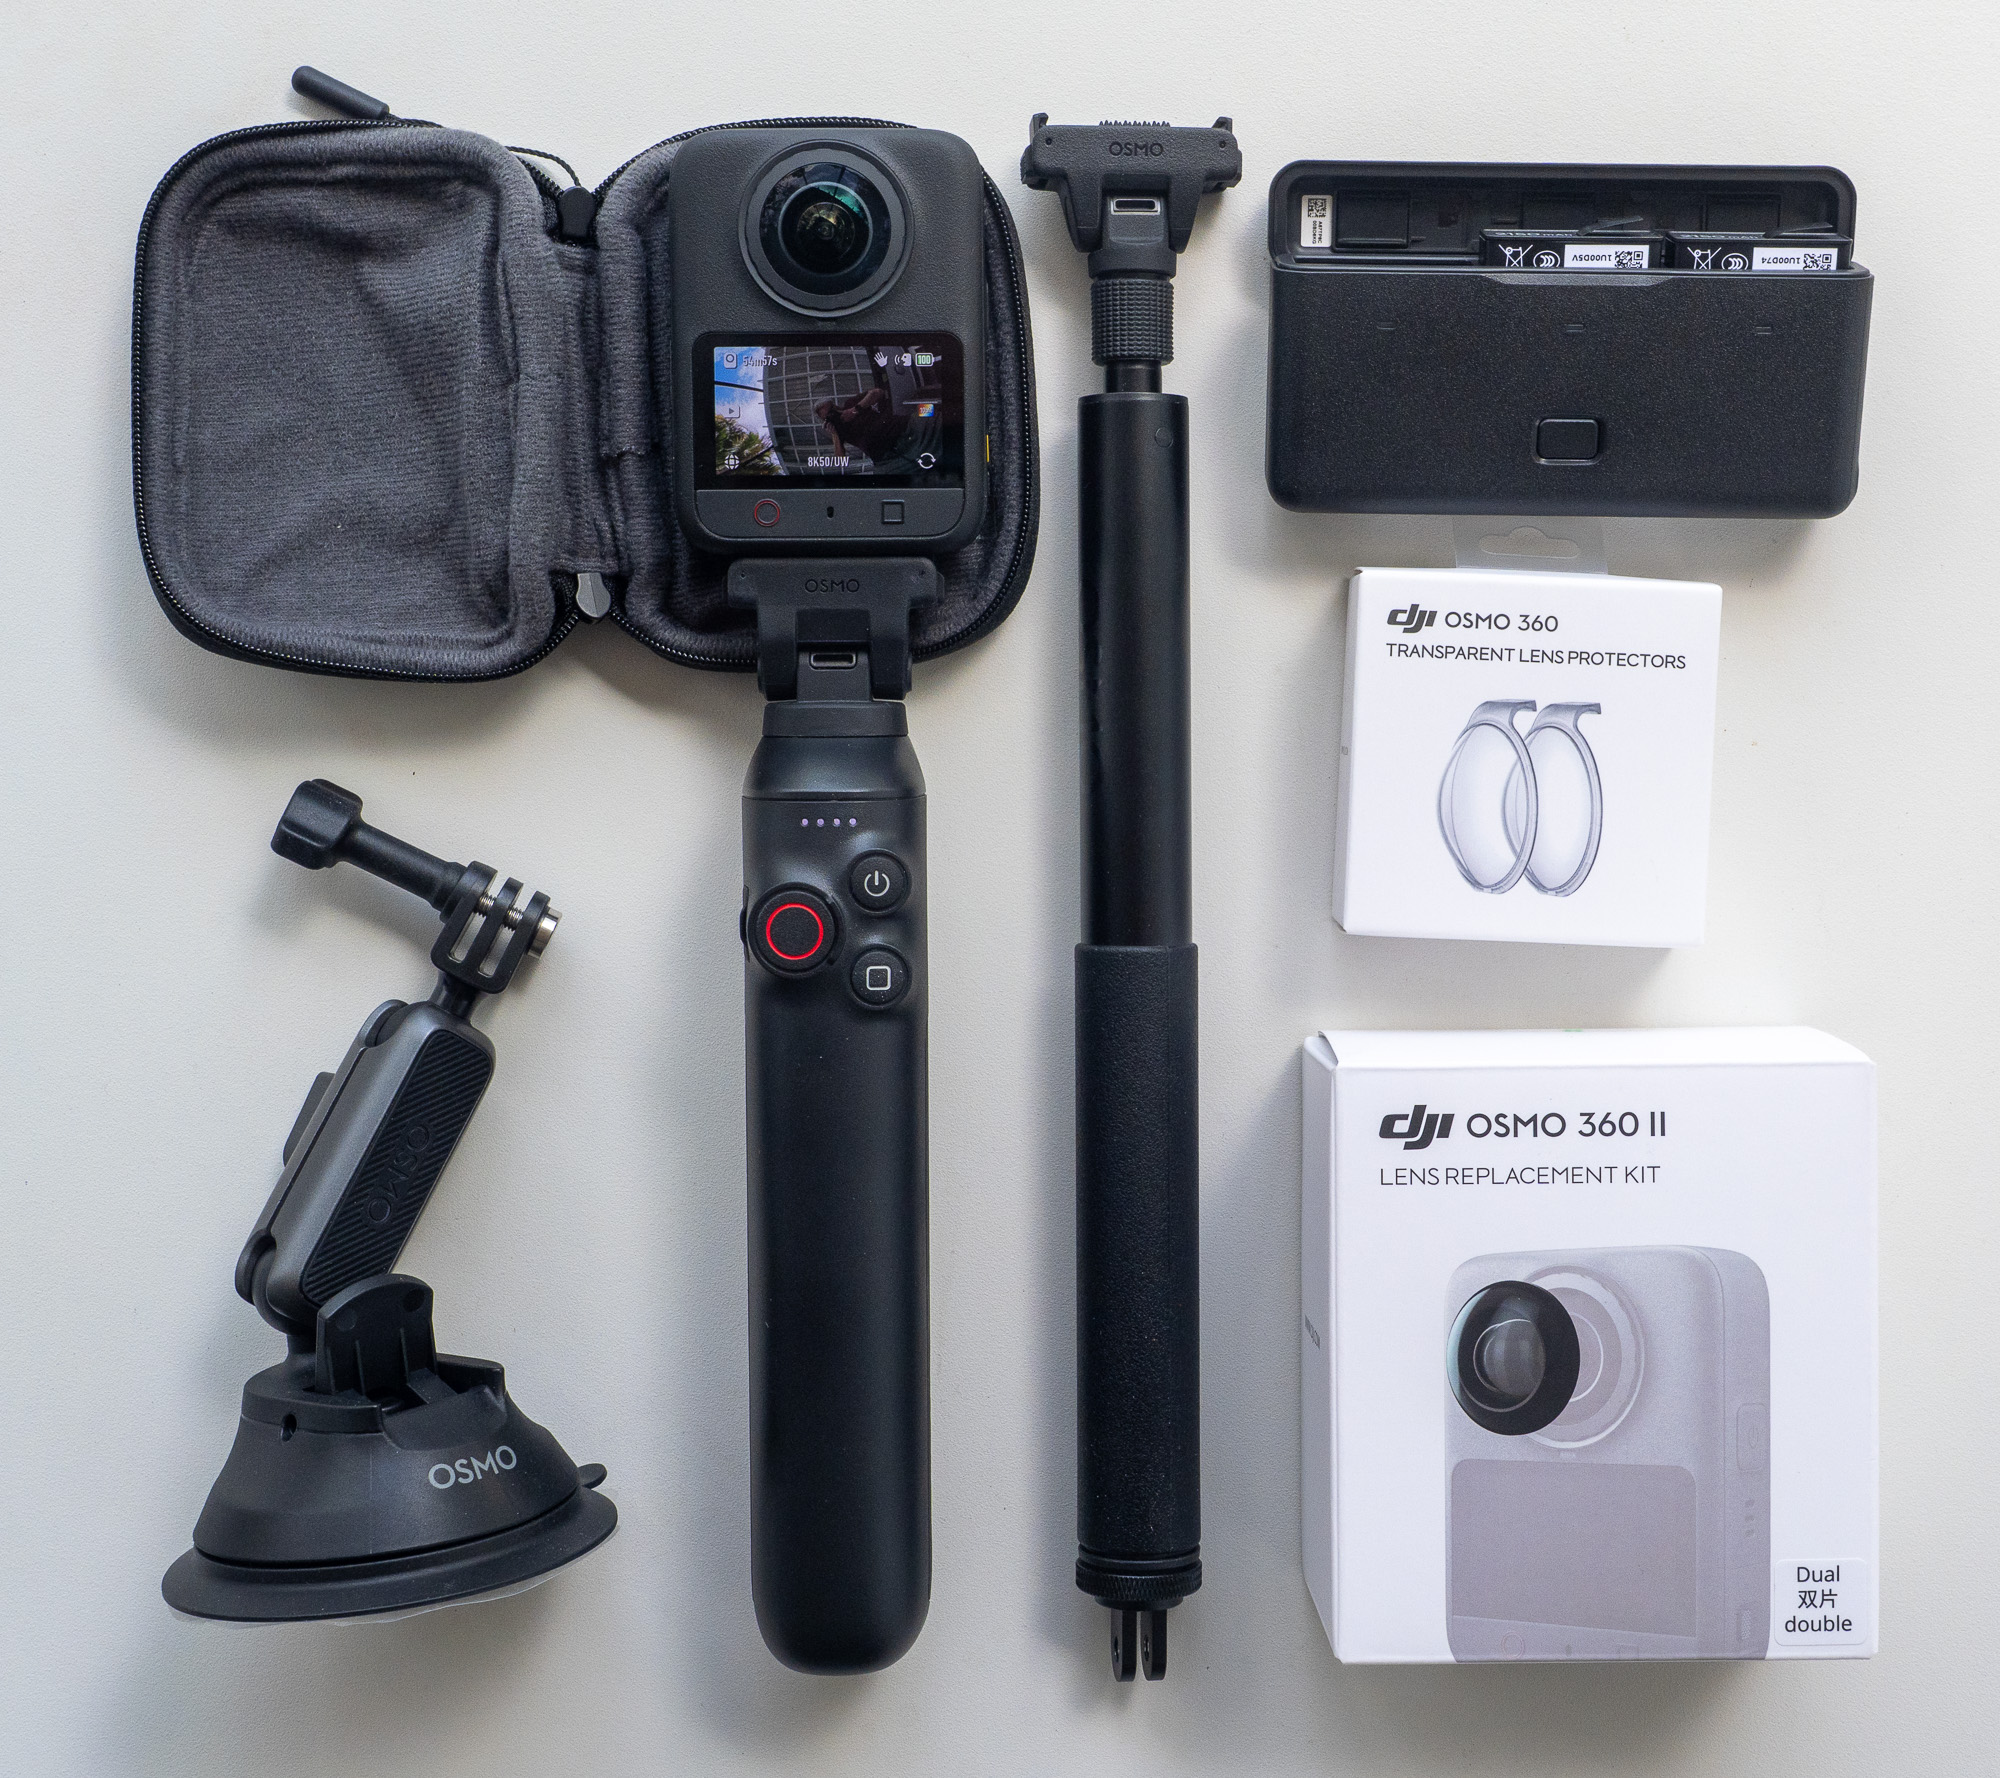
You can purchase the camera in a Standard Combo or the Adventure Combo, which adds a selfie stick, two extra batteries, a battery charging case, and a reversible ¼-20 mount. You may have these goodies from a previous bundle, though.
When recording 8K 360° video in 50fps or (the new top spec) 60fps, the camera now warns you to watch for overheating, but that hasn’t stopped me shooting so far. There are a couple of additional modes to be found too. Spotlight Follow allows a specific person to be tracked as they move around the shot. Though this is something that can still be performed in DJI Studio on a regular shot, if you do it on the camera, you can lock onto a specific person and know you’ve got the shot.
Pano Slow Motion delivers 4x slow motion, but there’s a quality hit. If you can live with 60fps and slow it down using a tool like FCP’s Smooth Slow Mo, you may get better results.
120MP HDR Photos
This is the easiest improvement to see and recommend; the new HDR stills look much sharper and have lower noise. If you want the full 120MP (15520×7760px) experience then you can still only export JPEGs, though.
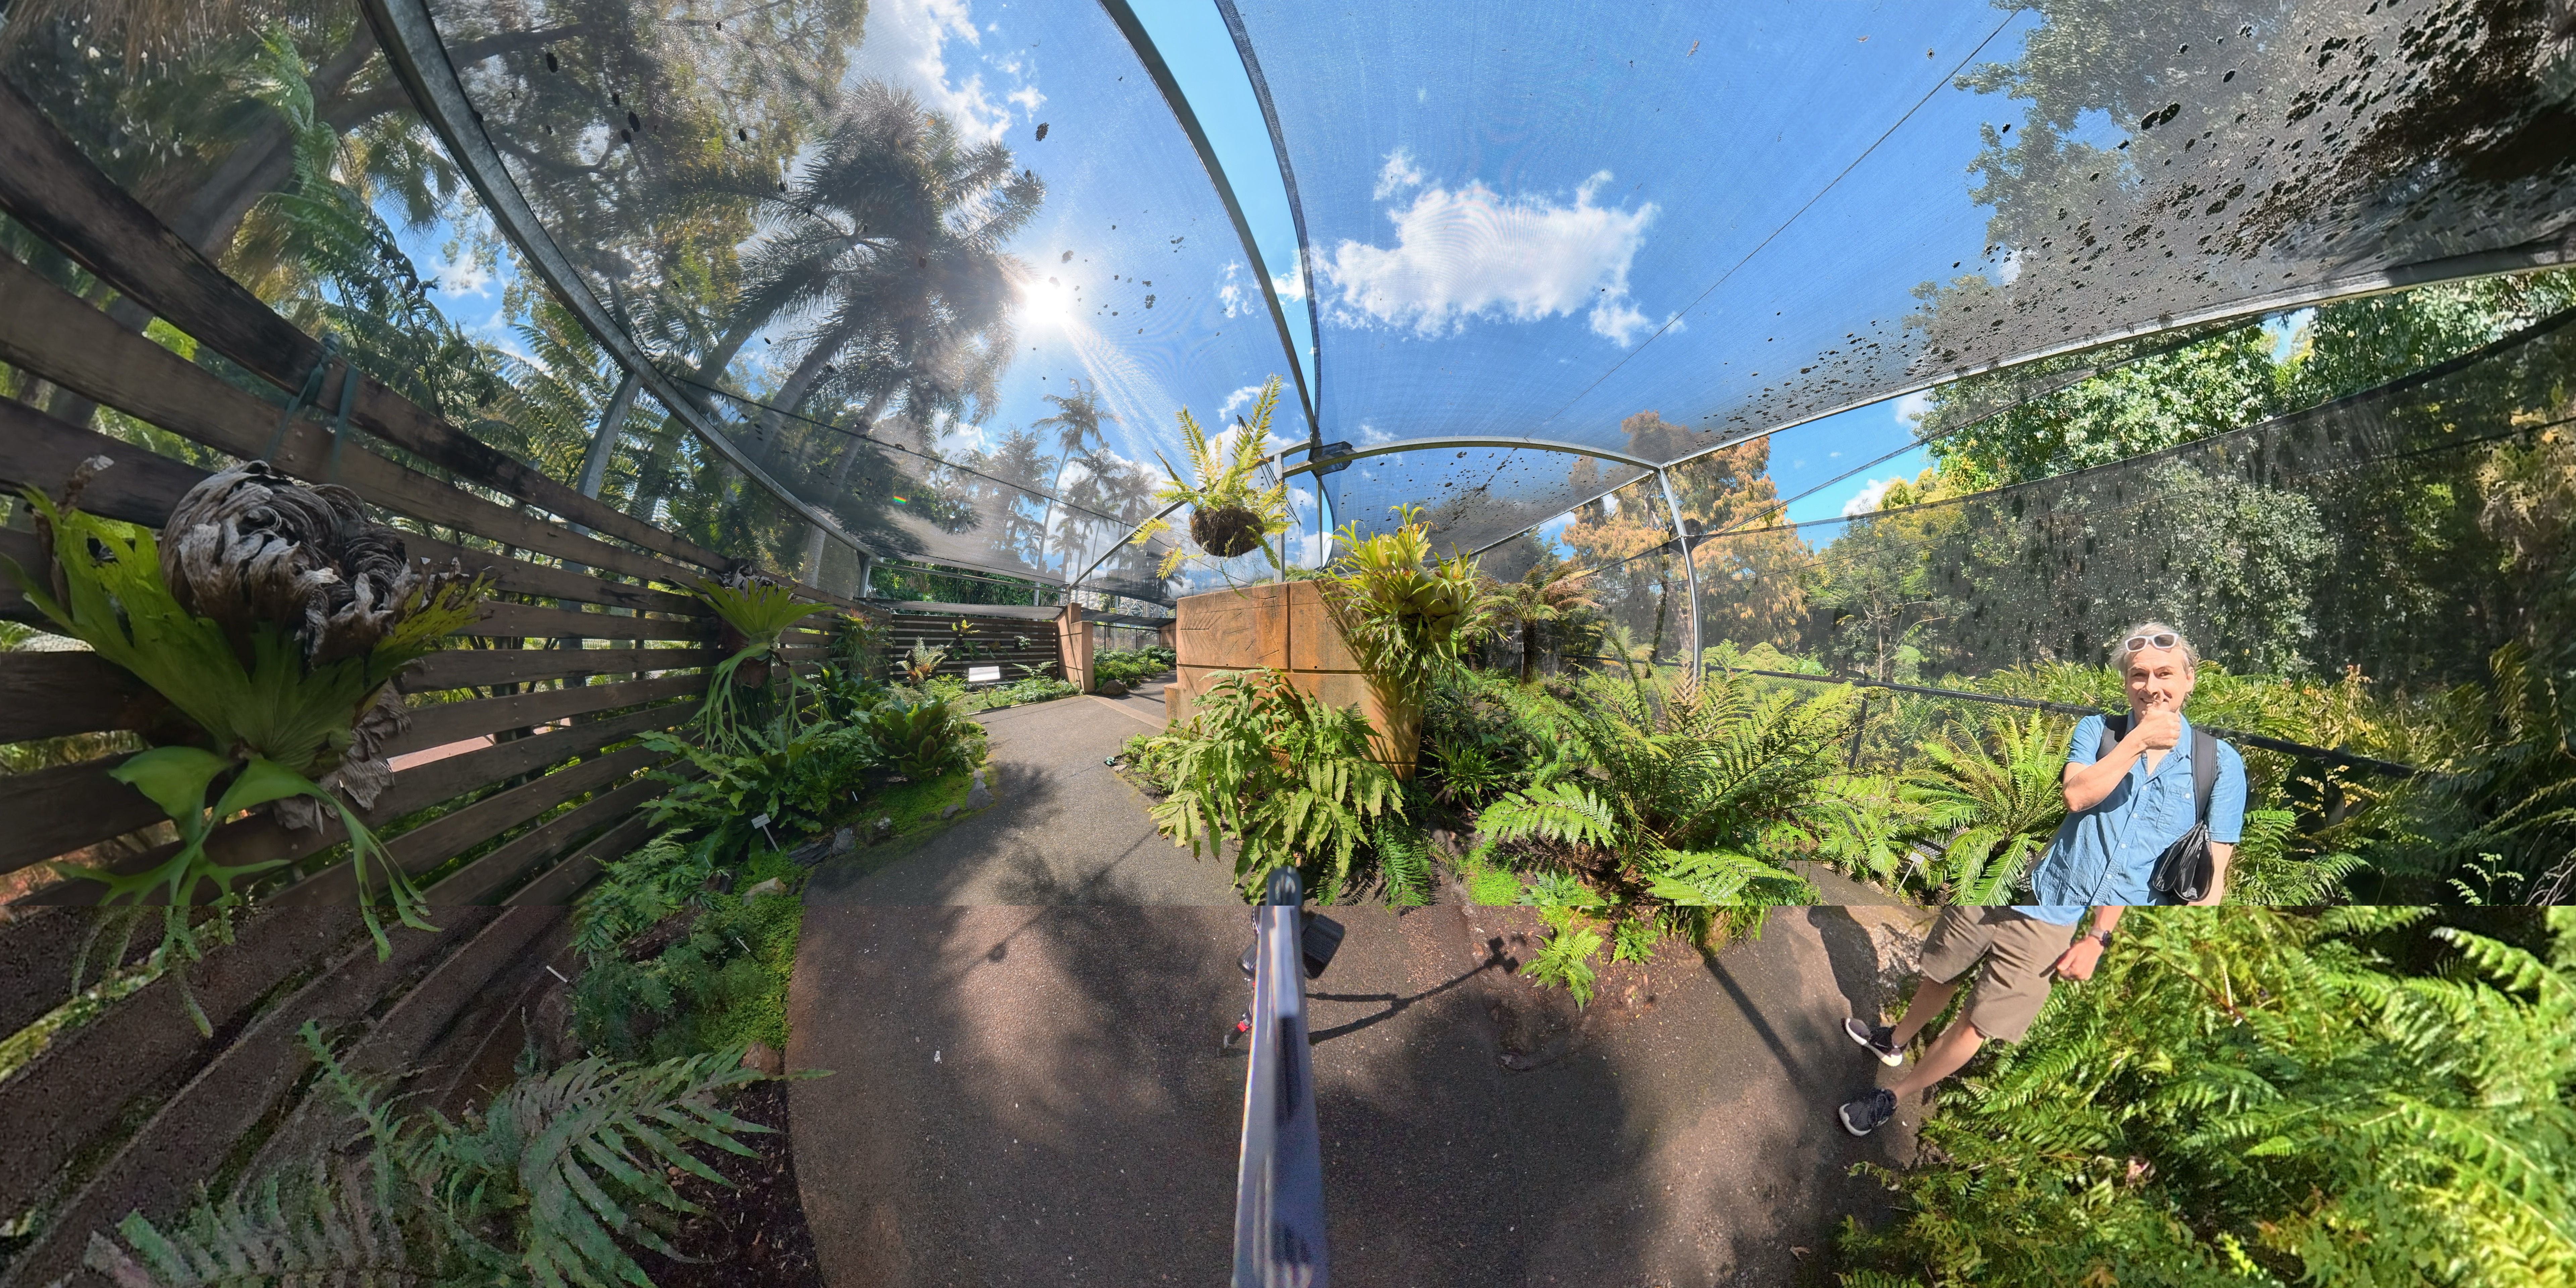
RAW is now possible, but only with the much smaller 30MP (6400×4800px) resolution. If you’re working on virtual tours, the image quality in HDR is much better, but there’s no manual control over bracketing here.
Improved dynamic range
This is also pretty easy to see, and 14.5 stops is claimed. If you compare the skies recorded by last year’s and this year’s models, there’s more cloud detail in this year’s video modes. Both offer 10-bit D-Log M, so there’s a little room to recover, but if you’re filming outdoors with a camera that can see in every direction, something’s always going to clip. This year, less does, and that’s welcome.
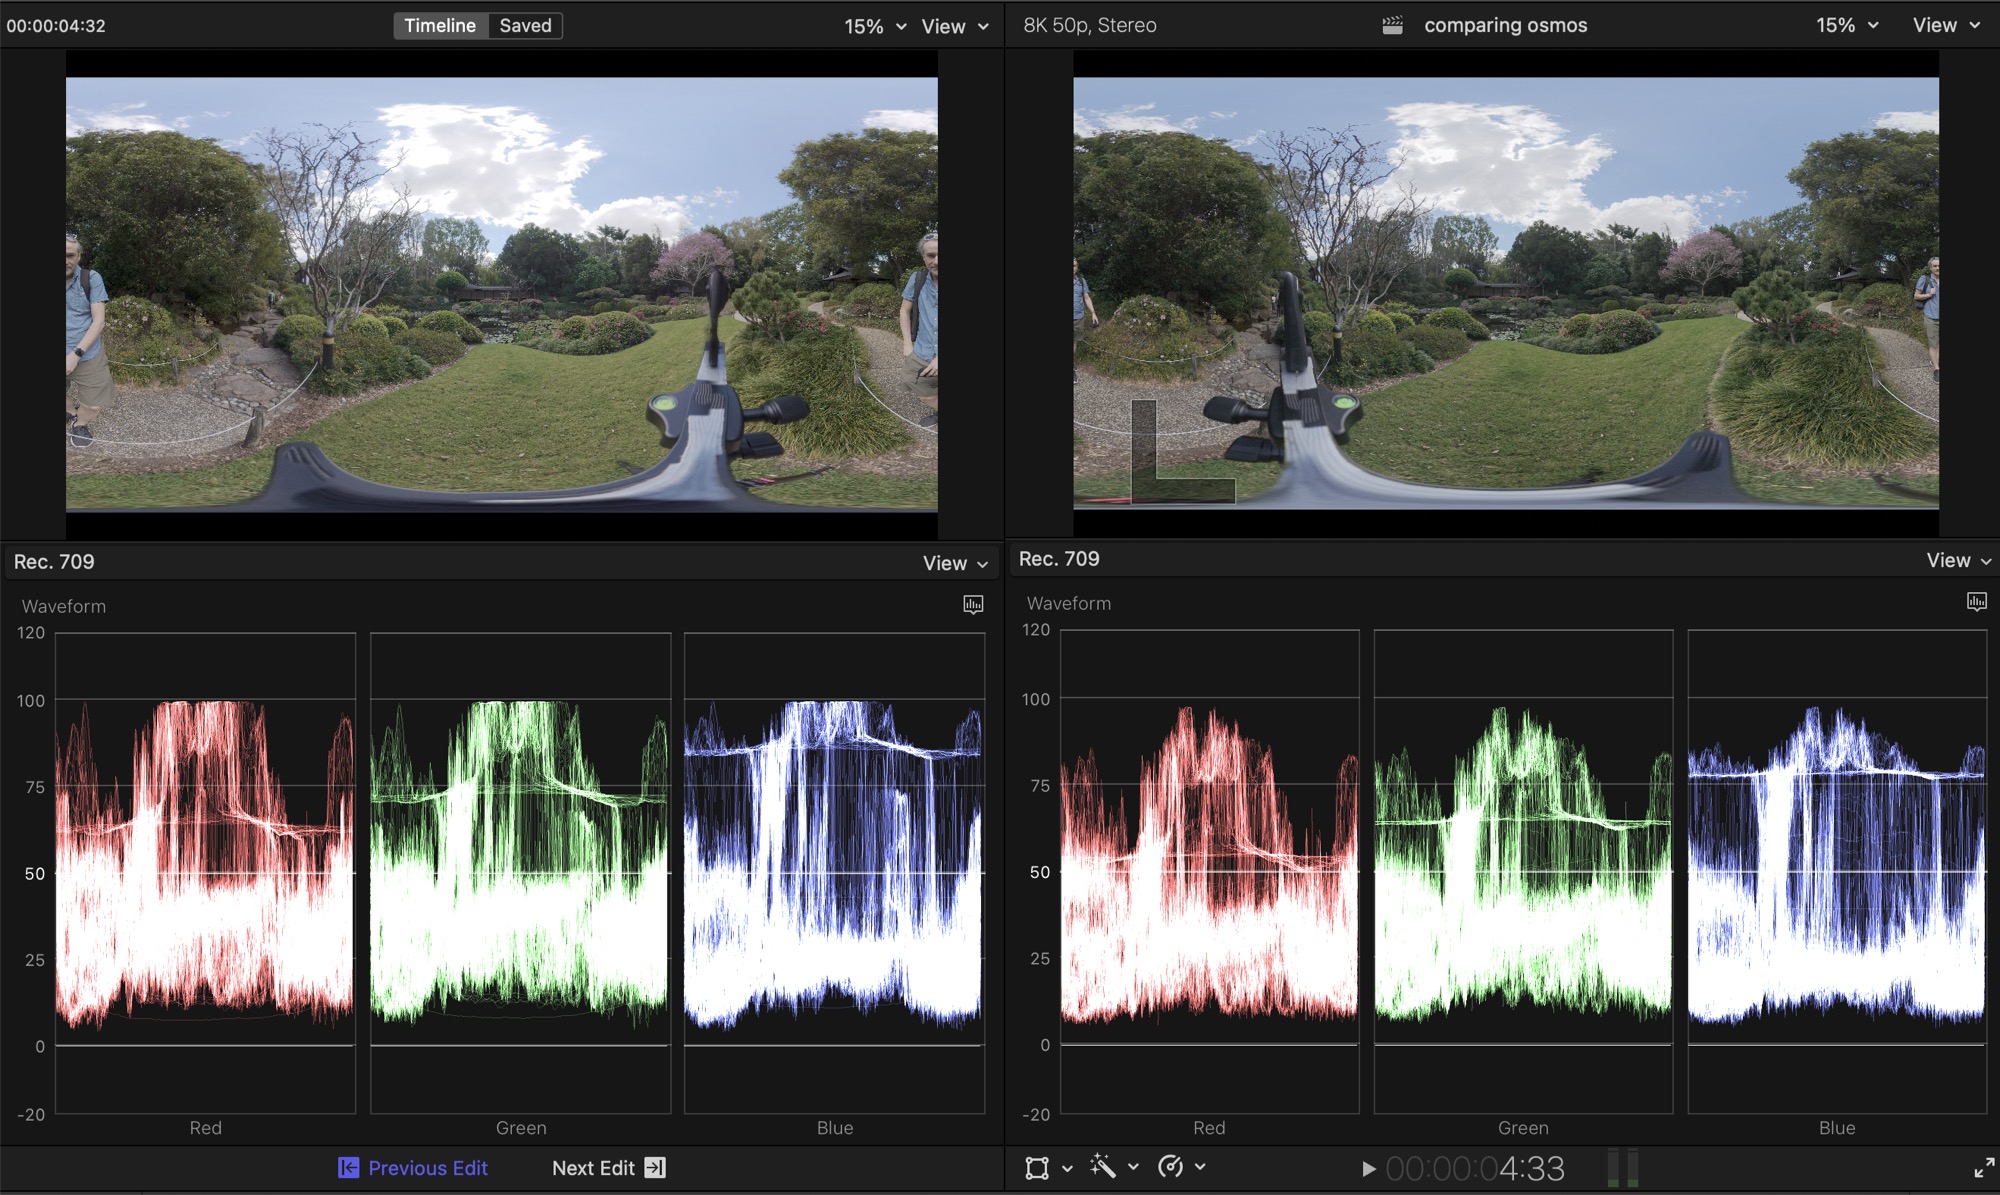
One factor worth watching for is that the manual controls over Texture (aka Sharpening) seem to be slightly differently calibrated to the previous camera. I may have been unlucky, but I found that shooting at Texture -1 produced noticeably blurrier shots on the Osmo 360 II than on the Osmo 360. Other Texture settings didn’t show the same issue, and I think I’d recommend setting Texture to 0 in any case.
16K 360° timelapses
Only 8K timelapses were possible last year, and though you can now shoot 16K timelapses, unless I’ve somehow missed something, the maximum export resolution from DJI Studio is 8K equirectangular. While that’s a shame, it’s probably not a big deal for most people; there are very few ways to deliver content that big. I know my Mac has been brought to its knees when working with 16K BRAW Immersive clips, and it’s almost impossible to deliver all those pixels to a screen — even on the Apple Vision Pro.
Happily, recording in 16K does still give sharper 8K results than last year’s camera did, and this should give you more reframing flexibility in DJI Studio too. Here are a few samples captured in 16K and edited in 8K, some with the Suction Cup Mount (unfortunately only shareable here in 4K):
One downside on the capture side is that in 16K HDR, the minimum delay between frames is 3 seconds, or 2 seconds in 8K mode. On the original Osmo 360, the minimum delay was just 1 second in 8K. This is unlikely to be an issue for most timelapses, but bear it in mind if you’re used to faster captures or you were planning a hyperlapse at reasonably high velocity.
Improved SuperNight mode
Last year’s SuperNight mode topped out at 30fps, but now the full 60fps is available in 8K, in the dark. Because there’s a lot of inter-frame trickery and smoothing going on here, I’d recommend using a tripod and letting subjects move around rather than moving around yourself. If light’s really low, results can feel a bit floaty, with artifacts around any movement.
To combat this, lower the frame rate to 24/25/30fps to let more light into the camera; 60fps is noticeably darker. Mind you, using 60fps does mean you can keep your frame rate consistent on a long day that extends into the evening, and enables some slow-mo possibilities.
Software niggles
On the plus side, the Multi-FOV button in the UI lets you see multiple shots from the same frame, and the quality you can export is impressive.
However, I’d still love to see simple batch processing of source clips added. Most of the time, I prefer to make equirectangular (panoramic) clips in DJI Studio and then work with those files in FCP. If you need tracking or extra slow motion processing, DJI Studio is way to go, but otherwise, I’d rather reframe on the fly, in the edit.
If you want to reframe your clips in DJI Studio itself, you’ll be fine. However, if you want to use a plug-in within your NLE to reframe those clips, it’s harder than it should be to convert the camera-native .OSV clips to regular equirectangular clips. This is because in DJI Studio you must first add clips to a timeline before converting them.
When you export, links to the original filenames are lost, and it’s too easy to mis-order your clips and lose your way. More annoying, you’ll have to create a separate timeline for each frame rate your source clips use, because each timeline can only be exported at a single frame rate. Pesky, but I can live with it.
To work with 360° footage in an NLE, you’ll need a plug-in, and DJI now provide DJI Reframe for Premiere and Resolve. Final Cut Pro has had built-in support for 360° editing for many years, but if you’ve been looking for proper keyframe graphs to control movement on Tilt, Pan, Roll and Field of View, the only option is one I made (and, yes, profit from): Keyframe Toolbox’s new 360 Reframe effect.
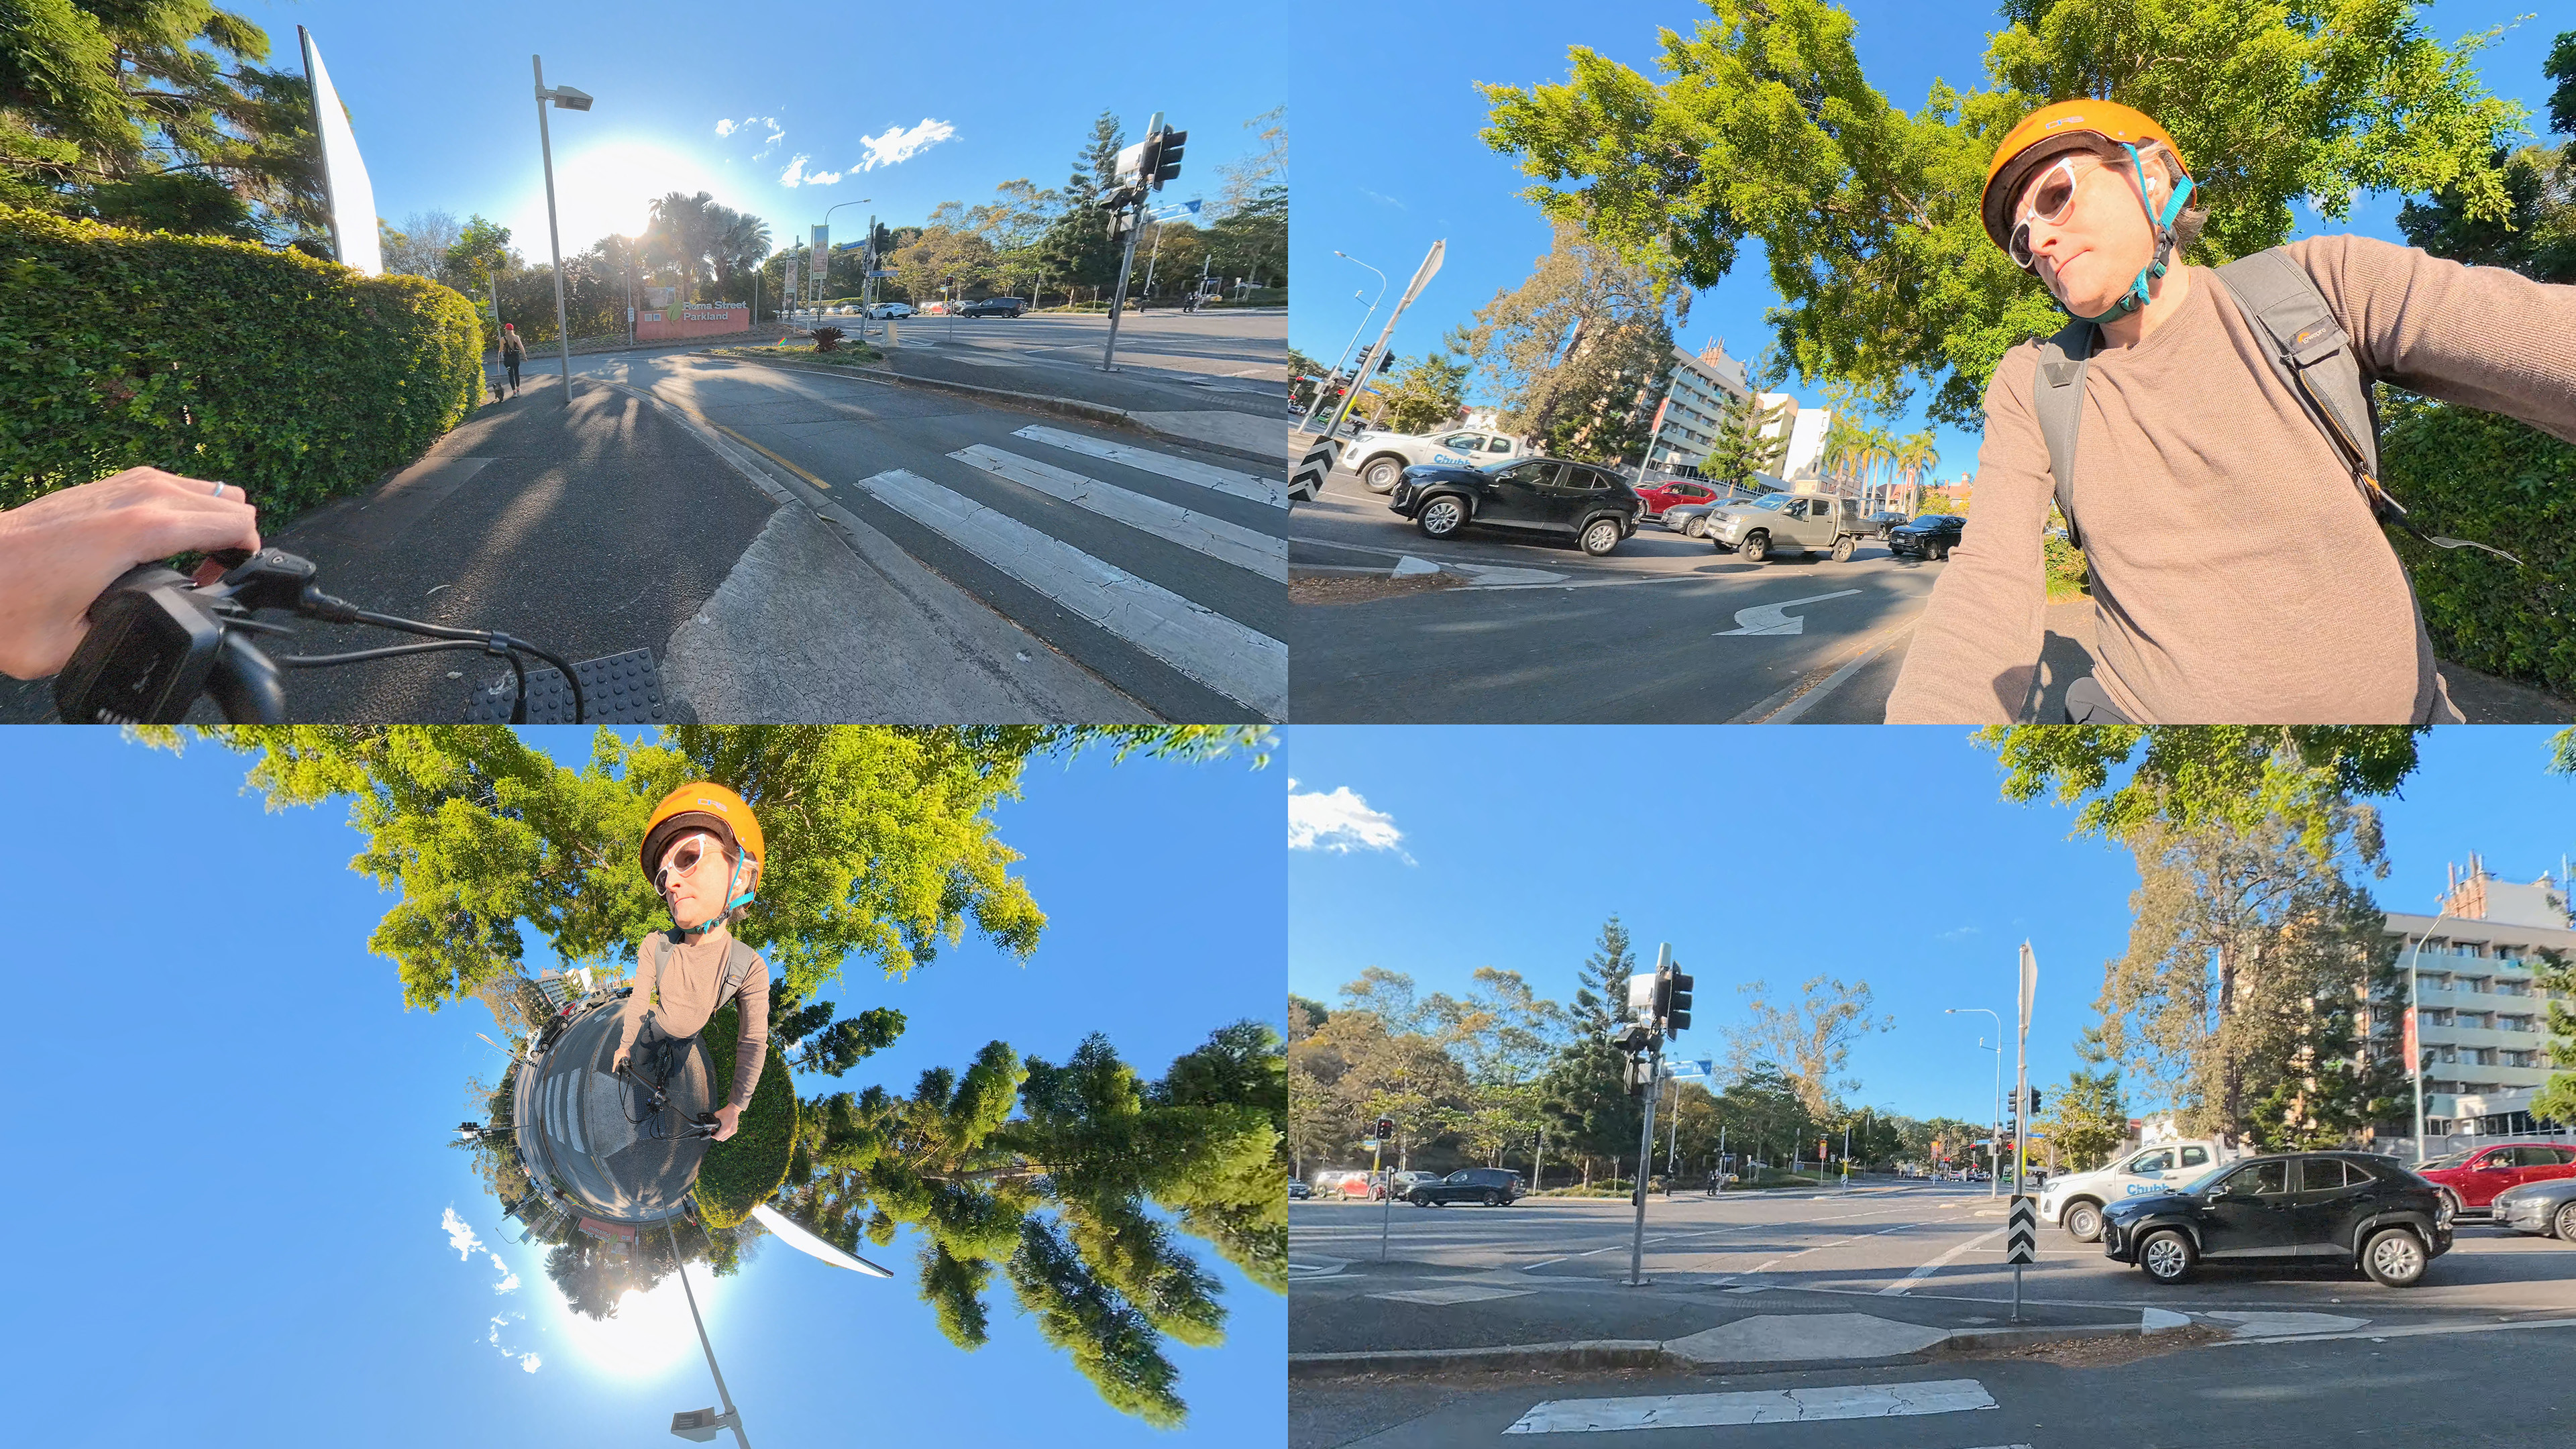
Here’s some sample Osmo 360 II footage edited with Keyframe Toolbox 360 Reframe in FCP, exploring a few ways to work with 360° clips shot from a bike.
Single lens mode changes
Like last year, if you record with just one lens, there’s no need to process your clips at all. A new addition here is a new stabilization mode, HorizonSteady, which is only available in 16:9 and not 4:3. In this mode, the horizon almost always stays level, only moving if you really confuse the camera by lifting it above you. If you sometimes need a stable action camera and sometimes need a 360° camera, single lens mode is for you.
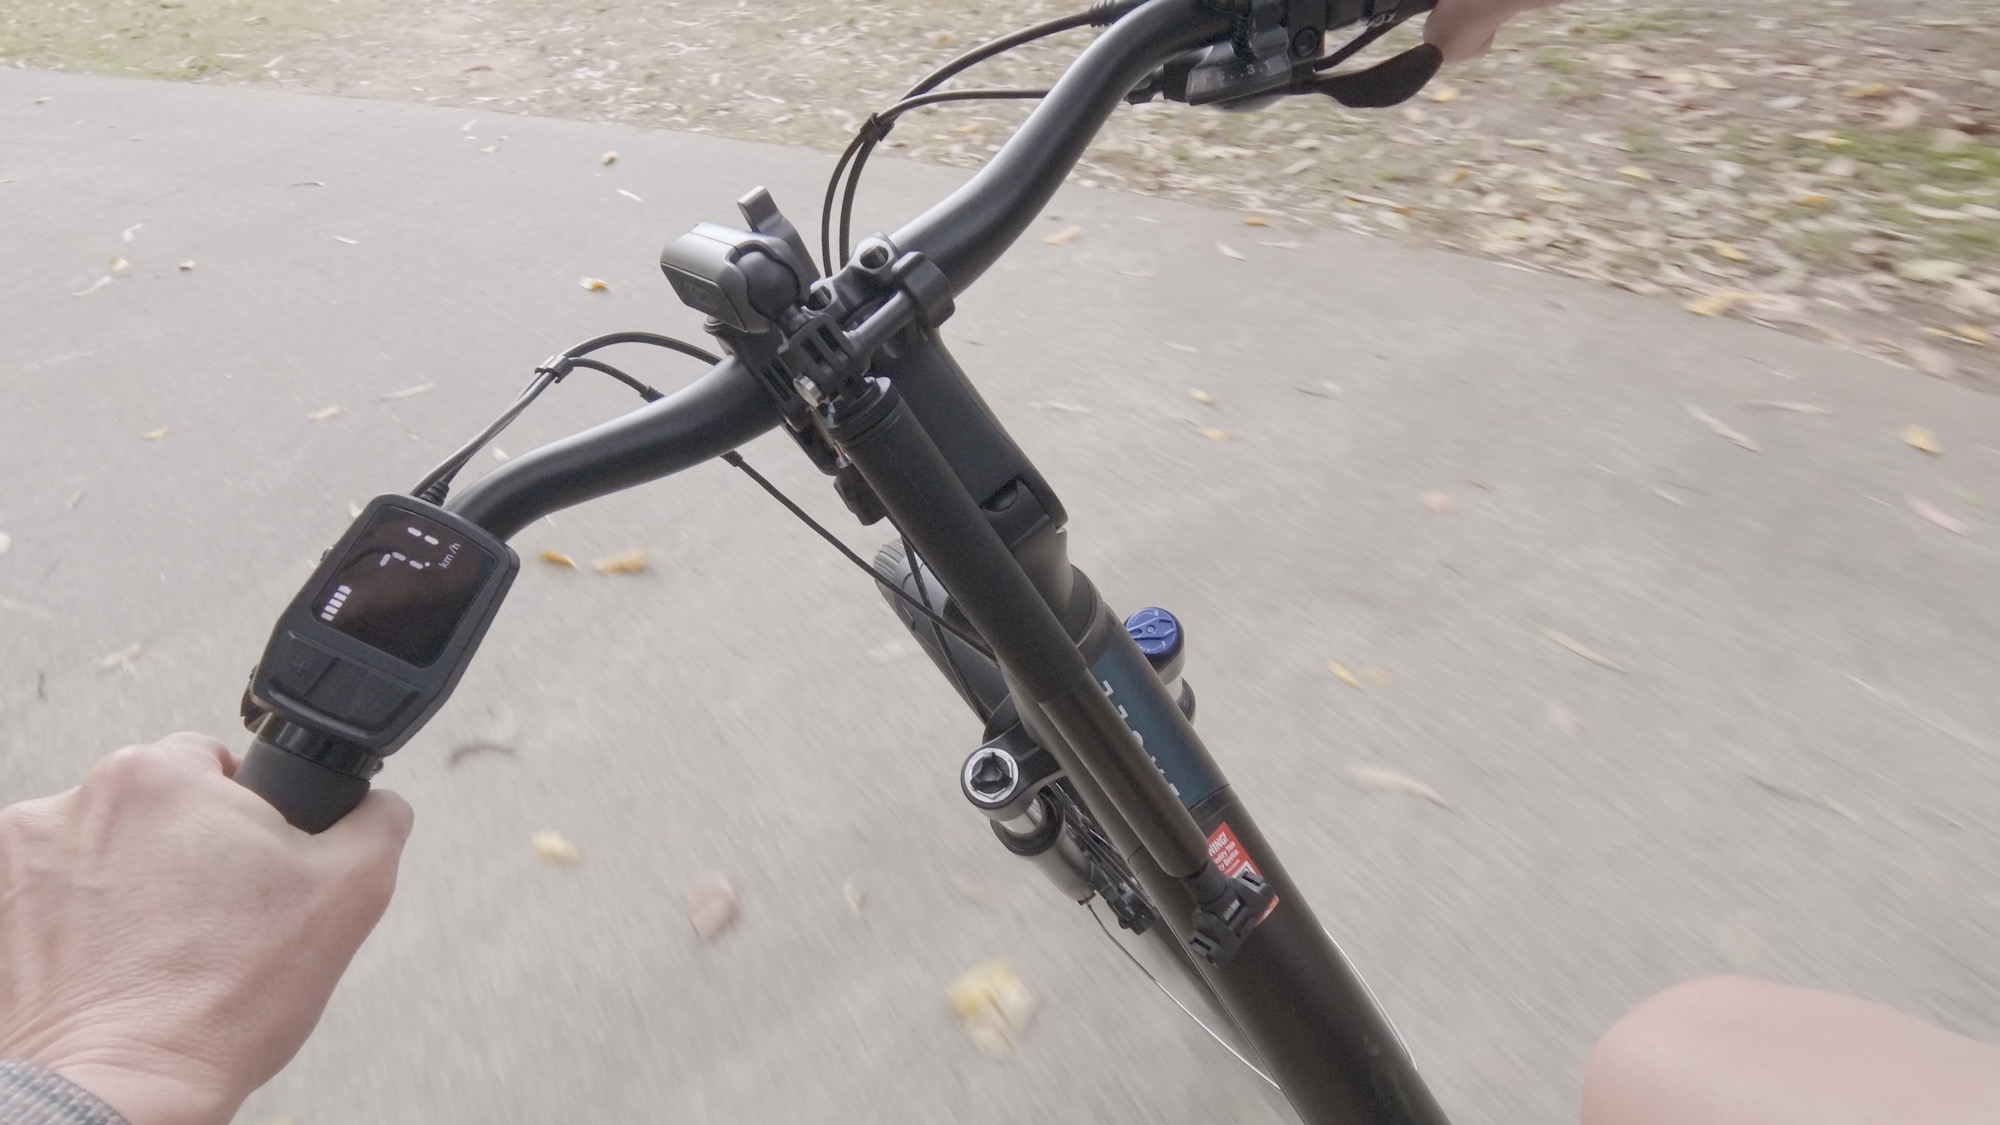
Sadly, the 5K modes on the Osmo 360 didn’t make it to the II, and the highest resolution on the Osmo 360 II are only 4K. This does feel like a downgrade; although the quality doesn’t seem to have changed, 5K in a 4K timeline allows for reframing without upscaling. Though I’ve asked, I’m not sure why 5K is no longer possible, and if I receive a response from DJI I’ll update this article.
Accessories remain a great idea
The main strength of 360° cameras remains the perspectives they allow you to capture. Whether that’s because they let you decide where to look later, or because their field of view simply isn’t bounded like regular cameras, it’s worth considering some accessories to help you place the camera in the right spot. This year, submerging the camera is recommended (up to 10m) so if it’s not winter for you like it is for me, take it on a swim.
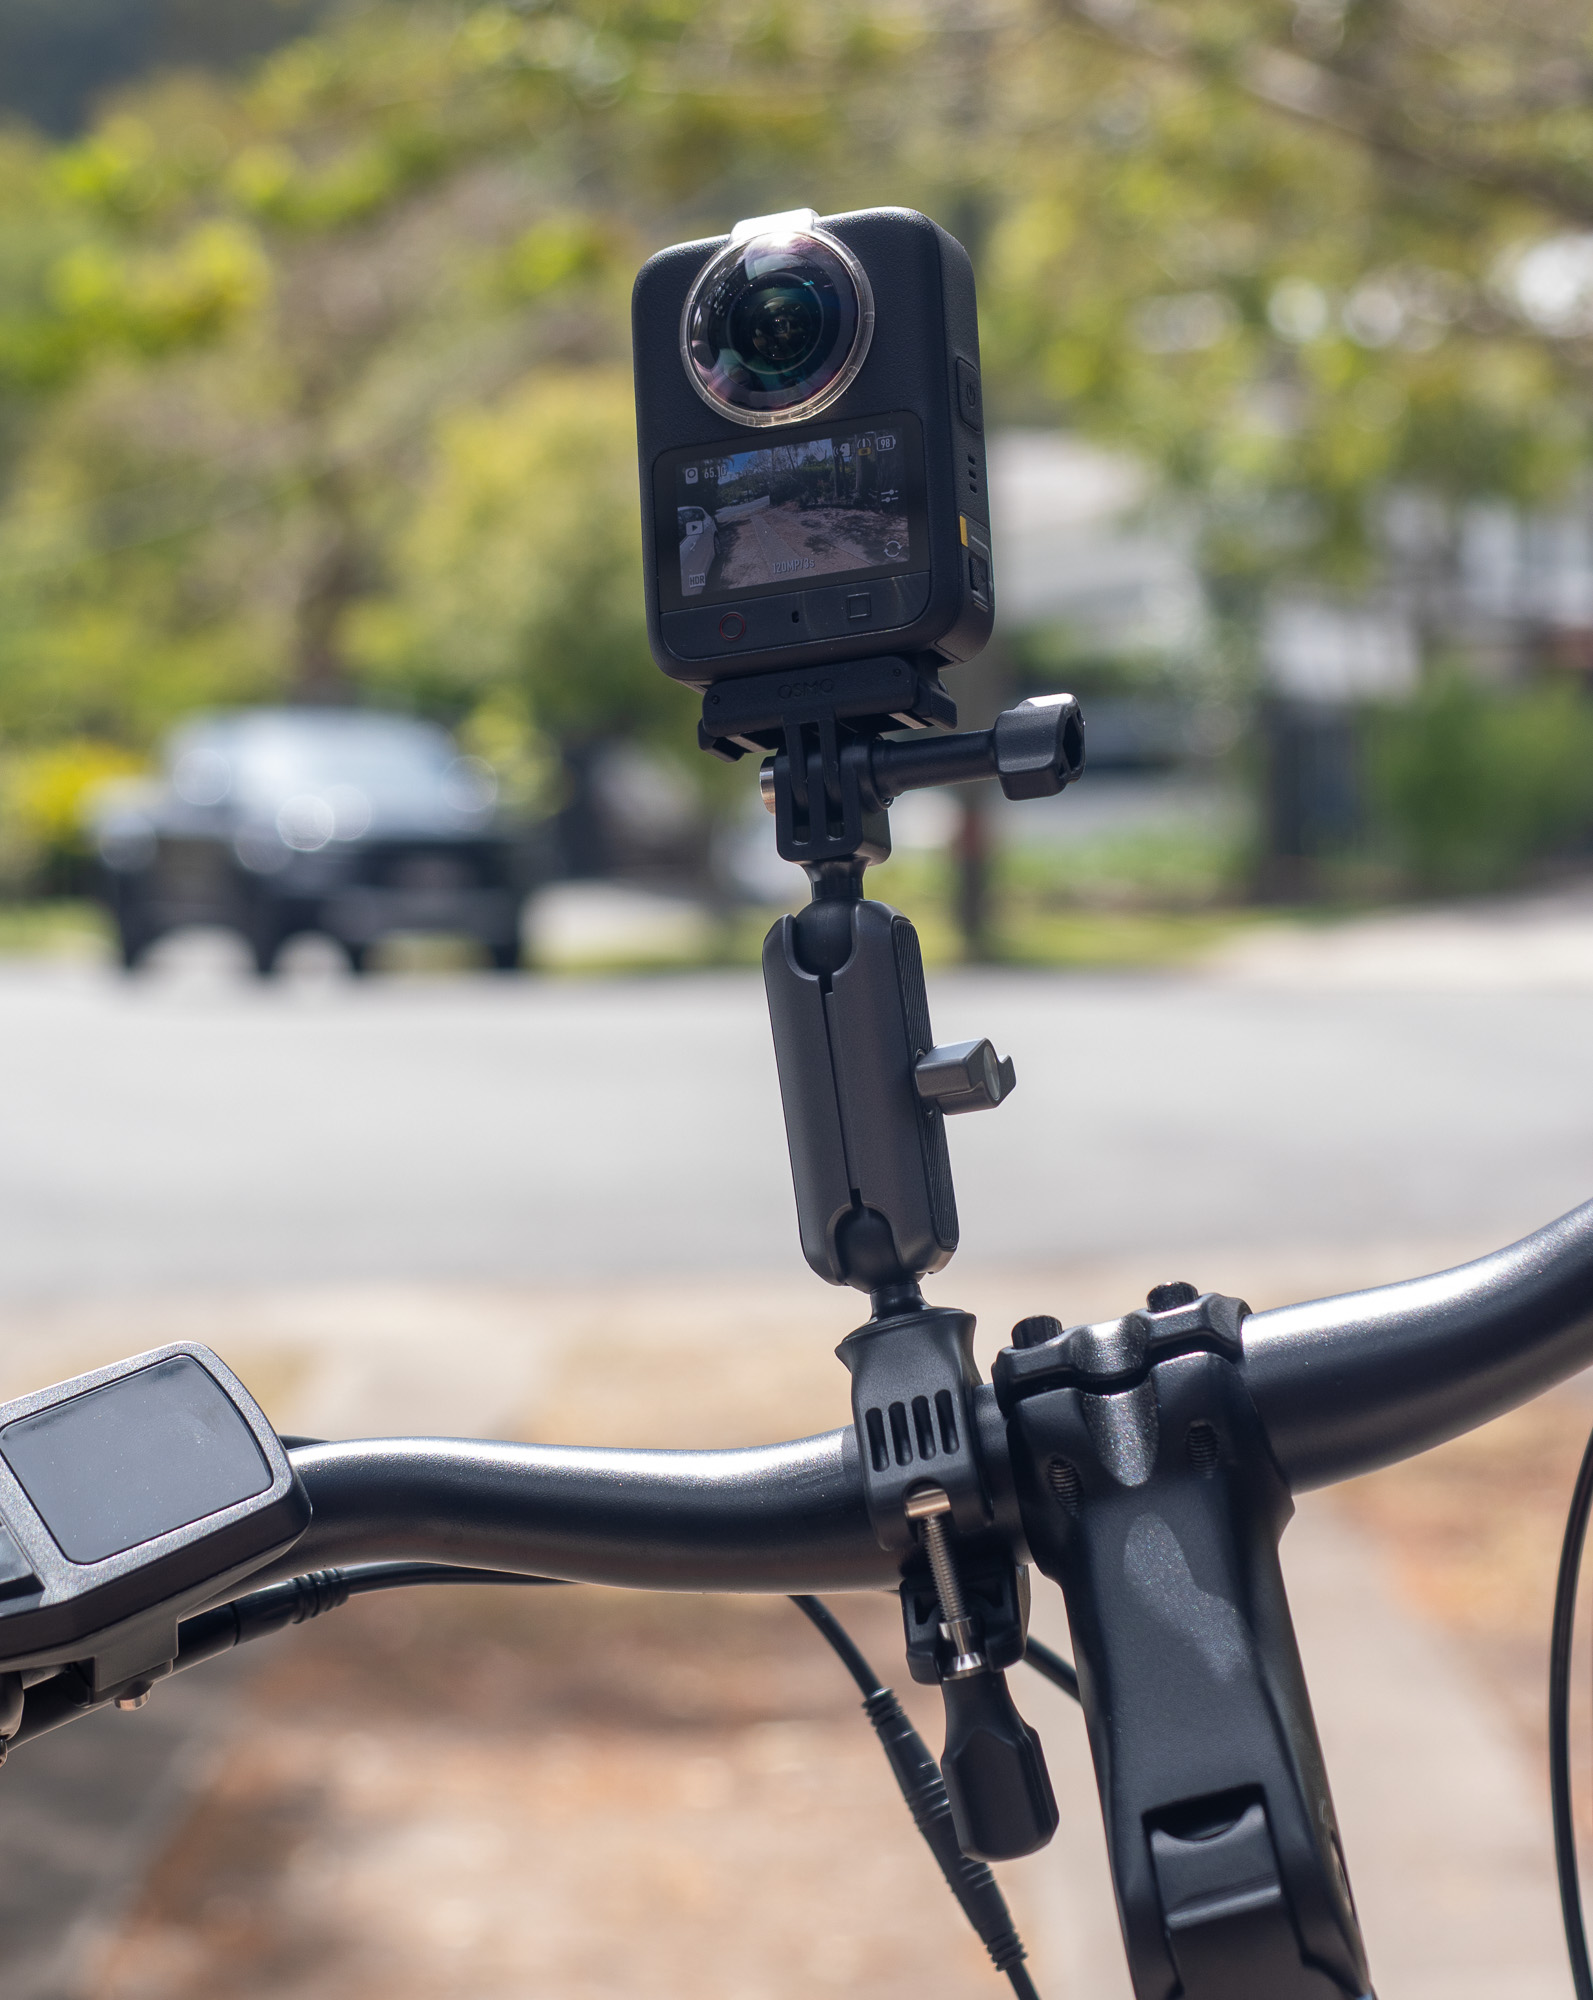
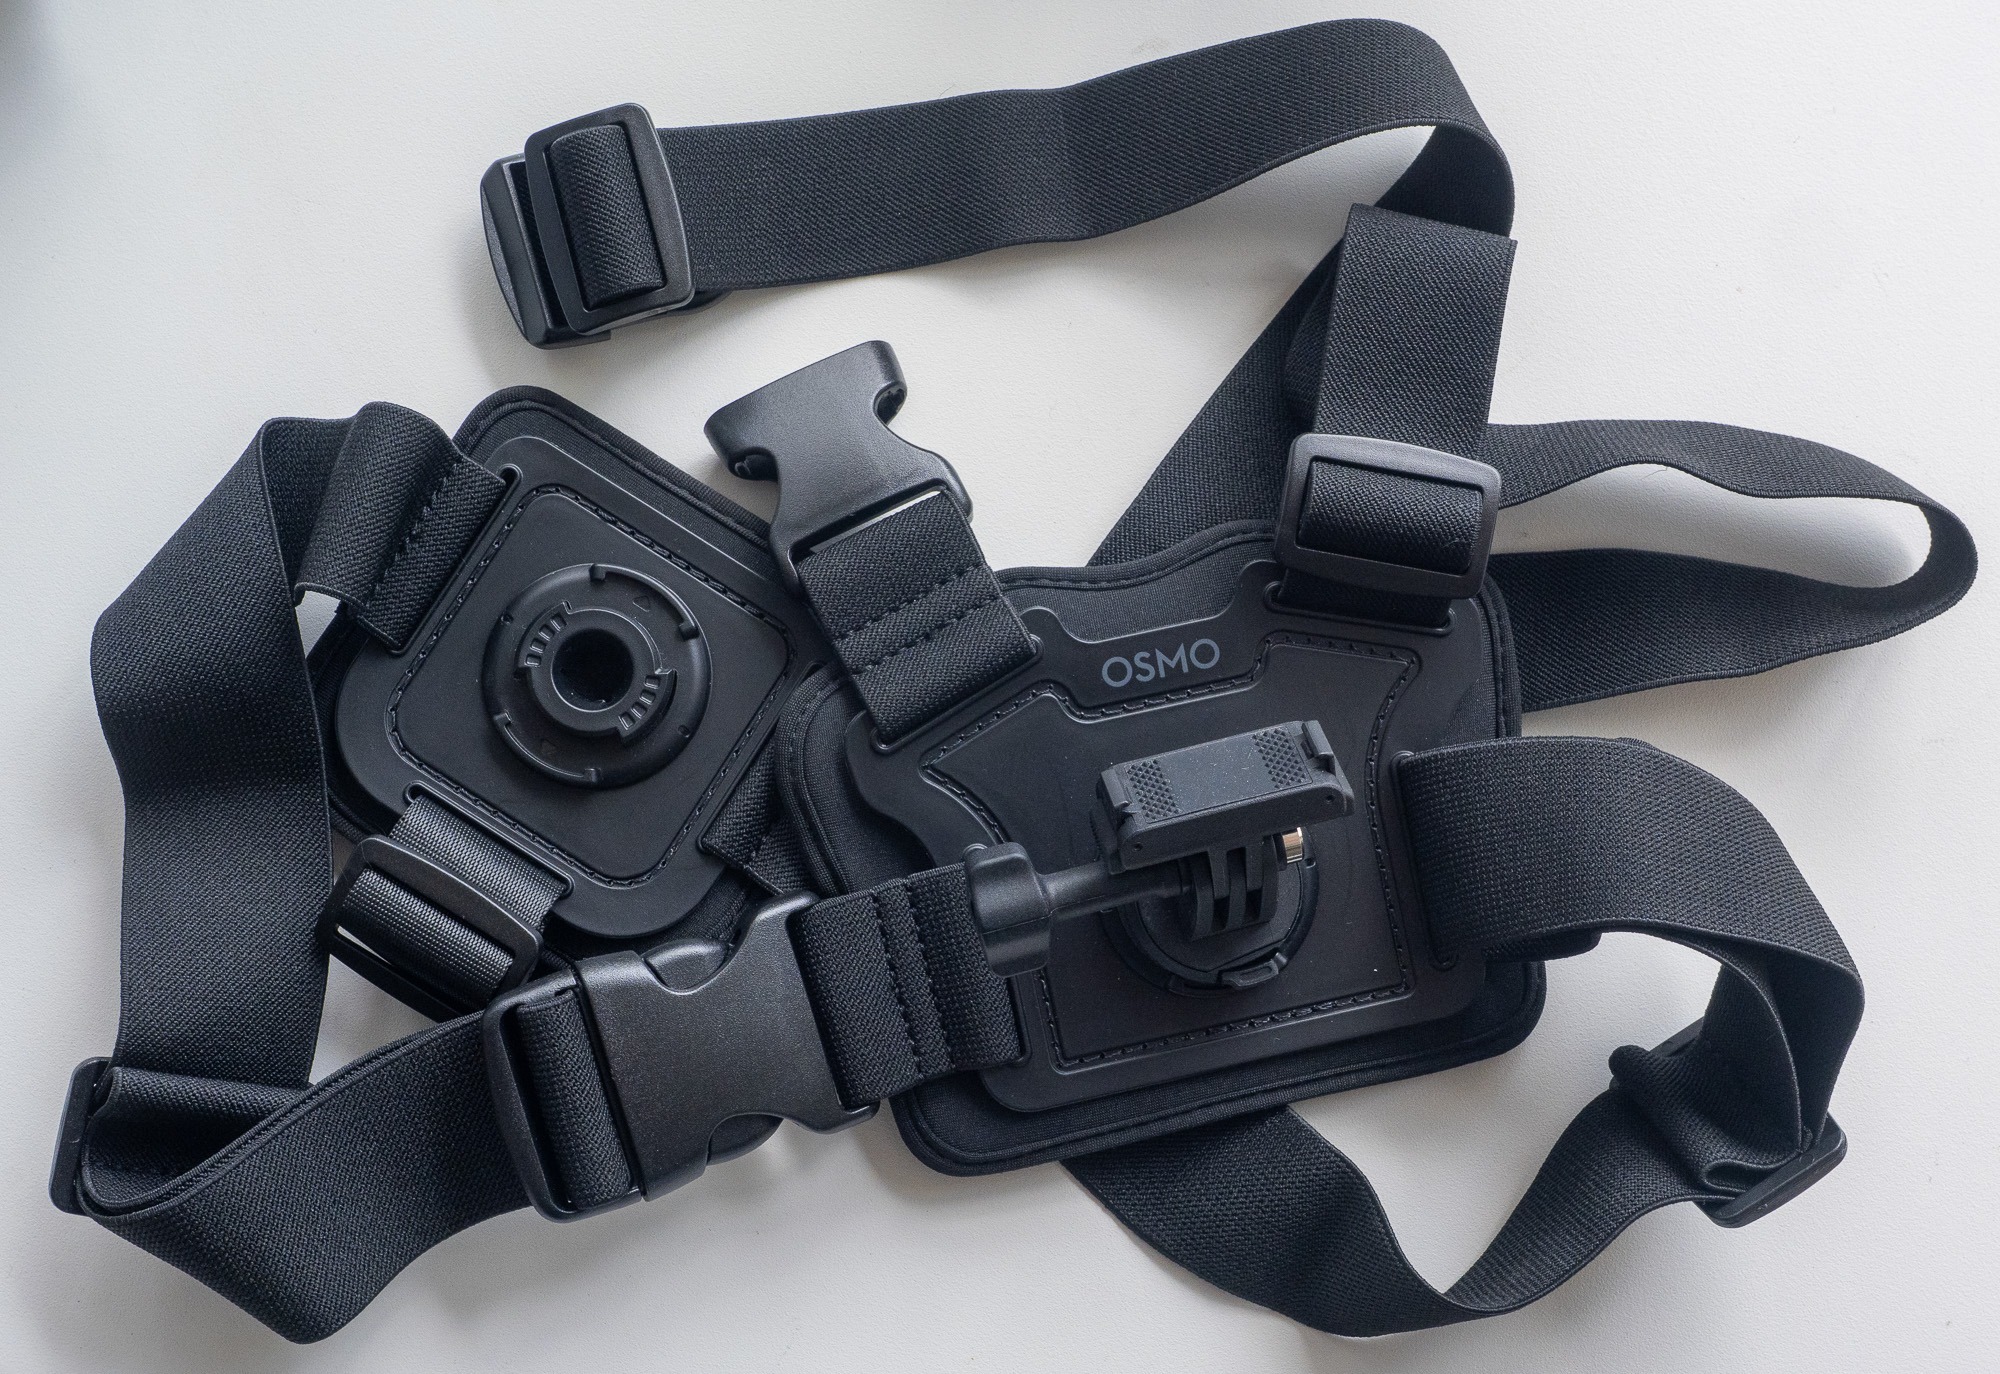
I was sent a selection of vehicle-friendly mounts, including the Biking Accessory Kit (a handlebar mount and a chest mount) as well as a Suction Cup Mount for car use. Mounting the camera to your chest can give interesting perspectives, but you’ll have fewer artifacts if you can keep some distance between the camera and nearby objects.
For handheld use, the Battery Extension Rod includes not just a battery, but duplicates (in easy reach) the same trigger, flip and power buttons found on the camera body itself. This makes taking photos without a timer much easier, and it’s still one of my favorite travel-friendly tools. If you want to capture a drone-like perspective in a place where you can’t fly a drone, a very long 2.5m selfie stick is a truly excellent idea — I’ve used this to walk through a busy crowd for unique results.
Do bear in mind that it’s not a great idea to mount an extended selfie stick onto a vehicle mount; physics + levers = movement. The less you extend, the more reliable the mount will be, but if you’re a worried about damage, you can use lens protectors or carry a replacement lens kit.
Conclusion
So, should you buy it? Well, if you have last year’s Osmo 360, consider this update if you want better 16K 360° images or improved dynamic range. If you don’t have last year’s camera, this has most of what made last year’s camera great and a few extras. Any modern 360° camera will let you capture unique perspectives, and that’s always fun to see.
While I haven’t tested the Insta360 X6 against it, ecosystem factors like a shared battery, mic system and mount are probably more significant than any image quality differences. Once you’re all set up with DJI microphones and DJI Action mounts (or those from the competition) you’re unlikely to want to switch to another system. On the other hand, if you’re in the US it’s going to be much harder to buy new gear from DJI, and the decision may be made for you.
The Osmo 360 II is a good value camera that improves on its predecessor in most ways that matter. Fingers crossed for some software improvements around batch processing and better news regarding US availability.
Pricing:
- Osmo 360 II Standard Combo: CA$799, UK£509, AU$899, €589
- Osmo 360 II Adventure Combo: CA$949, UK£639, AU$1079, €739