With all the hype around the new Color Mode introduced in the Adobe Premiere beta, the release of Adobe Premiere 26.2 got a bit lost in the new color news. This was a substantial update that introduced important new features. Any other time in the news cycle, it would have been front and center as an update to a video editing application.
Here are my top five features in Premiere 26.2.
5. Upgrading a Premiere Production to a new version of Premiere is now much faster.
This one is simple and definitely an under-the-hood improvement, with no real image to display. But for complex jobs and collaboration, updating the production can be a bit of a tedious job where you kind of hold your breath. It’s always a good idea to make a copy of the production before upgrading it, so you have your own version that you created yourself. But whenever we see these types of under-the-hood improvements, they may seem simple in the feature list, but are important to many editors who rely on these more niche workflows.
But since we can, let’s put up an image of a recent under-the-hood update you might not have even noticed.


4. Global audio mute
Another simple thing that is easy to overlook but very useful, and has been asked for a long time. To keep media playing while muting all audio and keeping the room quiet, use Global Audio Mute. Playback continues until you turn off Global Audio Mute.
You can add new audio mute controls to the toolbar under both the source and the program monitor, or use the new global audio mute button in the upper-right corner of the interface.


And if you’re wondering about a keyboard shortcut for this, that exists as well. It’s just unassigned.


3. Add range markers with keyboard shortcuts
You can now add a range marker with a keyboard shortcut, including adding a range marker between marked IN and OUT points. Before, you had to extend a marker by dragging with the mouse or by setting a duration in the marker pop-up window. I use that all the time, so this new option will be a big time saver.


Adding a range marker between the in and out points will make this new feature the most powerful. There’s also an option to add a range marker that’s pre-extended. With that, you just hit the keyboard shortcut or go under Markers > Add Range Marker. That adds a 5-second extended range marker in the default color of green.


I don’t see a mention of the new range marker options in the release notes, but I’m relatively sure this is new in this version. And I learned something new, as I have always called “range” markers extended markers for the longest time.
2. Relink media faster with smarter search
Yet another under-the-hood improvement, but this one has the potential to be huge. Relinking can always be a bit of a tricky thing because if anything is changed from your original folder names and file paths, relinking can become complex. Premiere has always had mechanisms to attempt relinks with a minimum of headache, but it is not 100% perfect. These updates won’t make it 100% perfect, but we will take these kinds of improvements as we get them.
There’s an updated help document that explains a lot about how re-linking in Premiere works. It’s a bit in the weeds, since learning how Premiere works under the hood can be. Still, it’s vitally important to understand how Premiere works and how to manage media. The more complex your media and the more complex your workflows, the more you need to know exactly what’s going on to help troubleshoot when a file goes offline.


1. Sequence Index
The Sequence Index is a new panel that will give you tons of detailed information about what is in your open and selected timeline. If you’ve ever used an editing application with the Sequence Index, you know how incredibly useful this can be.This new one, built into Premiere 26.2, looks to be one of the best out there.


The above image is only a fraction of what the Sequence Index is all about. You can use it to navigate the timeline by clicking on any clip or selection of clips in the Sequence Index. You can choose to actually select the clips in the timeline by turning on the “Select in Timeline” button at the top. Right-click on the heading at the top and you can choose which columns to display as well as arrange the columns to your liking. Quick tip: If a column becomes longer than what’s being displayed, just double-click the header to snap it back to the correct size.
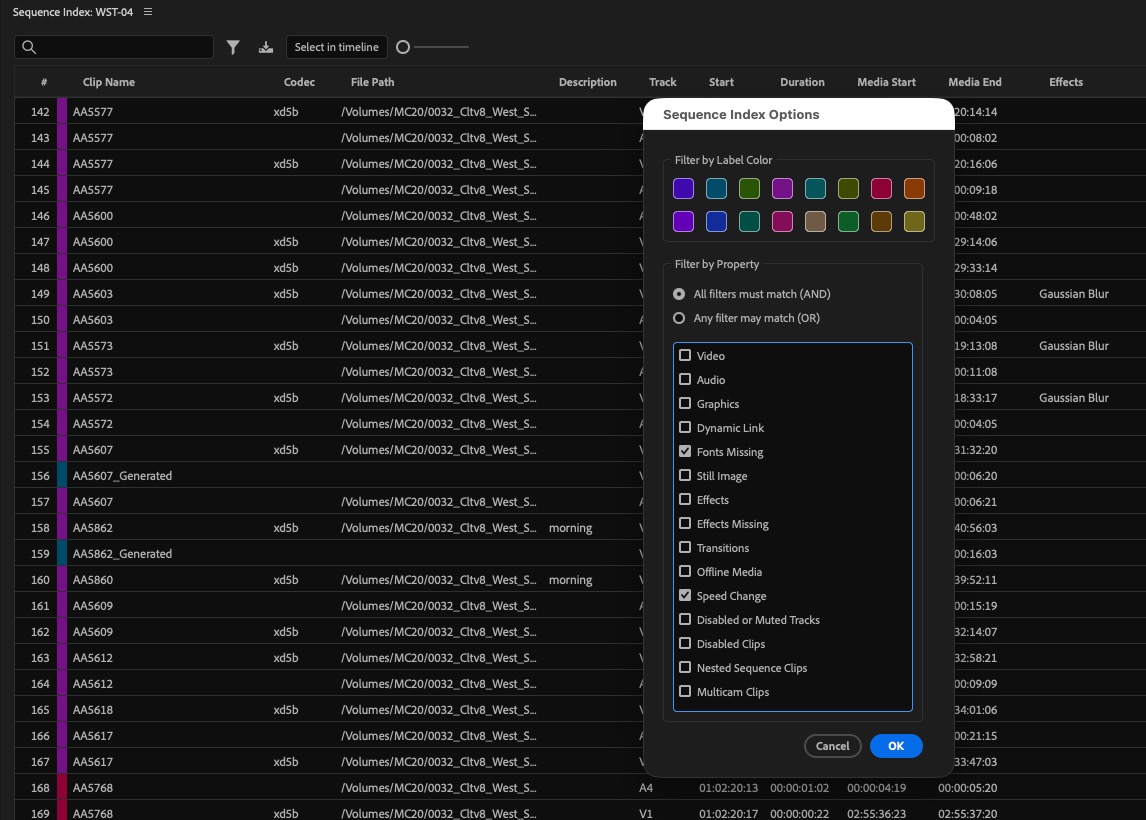

Filtering options are very powerful, as there are many different options to filter by. To dig into the Sequence Index, open it and right-click to see all the metadata columns you can view without having to return to a bin. This will save so much time, just seeing and working with what’s directly in the timeline. And if you need to, you can export a spreadsheet report from all this data. The Sequence Index surfaces right from the timeline. (🤫 but I like this new Sequence Index almost as much as the new Color Mode in the Adobe Premiere beta.)

Honorable mention: Frame.io drive
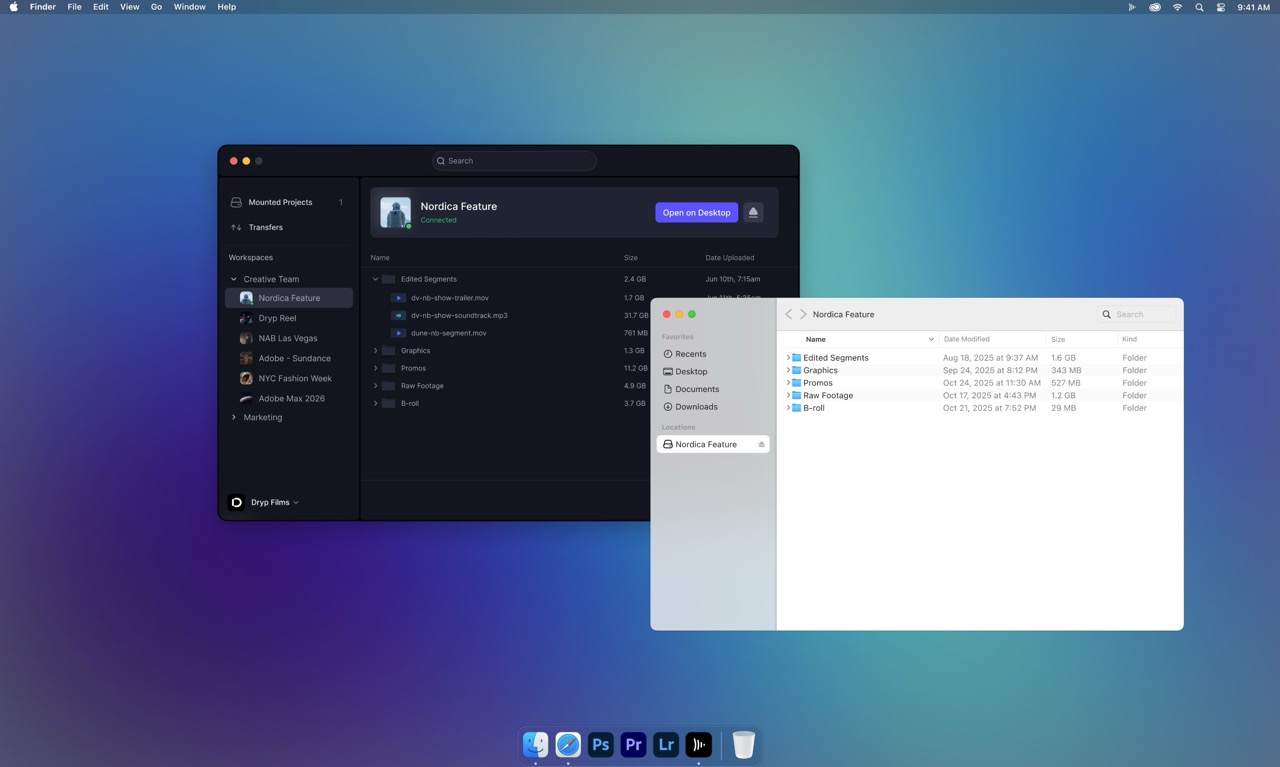
Frame.io also announced an upcoming feature that lets you mount Frame.io on your desktop and use it like a connected drive.