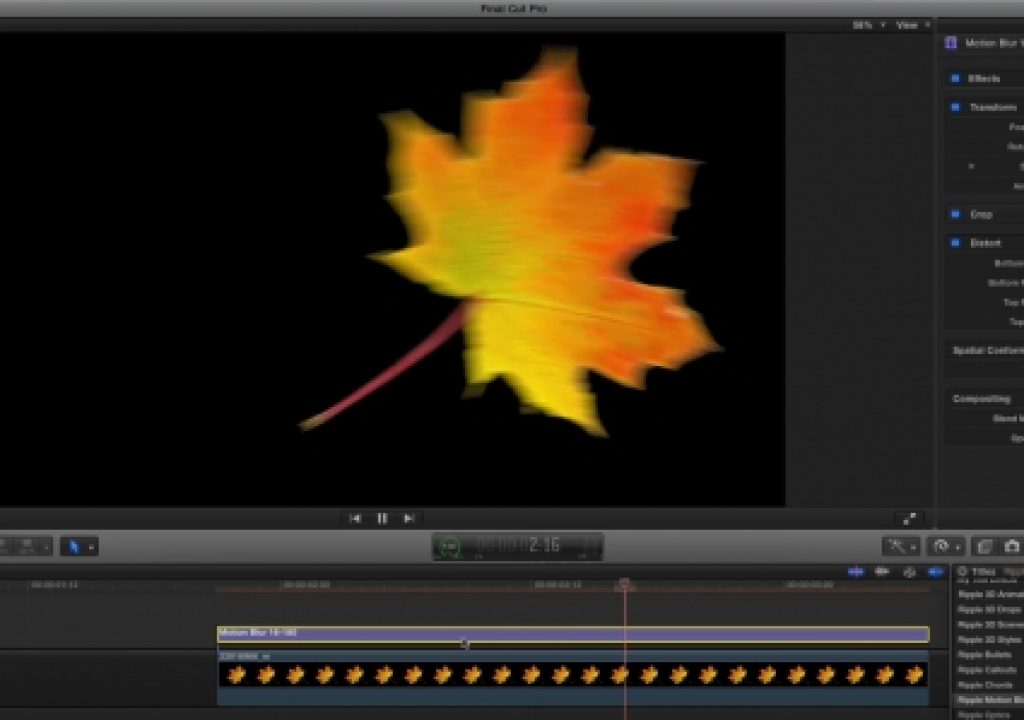
This week on MacBreak Studio, I show Steve Martin from Ripple Training how you can create realistic motion blur right inside of Final Cut Pro X – thanks to my favorite go-to application, Motion.
Moving objects shot with a video camera using a fairly low shutter speed (or high shutter angle) will looked blurred, particular on the edges. The faster the movement of the object (or the camera) and the lower the shutter speed, the greater the amount of motion blur.
However, when you create an animation in Final Cut Pro X, perhaps by using one of the text animation presets, or by animating an object on a transparent background to move with keyframes, you won’t see any motion blur at all. And don’t bother digging around in the menus or preferences for a motion blur setting – you won’t find one.
Motion, on the other hand, being a dedicated motion graphics application, does have a motion blur feature that can be enabled and adjusted. Now, here’s the cool part: you can get that motion blur in Motion into Final Cut Pro simply by publishing a motion project that has motion blur enabled!
To do so, I’d recommend using a a Motion Title project, since Title effects can easily be placed over the top of video clips in Final Cut Pro X as connected clips, and trimmed to the exact duration you want. Motion Effects, on the other hand, are applied directly to clips, making them a little more cumbersome to manipulate.
So fire up Motion, select a Title project (resolution and frame rate aren’t important but I’d use a 1080p30 setting), and then disable or delete the text layer. Next, enable motion blur under the Render pop-up menu. If you want to change the default motion blur settings, select the Project in the Layers list, go to the Properties Inspector, and set the Samples and Shutter Angle as you like. And no, unfortunately you can’t publish these parameters so if you want different options in FCP X, you’ll need to publish a separate template for each setting.
Finally (and this is very important), add a Loop End marker to the end of the project. Doing so will ensure that the motion blur sampling does not change when you trim the duration of the title in FCP X.
That’s it! Publish the template, go to Final Cut, to the Titles browser, and connect it to the clip(s) you want affected by motion blur. Note this only works on animation where there is transparency (an alpha channel) as the blur is calculated based on the edges. It won’t add motion blur to your footage. All the details in the video above.
If you find this information useful, check our our Warp Speed Effects tutorial.


