


When looking at clips on an Adobe Premiere timeline, the default option is to show a video thumbnail on each video clip.
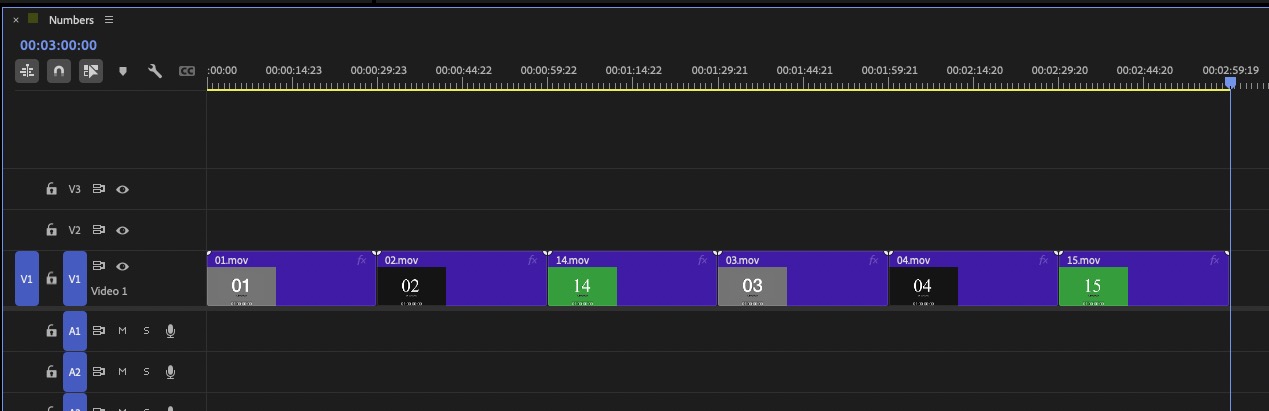

This is the “video head” thumbnail, meaning the first frame of the clip in the timeline is what is being shown. This is easily customized by heading to the Timeline hamburger menu to change exactly how these video thumbnails are shown.
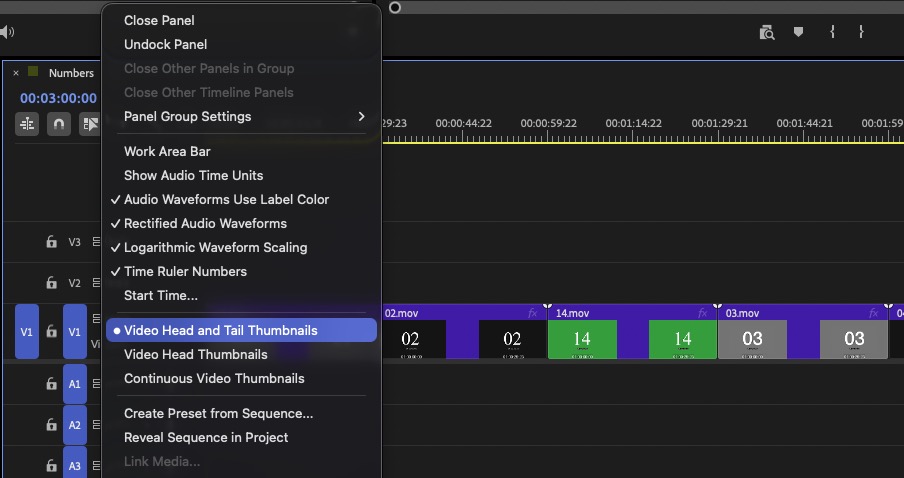

Video head and tail thumbnails are just that. It will show a thumbnail of the first frame of the clip and a thumbnail for the last frame of the clip. A popular option I often see asked about on forums is Continuous Video Thumbnails, which will show you thumbnails across the entire clip. Of course, how much you see depends on the zoom level of your timeline.
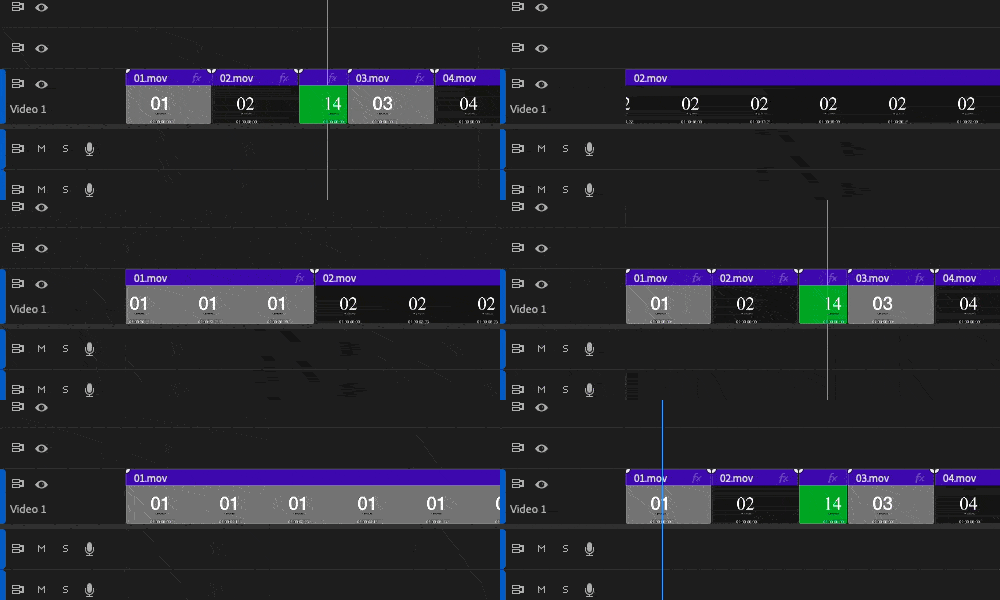

My favorite thumbnail setting for the Adobe Premiere Timeline is no thumbnails at all. To turn them off completely, you have to go to a different menu; that is under the wrench menu in the timeline.
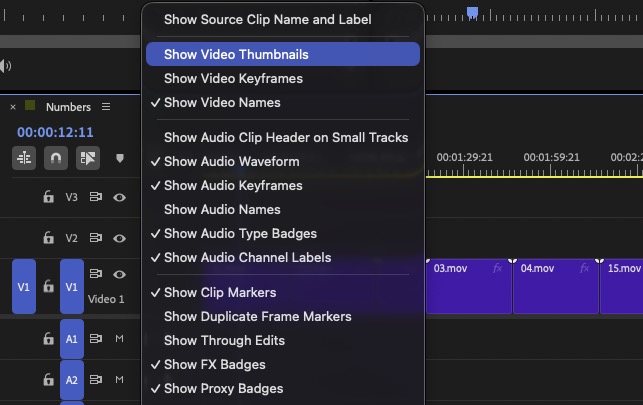

When you head under the wrench menu and uncheck Show Video Thumbnails, those thumbnails go away completely. This can actually speed up your timeline’s performance, as Premiere has to draw those thumbnails when you zoom the timeline or move the playhead or timeline position. If you have fast drives, it may not be that noticeable, especially with a single thumbnail. But with heavy codecs on slower hardware, using continuous thumbnails can be a noticeable performance hit when working in your timeline.
As a bonus, these settings can also be assigned to keyboard shortcuts, which are unassigned by default. I do use them on occasion, and this is how I mapped timeline thumbnails in my customized keyboard layout.
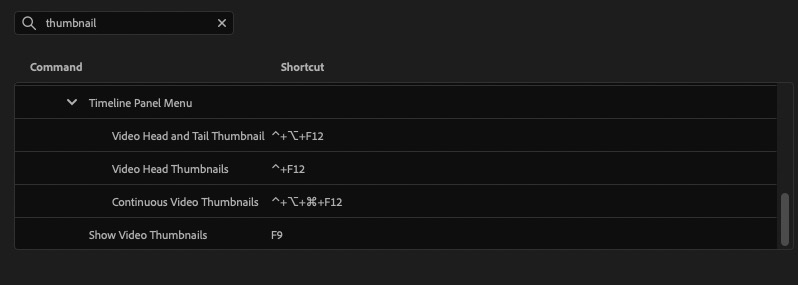

Yet another way that Adobe Premiere can be customized for the specific editor.
This series is courtesy of Adobe.