


Welcome to Tool Tip Tuesday for Adobe Premiere Pro on ProVideo Coalition.
Every week, we will share a new tooltip to save time when working in Adobe Premiere Pro.
When Adobe introduced the new object masking tools in Adobe Premiere 26, it threw a lot of users for a loop as it fundamentally changed masking in Premiere. Instead of every effect having a built-in mask waiting to be applied, with the new object masking, you have to assign the mask to the parameter you want it to apply to. Jeff has already covered some of the new masking tools in a previous Tool Tip Tuesday, but I want to talk a little bit further about how to assign new masks.
Any new mask will first appear in the Unassigned Masks section at the top of the Effect Controls panel.
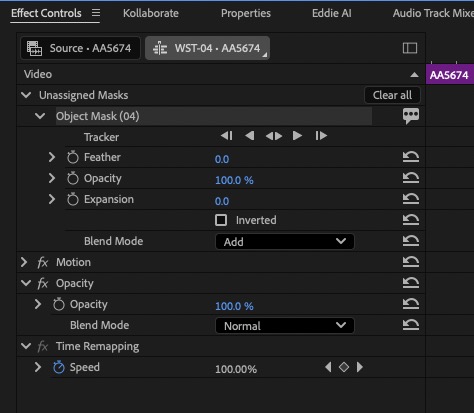

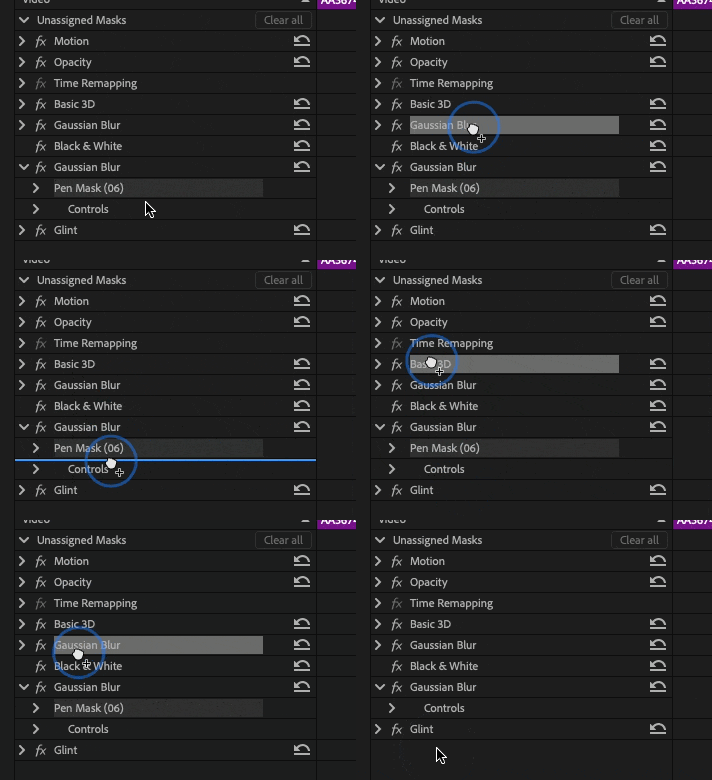
From there, it’s easy to drag any mask from the Unassigned Masks section onto an effect that can accept a mask, such as opacity, or any effect that might be added to a clip.
You can right-click on an unassigned mask, and there is an option to assign that mask to opacity.
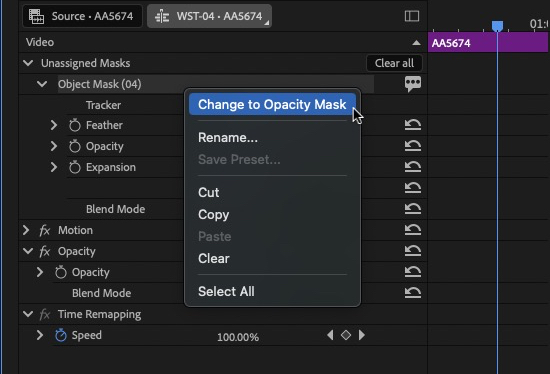

Another option is to select the parameter in the effects control panel before creating any mask. That will assign any new mask to the selected effect or parameter, assuming it can accept a mask.
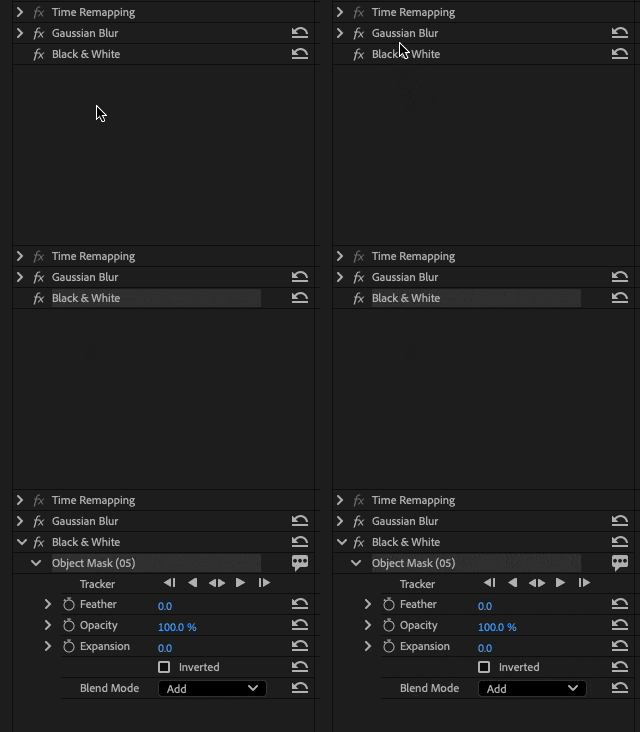

If you have an unassigned mask and you apply an effect to a clip, either by dragging it from the Effects panel or using a tool like Excalibur, that unassigned mask will be applied to the newly added effect.
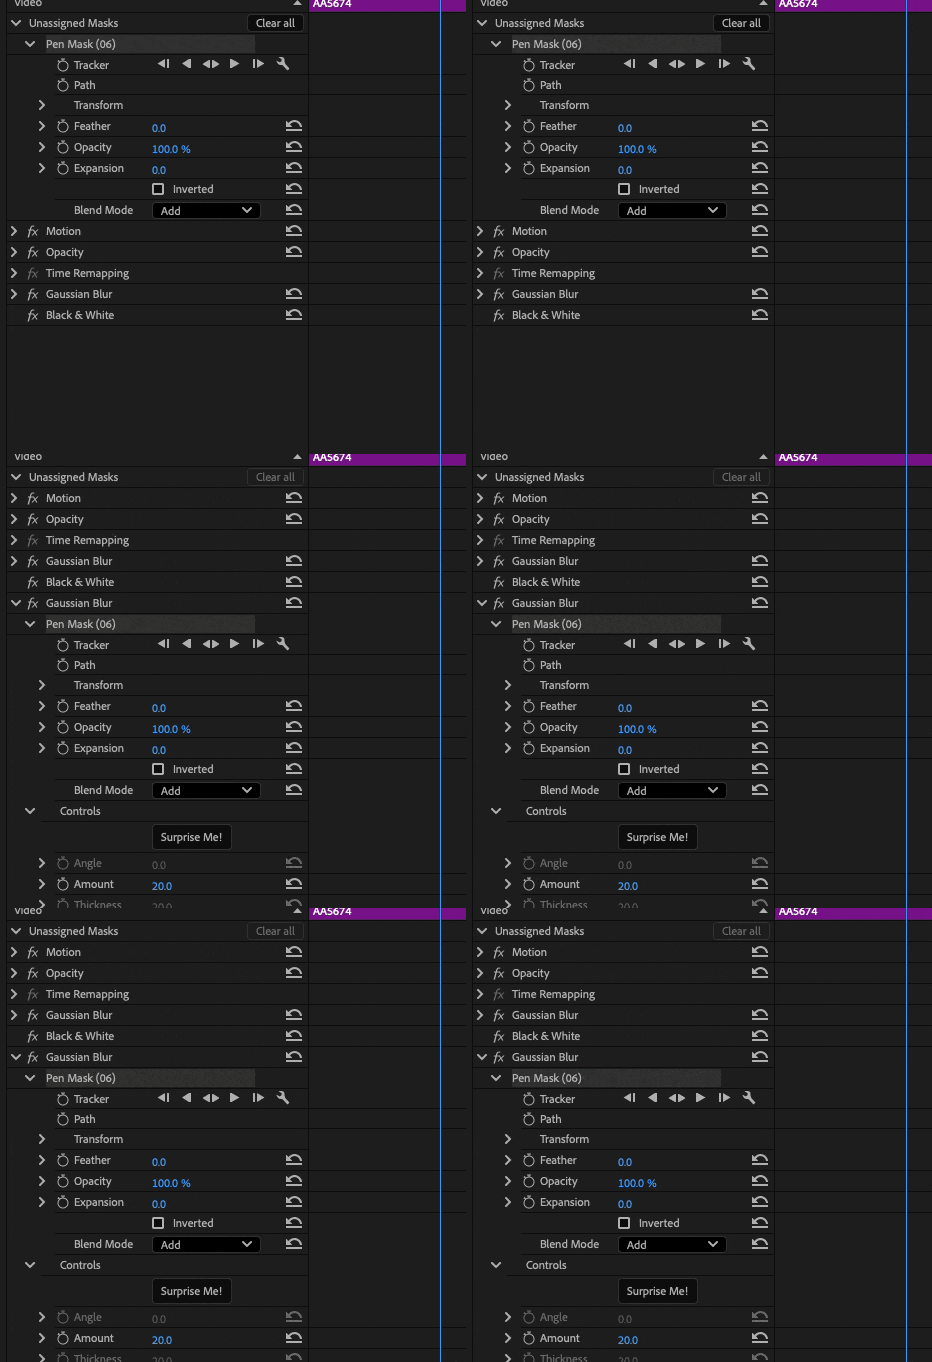

And you can always click and drag masks to move them amongst effects or back into the Unassigned Masks area.

If the new masking tools brought your work in Premiere to a standstill, don’t freak out. Just learn how the new masking controls work because they are much faster and much more powerful than before.
This series is courtesy of Adobe.