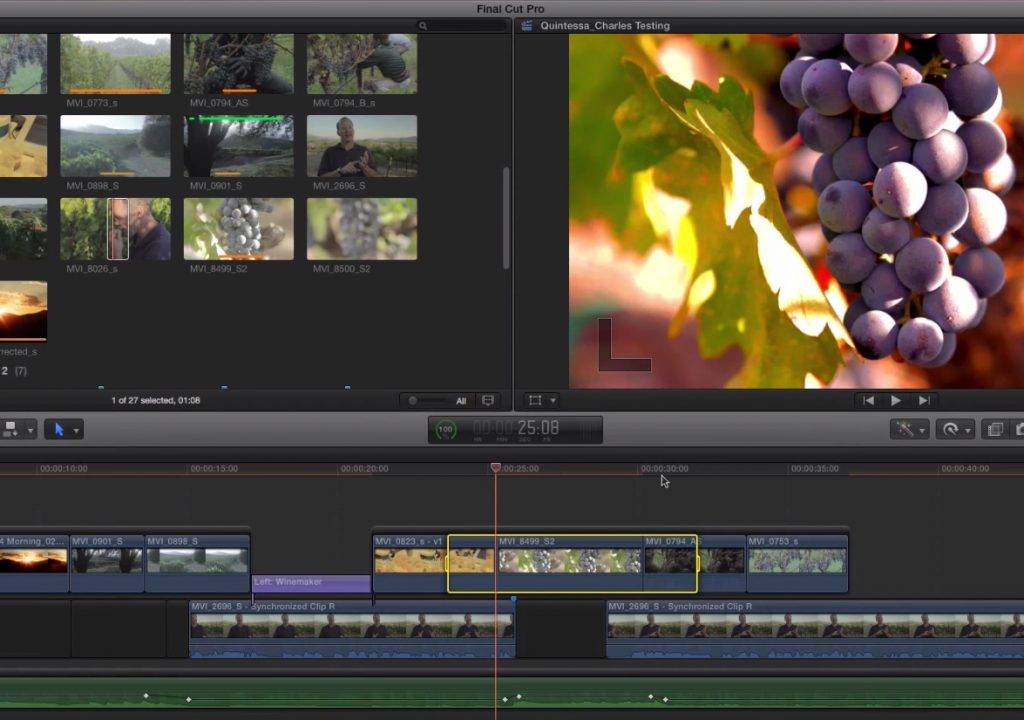
This week on MacBreak Studio, I show Ripple Training’s Steve Martin how you can use clip skimming to quickly edit connected storylines. First, though, it’s important to understand the difference between skimming and clip skimming.
Skimming, which you can toggle on or off with the S key, allows you to see the contents of clips in the Browser or of your project timeline by moving the pointer across either one without clicking on anything. In the Browser, you can very quickly get a sense of the content of your source footage. Furthermore, and again without clicking on anything, all the editing commands will work to move full clips (or ranges if they were set earlier) to the timeline: E for append, W for insert, Q for connect, as wells as commands for back-timed and overwrite edits. In the Timeline, skimming lets you quickly view your project contents.
Clip skimming, by contrast, works quite differently in the timeline, because it shows you the contents of specific clips in the Viewer, even if they are underneath other clips in your project. For example, you can see the contents of a clip under a connected clip. Or, if you are looking at a multi-layered Photoshop document opened in its own timeline, you can see the contents of each layer individually. Or, if you are in the Angle Editor of a multicam project, you can see the contents of individual angles. So it is a very useful feature.
But its functionality goes even further: when it is enabled, any editing command executed with the keyboard will be made based on the location of the clip skimmer. What this means is that you can very quickly and easily edit clips into connected storylines without needing to select them. Hovering the pointer anywhere over a connected storyline and pressing E will append a selected clip or clip range in the Browser to the end of the storyline, rather than to the end of the project. And with snapping enabled it’s easy to snap the clip skimmer to edit points so that you can perform insert edits directly into the secondary storyline, again without needing to select the storyline.
Check out the video above to see it in action.


