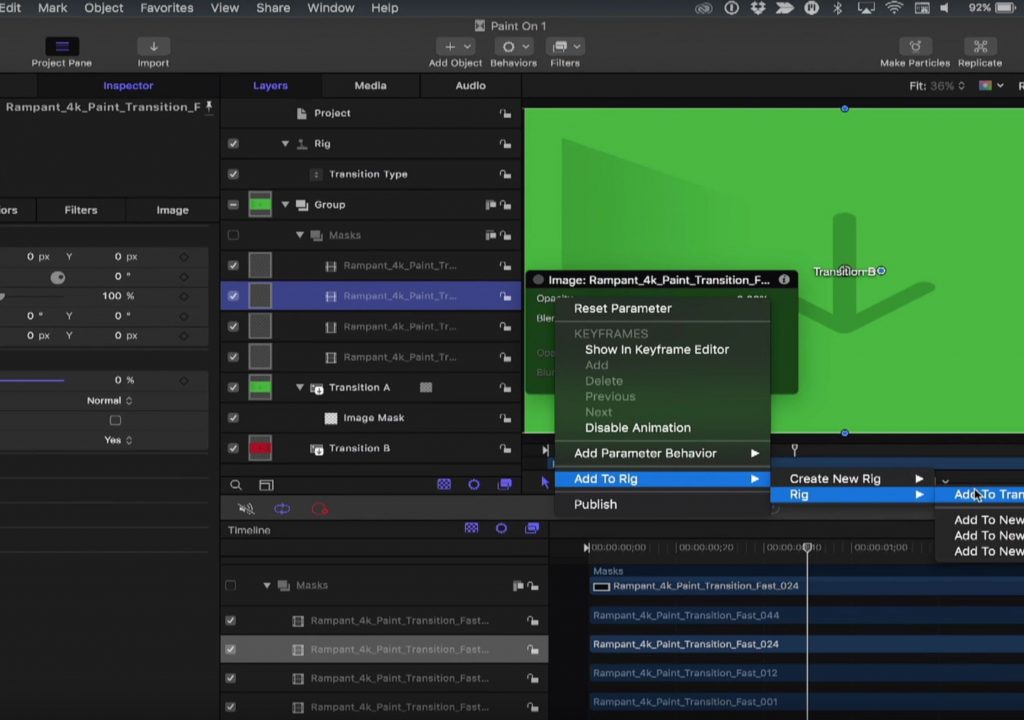
This week on MacBreak Studio, I show Steve Martin from Ripple Training how to rig a transition in Motion so that you can choose from several options when using the transition in Final Cut Pro X.
This episode builds on a Motion Under 5 episode we did a few weeks ago, where I take a free clip available from Rampant Design and use it to create a transition in Motion and the publish it for use in Final Cut Pro X.
Here, I take that design a step further by adding multiple video clips and “rigging” them to a “widget” so that you can choose which clip acts as the source for the image mask which creates the transition.
This process of “rigging” and “publishing” is fundamental to the opening up the real power of Motion for creating titles, transitions, effects, and generators for Final Cut Pro X. Instead of publishing parameters (like opacity, position, scale, color, blur amount, etc.) directly to Final Cut, you “rig” the parameters to a control called a “widget” that can then change multiple parameters at the same time.
There are three types of “widgets”: checkboxes, pop-up lists, and sliders. The checkbox is the simplest, as it only has two “states”: checked, or unchecked. A pop-up list can have as many discrete “states” as you like, and a slider makes a continous change from one value to another.
I use a pop-up list in this example, and each “state” is the transition type you’d like to select. To make the pop-up work, you “rig” the parameters that you want to change to the widget: in this simple case, I “rig”, or connect, the opacity parameter of each video clip to this pop-up widget.
Once rigged, it’s simply a matter of setting the value of each parameter for each state. So, if you select the first video clip, you set the opacity of all the other clips to zero. Or, if you had set them all to zero to begin with, you only need to set one clip to 100% opacity.
Finally, you publish this widget, save the project, and test it in Final Cut. All the good details above. If you want to get a little deeper into Motion, check our our “Warp Speed Motion for Final Cut Pro X Editors” tutorial.


