https://www.youtube.com/watch?v=Y4waWJxf4pI&feature=youtu.be
This week on MacBreak Studio, Steve Martin from Ripple Training shows us a great way to quickly remove audio distractions and replace them with clean room tone.
A MacBreak Studio viewer had asked Steve how to perform a “Replace with Ambience” in Final Cut Pro X, and Steve does not disappoint.
Legacy Final Cut Studio included an application called Soundtrack Pro that many of us remember fondly, myself included. One feature of STP was its ability to sample some room tone and then use the “Replace with Ambience” command to remove background noise like coughs, traffic, birds, an ice making in the fridge, or anything that doesn’t belong in your audio.
You can’t just cut these noises out completely because the silence will stand out against the normal subtle background ambient noise, or room tone, that is present in almost any environment. As any good production team knows, you always record this ambient sound in every location because it varies so dramatically from one place to another.
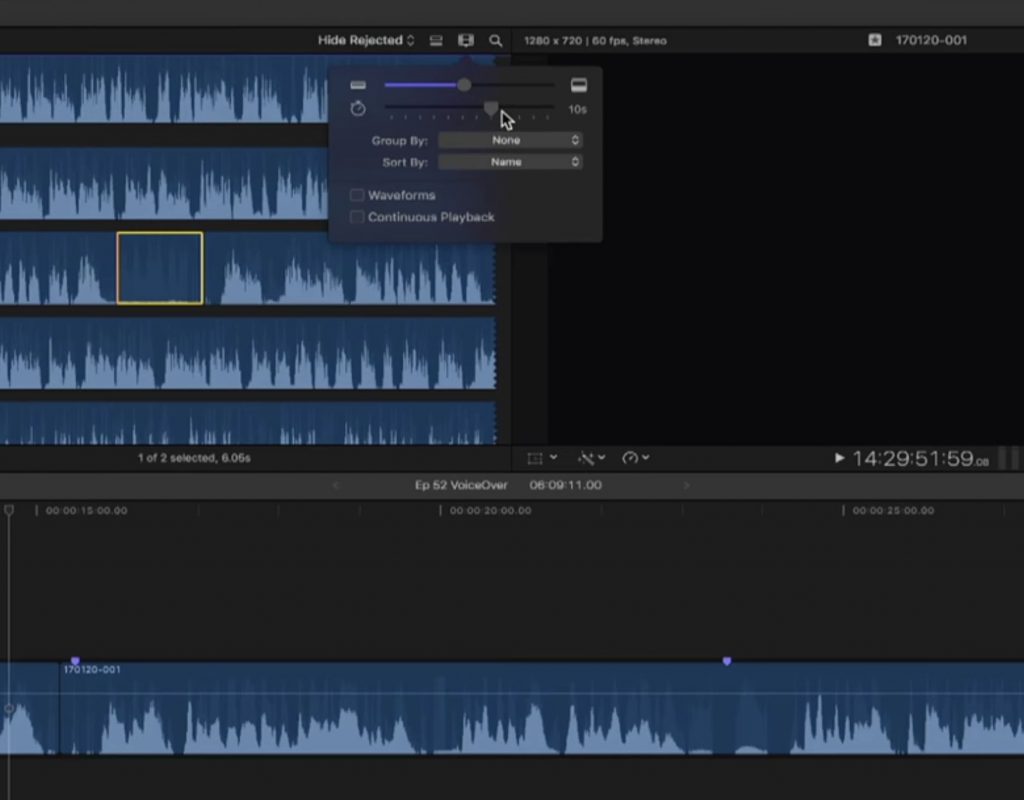
There are two steps to the process: first, locating and sampling some good room tone, and then, replacing the “bad” audio with the sampled room tone. For the first step, Steve uses Filmstrip view in the Browser and makes the filmstrip quite long in order to locate a section of ambient sound, where the waveform is almost flat. He sets a range with I and O (or dragging) and then presses Command-K to assign a keyword to that range (you could also press F to favorite the range and rename the favorite). The end result is that just that piece of room tone is now quickly accessible any time that you need it. Best to find something that last several seconds. In this way, you can create a collection of room tone samples from each of your shoot locations.
The second step, replacing the offending audio, is accomplished with an Overwrite edit. Just set a range in the timeline and press the D key. It’s fast and easy to skim through an audio clip and replace these areas with clean room tone.
By the way, if you audio is connected to video, then just press Shift-3 to make an audio-only edit before pressing the D key. You only need to press Shift-3 once, Final Cut will stay in audio-only edit “mode” until you press Shift-1 to return to audio and video editing.
If you find this tip useful, check out Steve’s Sound Editing in Final Cut Pro X tutorial, fully updated for Final Cut Pro 10.3.

