So what’s so interesting about a feature we’ve had for eons? We all know you can copy and paste vector paths from Illustrator to After Effects as mask paths and motion paths (you did know that, right?). But with the new Shape Layers in After Effects CS3, you may run into a little snag when trying to paste paths to shapes.
(Note: After Effects CS6 has introduced a new menu function to convert Illustrator files directly to shape layers. The tip below applies if you are still using an older version of After Effects, or want to convert paths in a selective fashion.)
If you have the 4th Edition of Creating Motion Graphics with After Effects, we cover the following tip on page 493; feel free to follow along with the sample files in the book or create a simple Illustrator file to practice with.
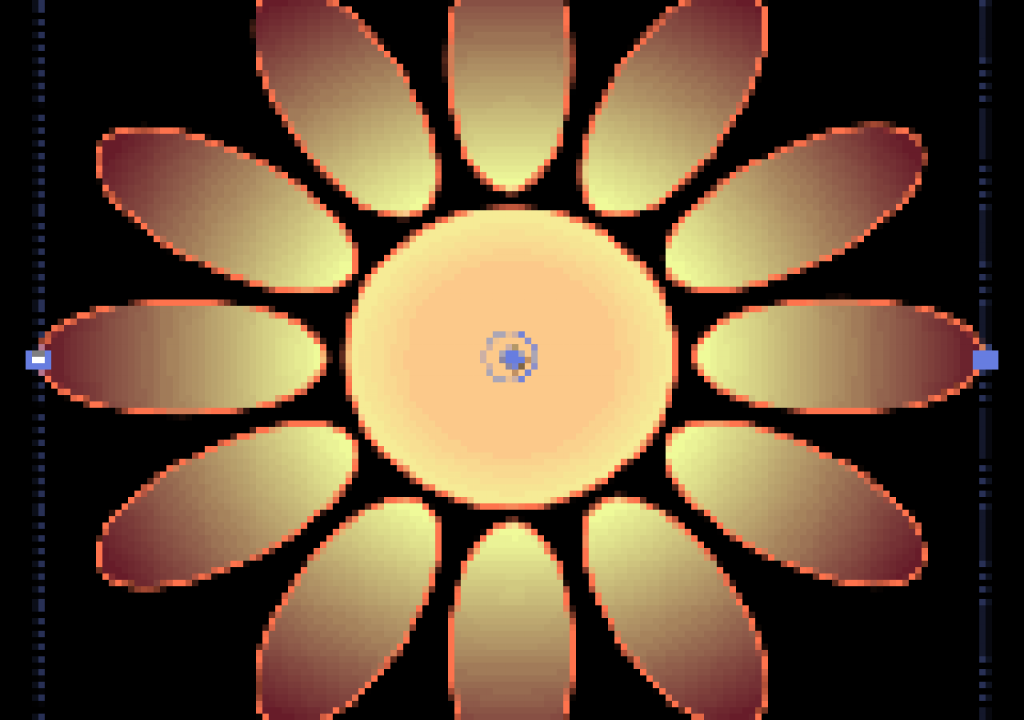
Our example Illustrator “flower” is a simple circle surrounded by 12 oval petals, for a total of 13 paths.
Basic Path Pasting
Here we selected a red solid layer in After Effects and pasted, which created multiple mask paths automatically.
Pasting a Single Shape
Life is fairly straightforward if you only want to paste a single path to a shape layer. First, create a pen path you can target when you paste: With no layer selected, grab the Pen tool and draw a single point in the Comp panel. This will create a blank Shape Layer with a Path property that contains your single point. Now paste, and the point will be replaced with the path you copied from Illustrator. (You can also use this technique to paste a mask path to a shape path.)
You can also pre-select a specific path before you paste, to ensure that the path is pasted as a shape and not a mask. This is also useful if your shape layer contains multiple paths and you need to target a specific path.
Expand your new Shape layer to reveal Shape Layer 1 > Contents > Shape 1 > Path 1 > Path. Here you can toggle on the stopwatch and animate the path over time (try that, Illustrator CS9!).
Be aware that if you were to draw a basic rectangle or oval shape, you will not have a Path property to paste into, and you will end up with a mask path again. So be sure to use the Pen tool to create a compatible property to paste to.
As you can see, pasting a single path is fairly easy, but problems arise when you need to paste in a group of paths at once, as we need to for our simple flower object. Read on for the solution…
Pasting Multiple Paths
If you only create one Path in your Shape Layer, when you paste a group of paths After Effects won’t automatically create the right number of Paths – it will just fall back to its original behavior and paste a bunch of mask paths! And be aware that even if you first create the right number of Paths in a shape layer, and then paste each path individually, each shape will be placed centered in the comp (losing their relationship to each other).
If you paste paths individually from Illustrator to shape layers in After Effects, they will not maintain their relationship to each other, but instead will be centered in the comp.
To paste multiple paths and maintain their relationship, you need to paste all of the paths at once. To do this, you first need to do a little prep:
-
- In Illustrator, Select All and Copy. Count the number of paths you have copied. (If you have more paths than brain cells right now, first paste them to a solid in After Effects, then press M and count how many mask paths are created!)
-
- In After Effects, if you want to create a new shape layer, press F2 to Deselect All. If you want to paste to an existing shape layer, select it.
-
- Select the Pen tool, and click once in the Comp panel to create a new shape with a Path property. Expand the layer to reveal its contents, and select Path 1.
-
- Press Command+D on Mac (Control+D on Windows) to duplicate the Path as many times as you have paths to paste. In our example, we need 13 total.
The trick to pasting a group of layers is to first create the correct number of Paths in your shape group, and then carefully select all the Path properties. Now you can paste!
-
- So here’s the trick: Select Path 1 and then Shift+click your last path. Expand one of the selected paths to reveal all the Path properties. Now Shift+select each Path property so they are all highlighted (see the figure above).
-
- NOW you can paste! Voila! The paths are pasted as a group, with the correct relationship.
Our shape layer uses a radial gradient fill and a red stroke.
Finish off your design by setting the Fill and Stroke properties to taste, or go wild with shape effects such as Pucker & Bloat or Wiggle Paths. (If you’re new to Shape Layers, we wrote an introduction to them in a previous column.)
By the way, the above trick also works when you need to paste multiple mask paths to a shape layer – not just when pasting from Illustrator.
Yes, it really should be easier than this! We hope that Adobe considers a Paste Special (or even a Very Special) feature in the next revision so that users can choose whether to paste as mask paths or shape paths, and that the shape paths are created automatically. (Thanks for Jim Acquavella at Adobe for his help with figuring out the best workaround in the meantime.)
The content contained in our books, videos, blogs, and articles for other sites are all copyright Crish Design, except where otherwise attributed.

