https://www.youtube.com/watch?v=F56dNzUC31w&feature=em-uploademail
This week on MacBreak Studio, Steve Martin from Ripple Training shows us how to shoot 360 video but then edit it as “normal” HD video in Final Cut Pro X.
Since I was in Buenos Aires, Steve carries the show solo this time, extolling the virtues of his GoPro Fusion camera and how well it works with Final Cut Pro X.
If you aren’t interested in 360, don’t stop reading or watching just yet! Steve makes a strong case for shooting 360 even when you aren’t delivering in 360. Because you get everthing in your shot, you can essentially direct in post, choosing what part of the 360 sphere you want to show in your HD frame.
Now, like any 360 camera, you will first need to stitch the footage together to create an equirectangular clip that Final Cut can read. Some cameras stitch right in the camera itself; others provide software for doing so on a computer. In the case of the GoPro Fusion, their Fusion Studio application will do this stitching for you. Be forwarned: stitching is a time-consuming process and the resultant files are very large. In fact, I was shooting with a borrowed Fusion in Buenos Aires (in addition to a Gh5s and my iPhone 8 Plus) but I was unable to use the Fusion footage while on location because the stitching was going to take too long.
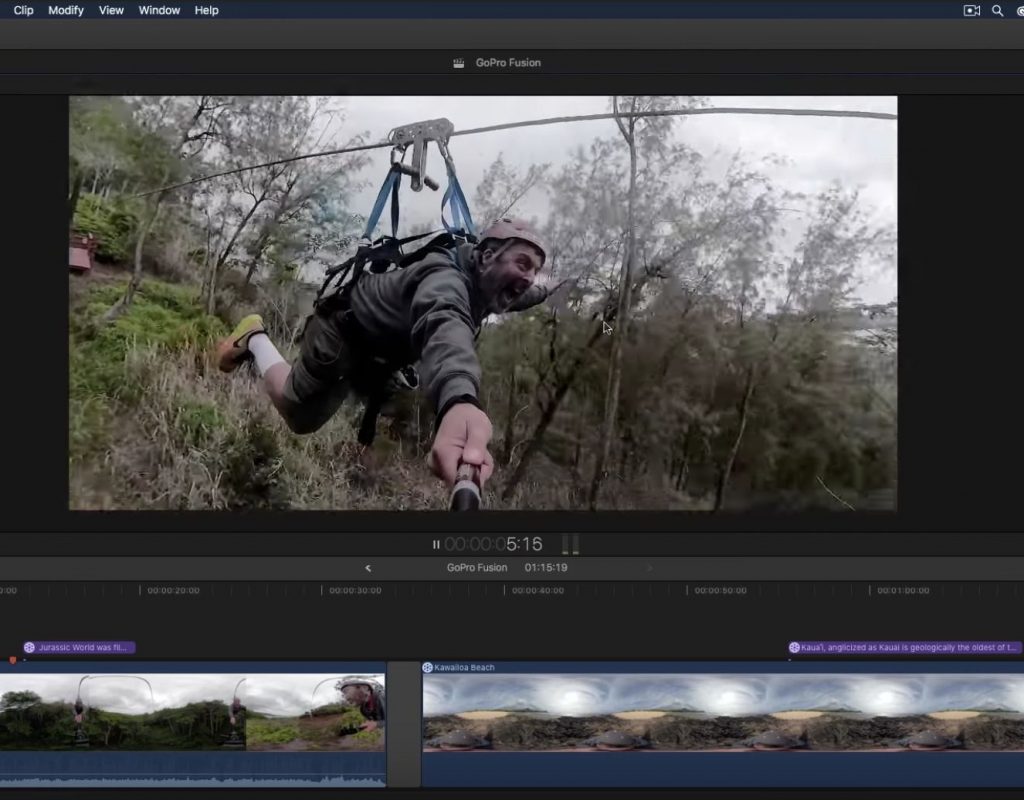
Steve first drops his stitched 360 footage into a 360 project to show off the dynamic range, color fidelity, and stabilization of the Fusion, which are all quite impressive. One clip is on a beach and looks like the camera was on a tripod but in fact Steve was holding it over his head, a further testament to the built-in stabilization. He then used the 360 patch effect in Final Cut to take himself out of the shot.
Next he uses the same clips in an HD project: the idea is that you have shot both A-roll and B-roll at the same time and can now choose what to show during the edit. One method is to cut the clip and then reorient the shot; another is to keyframe the reorientation in order to create a pan and/or tilt in any direction.
Check it all out above. If you want to learn more about working with 360 video in Final Cut Pro X, Steve has an excellent tutorial on this subject.

