


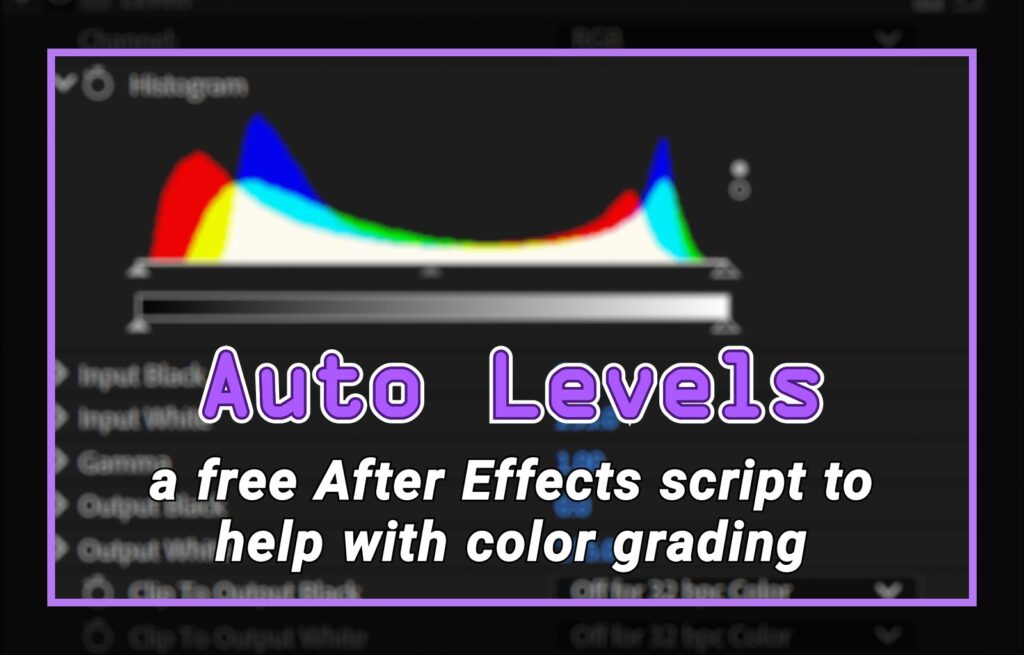
Auto Levels is a free script for After Effects, to help with colour grading. You can download it here, and the video below will take you through it.
But wait! Isn’t there already a plugin called “Auto Levels”? Yes there is, and it’s used for the same purpose. But there were a couple of things I didn’t like about using the plugin, and so I wrote this script as an alternative.
Colour Grading is an artform of its own, and there are many different ways to approach it. Not only does After Effects have a dedicated effects menu for Colour Correction, but it comes with about 40 different plugins that can all be used for grading. However one of the most common approaches to colour grading is to begin by setting the black and white points for each of the red, green and blue channels. Once the blacks are black and the whites are white, you can then move on to more creative treatments. This process is especially important when you are dealing with multiple clips that need a consistent colour grade.
The Auto Levels script analyses the clips in your timeline and finds the minimum and maximum pixel values for each of the red, green and blue channels. Then it applies the levels effect and sets the input and output values accordingly. You can choose to process a single frame, a single clip, or your entire timeline. If you’re working with a lot of high resolution clips then this might be a slow process, but the script takes the tedium out of doing it manually, and allows you to focus on the next creative steps.
Working as a professional freelancer, I often find myself jumping between different types of projects, as well as different clients. There was a time when I did a lot of work on projects that involved live-action footage, and there was a time when I needed to do this a lot. I was looking for a way to speed up the process, as well as making it more technically accurate than just doing it by eye. Looking back, I bashed together the first version of this script sometime during 2018 and it’s a reminder of the type of projects I must have been doing that year.
After Effects has a plugin called “Auto Levels”, and it does exactly what I have just described. It analyses a frame to find the minimum and maximum RGB values, and adjusts the levels of each channel accordingly. In theory it’s the perfect way to begin colour grading. But whenever I used it, I found two basic problems.
The first issue I had with the plugin was that – by default – it worked on each frame individually. This meant that the effect could vary over time, especially on longer shots that included lighting changes. The end result can be clips that have a subtle flicker, as the black and white values are automatically animated over time. It does have a setting for temporal smoothness, but this can make it slower and it still doesn’t fix all cases. What I really wanted was to analyse the entire clip, find the best black and white values, and use those values for the entire duration of the shot without any changes. If the clip could be analysed once then it wouldn’t slow down the entire timeline either.
The other thing I didn’t like about the plugin – and this was purely personal – was that it didn’t tell you what it was doing. I guess that’s only to be expected from a plugin called “Auto Levels”, but I wanted to know what values it was using for each channel. But you just applied the plugin and looked at the result.
By using another little-known plugin called “Color Link”, I was able to write a script that solved both of these problems. Color Link is a useful effect that analyses your footage, and provides technical information including the maximum and minimum RGB values. By checking the values over the entire duration of a clip, we can find the absolute maximum and minimum values to use for the red, green and blue channels, which can then be set once and once only. These values can then be applied to the regular levels effect, where you can see exactly what values are being used.
Unlike the Auto Levels effect, by having these minimum and maximum values copied into the regular levels effect, you can continue to manually tweak the levels, or adjust other parameters such as gamma. And once the values have been set, the clip no longer needs to be analysed – so overall it’s much faster than using the plugin with temporal smoothness.
Anyway – it does what it does, you’re welcome to download and use it, and you probably know if it’s going to help you or not.
If you discover any bugs please contact me!