Photographers control exposure with a triangle comprised of aperture, shutter speed and ISO. It’s so common that no one thinks about it… until they turn the button on their DSLRs to video mode and discover, after some initial tests, that their videos are all jumpy. The solution is simple, but it is not always clearly explained. I could say it involves leaving the triangle behind and going for a square. It’s something that asks for a new way of thinking. Let me explain.
To get what specialists call the “film look” you need to think of shutter angle, reciprocal frame rates and, if you talk to some older people, they may mention terms like rotary shutters. Cinematic images use, someone will also tell you, a 180° shutter angle… or should I say half of the reciprocal of the frame rate. Are you lost now? So was I. Until someone said it to me in plain English: a 180° shutter at 24p is 1/48 second. So, if I want my video to look normal, fluid, without jumpy movements, I need to use, on my DSLR, a speed of 1/50 second, the closest I can get to the 1/48 second suggested.
I mention 24p, because it will be, probably, the frame rate you will mostly shoot at (1920×1080 24p or 1080p24 for short) if you’re after that “cinematic look”, although your camera offers other values, like 1080p25 or 1080p30, those two for television, the first for PAL and the second for NTSC (the menu in your DSLR will change according to the video system chosen). There are also other options, like those to capture high-speed video, but let’s focus attention for now on the 1/50 second that will result in a cinematic look everybody seems to be after.
This limitation puts an immediate problem for photographers. We’re told we should never use slow shutter speeds with long lenses when hand holding them. It’s another reciprocal rule, the one relating to shutter speed, which says that the shutter speed should not go below the same number as that of the focal length in use. This means that if you’re using a 300mm lens you should use a shutter speed of 1/300 second, in order to get sharp images. This applies mostly to longer lenses, because if you’re using a wide angle, like a 24mm, it does not mean you should use a shutter speed of 1/25. In fact, once you go below 1/60 of a second, you’ve to be aware of the problems you might get into regarding sharpness (or loss of it) due to camera movement. This means that when working at the 1/50 second required for video, you’re working in what could be called critical limits. That’s a lot of new problems for a photographer…
You see, photographers already deal with a lot of reciprocity rules. It shows up on the use the shutter speed with different lenses, there is also a reciprocity rule for exposure, which explains why exposing at 1/125 f/16 is similar to 1/500 f/8, in terms of light reaching the emulsion or sensor, and with emulsion we even had a reciprocity failure law, stating that as exposures got longer film lost sensitivity, so the final exposure had to be more than indicated by the light meter. That’s a lot of reciprocity to think about and now, with video, we’ve one more rule to deal with. It’s only natural photographers get confused.
For a photographer, the idea of working mainly at 1/50 second is troublesome. How do I manage with long lenses? Well, video is usually associated with a tripod, so part of the answer is there, although you’ll need a sturdy tripod to do a proper job. But the REAL problem lies elsewhere: exposure. How does one manage exposure with a shutter speed that is static? The usual Sunny 16 rule states that “On a sunny day set aperture to f/16 and shutter speed to the [reciprocal of the] ISO film speed [or ISO setting] for a subject in direct sunlight.” That means f/16 and 1/100 or 1/125 with a 100 ISO speed.
What this rule implies is that if I lower my shutter speed to 1/50, for video, I am condemned to use, to expose properly, f/22 and, generally speaking, small apertures. How do I get those cinematic images, with shallow depth of field, that seem to be the hallmark of Hollywood productions? Well, you just have to rethink the idea of your exposure triangle and get a square…
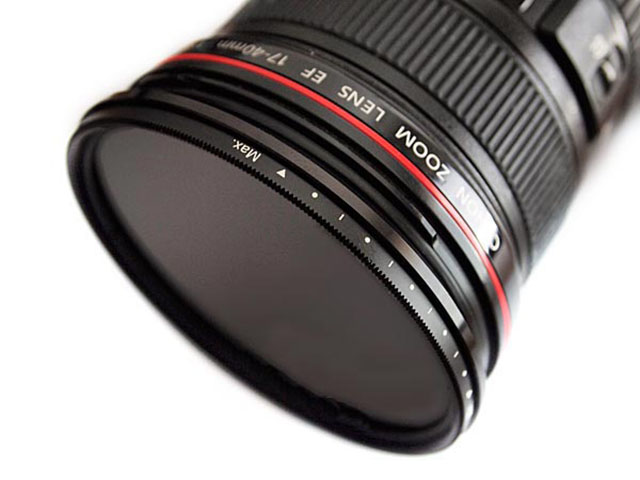
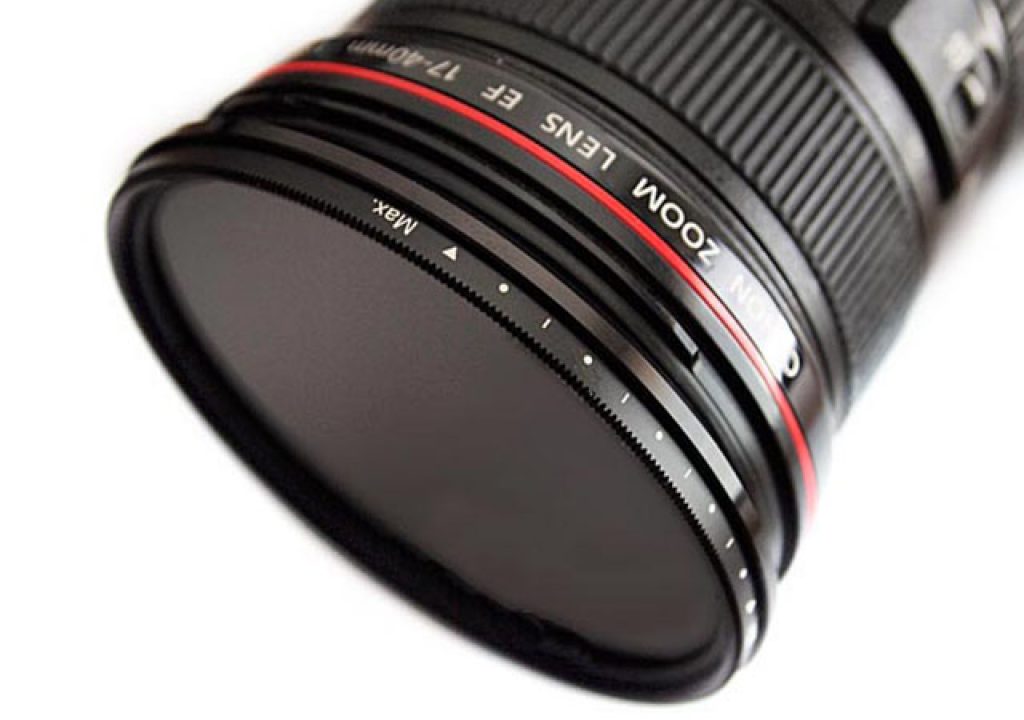
Instead of shutter speed, aperture and ISO you’ve to think, now, about four elements: the shutter speed, which is mostly static, the ISO, which can be changed but should generally be kept as low as possible, the aperture, which you should be able to adjust as needed from f/1.8 giving shallow DoF to whatever value you need. To get all this working you’ve to invest in a new element: a Variable ND.
Yes, the solution for exposing properly in video is to use neutral density filters. They’ve been used in video for that exact purpose, but photographers have used neutral density filters mostly to get long exposures. Firstly photographers used them in sets, with different square filters that had to be placed/removed, laboriously, on a filter holder in front of the lens, but more recently neutral density filters of the screw-in type became the norm: they allow you to change exposure somewhere between 2 (ND4) and about 9 stops (ND500) and let you play not only with speed but also with depth of field at times of day you would not even dream it was possible. These filters are easier to use and fast to adjust. In front of a lens they allow for fast exposure adjustment and absolute control.
So, once you get a Variable ND filter you’re really ready to start shooting. Remember, set the speed at 1/50 (for a 1080p24 video, that is!), ISO as low as possible, the aperture you want and your Variable ND filter in place. Simply by rotating it, you control the amount of light that reaches the sensor. Now I got it!

