Dropbox is an unbelievably handy online file syncing, file sharing and backup service that performs a lot of amazing tasks at a free or affordable price. I have been a .Mac/Mobile Me user for several years now so I hadn’t used Dropbox until recently but now that I am using it I’m very impressed by the service. Check out the Useful Service for Editors: Dropbox article I recently posted on Studio Daily for more specific information on Dropbox. This article is about how to use Dropbox to make fast and easy QuickTimes for client screeners.
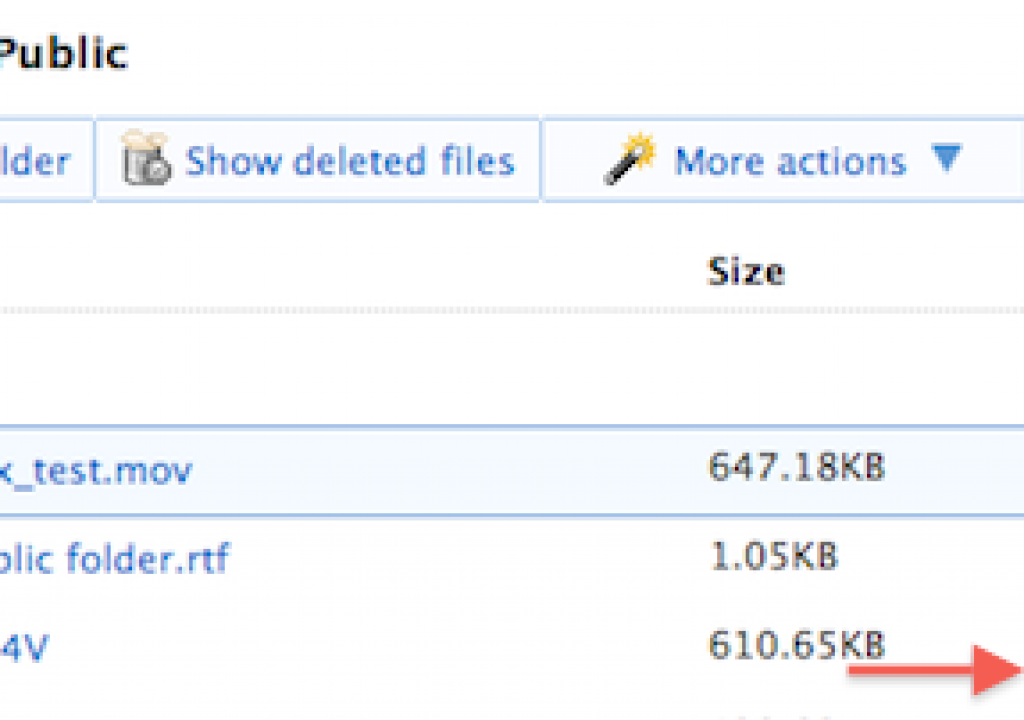
The key to making easy clients screeners via Dropbox lies in the Public folder that all Dropbox users have, be it a 2 gigabyte free account or a monthly subscription. Every file in that Public folder gets a public link that can be copied and emailed. Once a file has been uploaded to your Dropbox Public folder you can access the public link via the drop-down arrow at the right of a file name in the Public folder. There you’ll see an option to Copy public link:
Select that option, paste the link into an email and the recipient will get a clickable link that looks something like this: http://dl.dropbox.com/u/3741967/Dropbox-test-02.M4V There’s also an option to shorten the link that uses http://tinyurl.com/.
Depending on the type of QuickTime you might have created it should be a movie that can be opened in most any web browser. The example link above was created with an iPhone compatible preset, hence the .M4V extension, which is becoming more commonly appreciated by clients as it’s easy to view a cut on the go. Any iPhone preset should also be viewable in a regular QuickTime application, including a web browser. The M4V extension can be changed to .mov after the movie is created if so desired. That will keep it from opening in iTunes if the file is downloaded.
Saving a step
The above process is a two step operation: 1 > Export, 2 > Upload. This can be simplified by downloading and installing the Dropbox application. This will add a new folder to your computer (it defaults into your Home directory):
And inside that folder you’ll find a Public folder:
With that installed you’ll be able to skip the Upload step above and just save files directly to the Dropbox > Public folder. The Dropbox application is smart enough to begin the upload / syncing to the cloud once the export has completed. After you have installed the Dropbox application on your Mac (while this is a Mac-based article I don’t see why something similar wouldn’t work on a Windows machine as well) you’ll have a new contextual menu item that allows you to copy the public link right from the Finder without having to log into the Dropbox website:
The Dropbox team has thought their service through very well. For example, when a files is uploading there’s a little sync icon vs. a checkmark once the file has completed:
It’s a great service, especially if you are just going to use it for QuickTime screeners. While it doesn’t have an option for password protection of files in your public folder the Dropbox site says “Public files are only viewable by people who have a link to the file(s). Public folders are not browsable or searchable.” There’s also an iPhone app available to manage your Dropbox account, send email links and save favorites that are stored locally on the iPhone. If you only need under 2 gigs of storage it’s a helluva deal … free.

