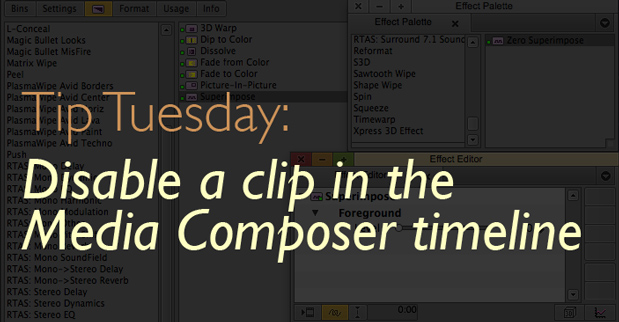
In honor of TipTuesday over on Twitter I thought I’d share this simple Avid Media Composer tip that I use to counter the lack of a clip enable / disable feature in Media Composer. It’s all about saving an effect and getting easy access to that saved effect. There’s actually several tips in here that can be used for most all effects in Media Composer.
Most of Media Composer’s NLE competitors have the ability to select clips sitting in the timeline and disable the clips so they aren’t visible during playback. The clips still exist on the timeline. It’s a very handy feature that I wish Media Composer had as well.
Above is the Enable option from Adobe Premiere Pro’s timeline. Avid Media Composer doesn’t have this option.
I work around this limitation by simply using the Superimpose effect and putting the Level to ZERO. With that you have a clip on the timeline with zero opacity, a totally invisible clip. To take that one step further I save that Zero Superimpose effect and save it so I always have it handy.
The images below help illustrate.
Start by applying a Superimpose effect from the Blend category of the Effect Palette (though any effect that lets you vary opacity could work).
Open the Effect Editor and turn the Level to zero.
You can then grab the little purple effect icon out of the Superimpose Effect Editor and drag that to a bin to save the effect. I always name my saved effects so I know more specifically what it does and why I saved it. The effect can then be applied to any clip and that will make the clip transparent in the timeline.
At this point in the timeline Video track 1 (V1) is what is being viewed at the playhead frame. Tracks on V4, V5 and V6 all have the zero level Superimpose effect applied. It’s like they have been disabled!
At this playhead point in the above image V5 is showing as the zero Superimpose has been removed.
Another good tip is that any saved effect will now show up in the effect palette at the bottom, under a new category of the bin where the effect is saved. If the bin where you saved the effect isn’t easily available just hit command + 8 to grab it from the Effect Palette or from the Effect tab in the Project window (command + 9).
Removing the effect from a clip in the timeline is as simple as clicking the Remove Effect button when the track is turned on in the timeline patch bay or clicking the clip with a Segment Mode arrow and hitting delete.
It’s also possible to apply the effect to more than one clip at a time. Select all the clips that you want to make invisible in the timeline with a Segment Mode and double click the saved effect in your bin or Effect Palette. That works for other effects as well.
Be sure and remove any zero superimpose clips from the timeline when the edit is done, especially if you’re giving the job to another editor, online or color correction. Nothing says sloppy editor like a bunch of useless clips left behind in the timeline.

