

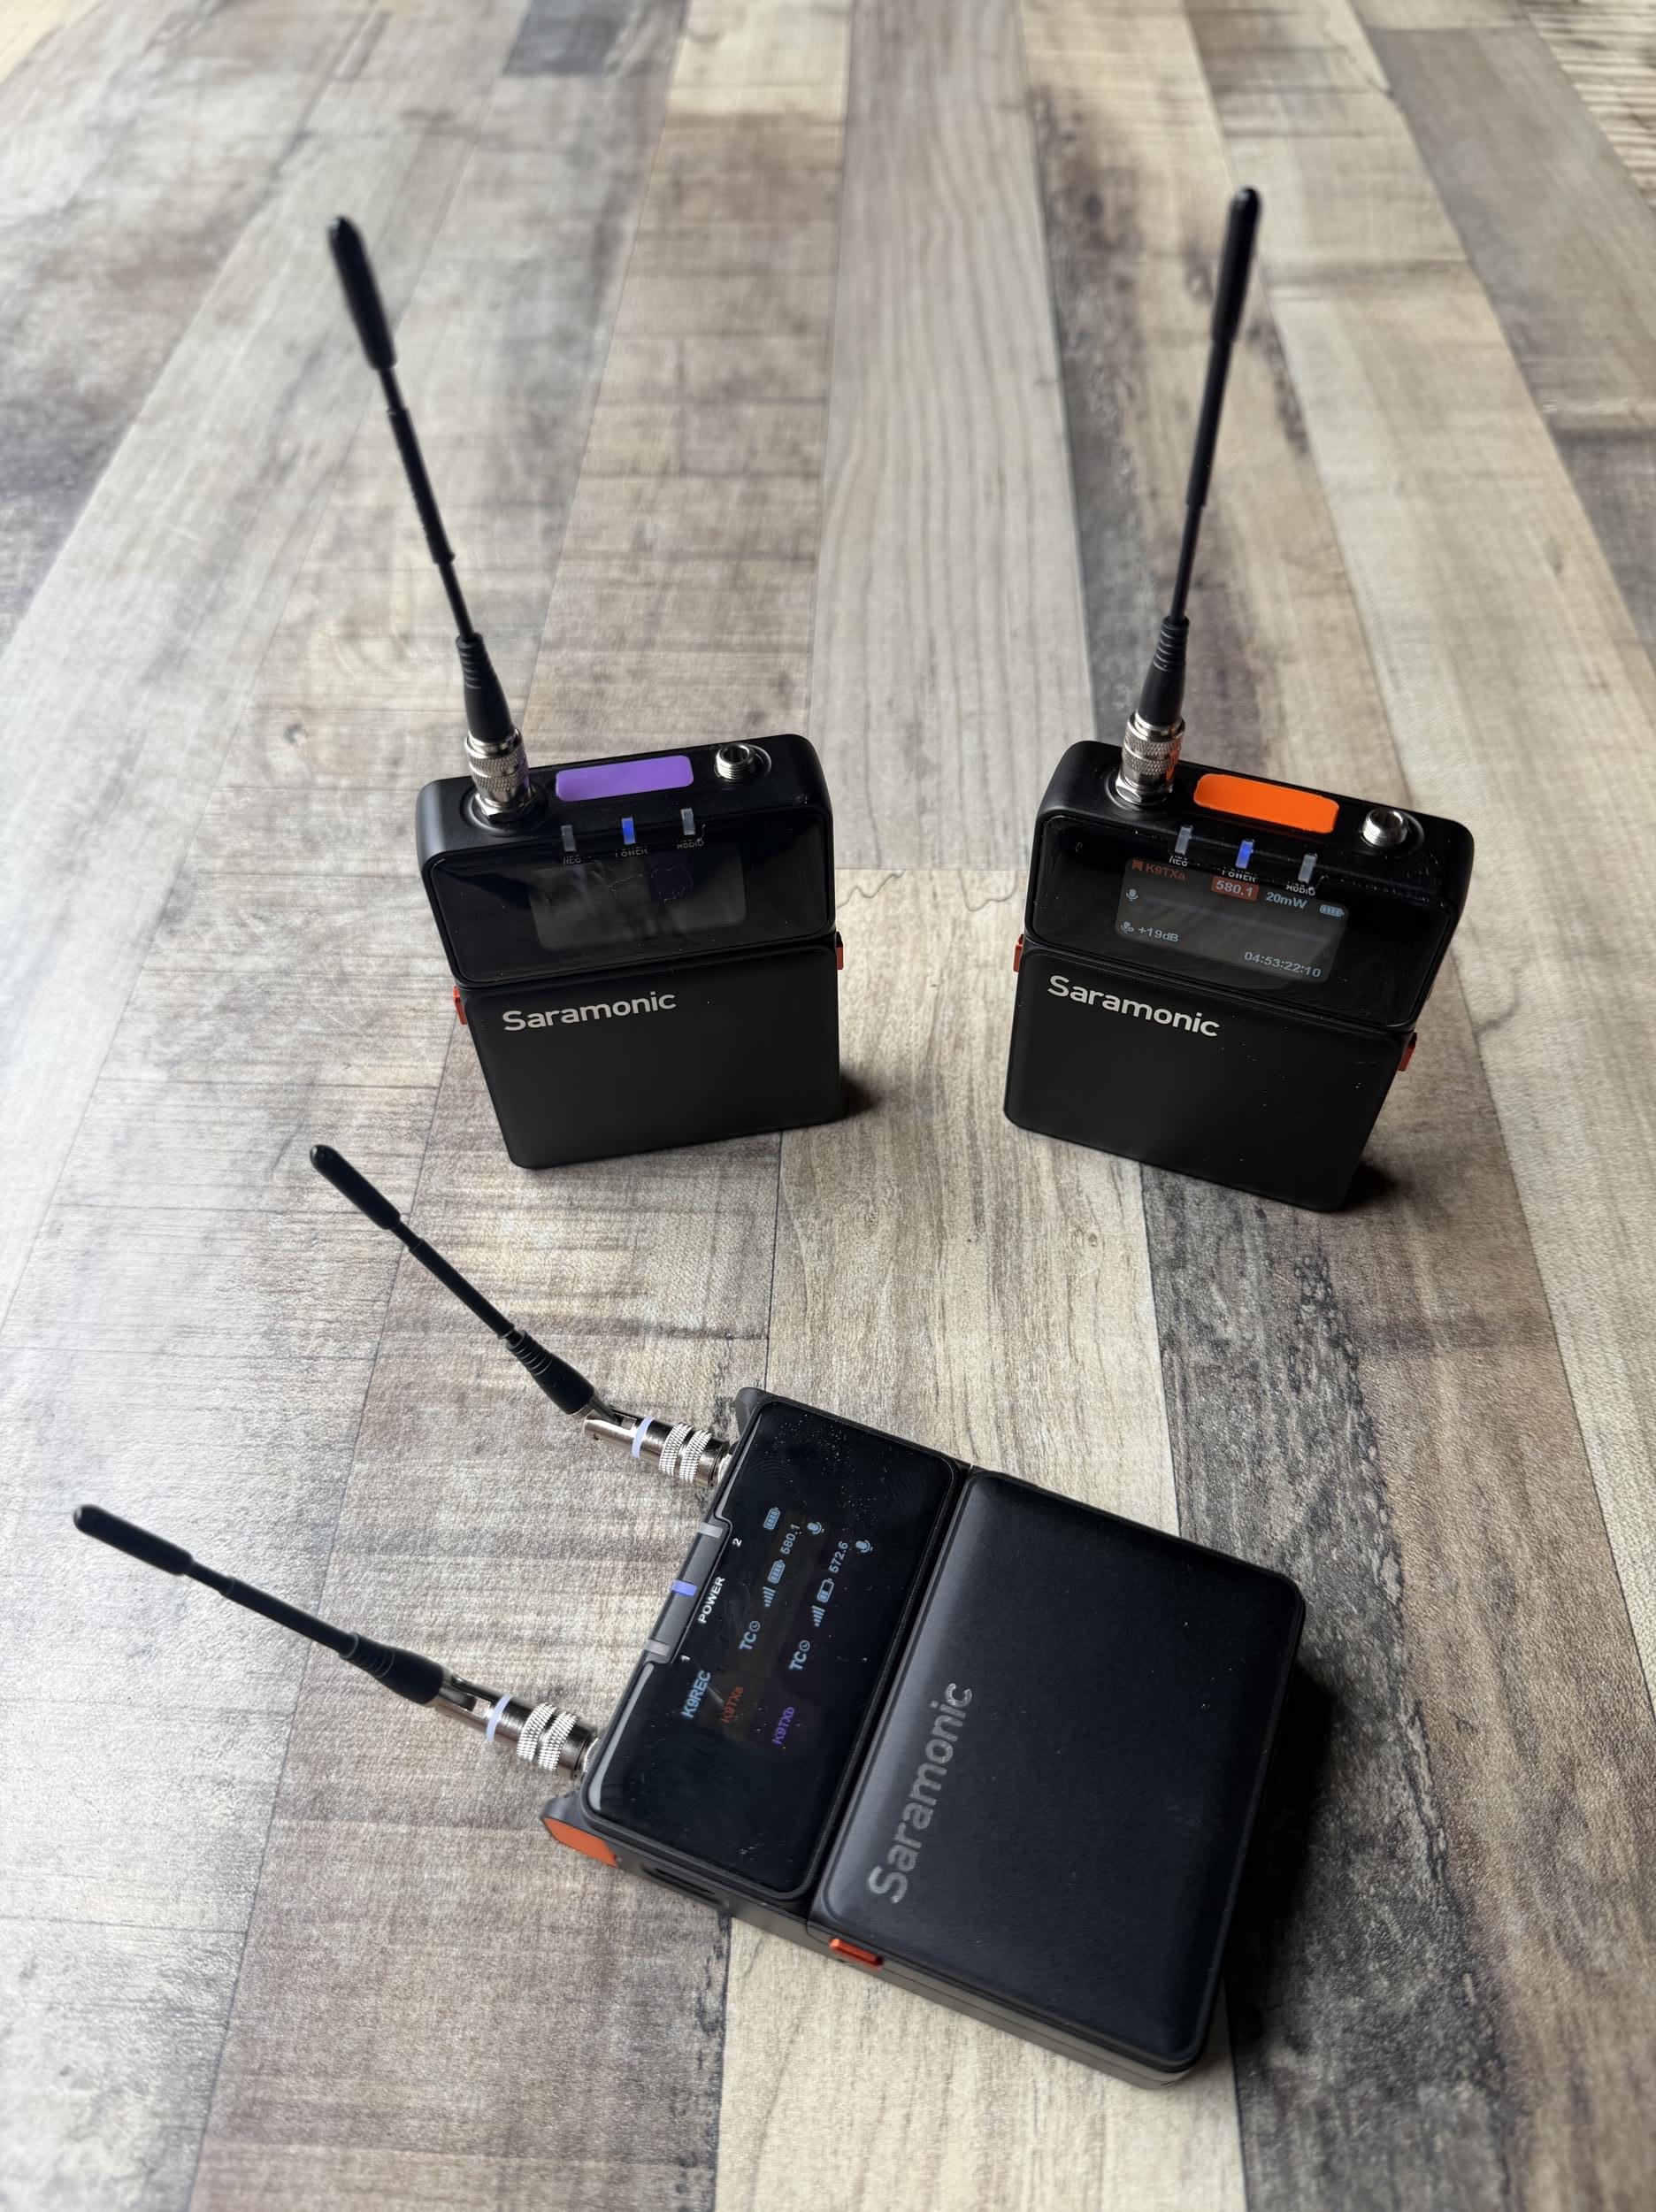

The Saramonic K9 Wireless Mic System is here. I feel like I have been chasing a unicorn in my search for the ideal wireless microphone system. My journey has gone through entry level systems and mid level combos from manufacturers like Shure and Sennheiser. They have served me well through 20 years of production. But I have looked for a modern UHF system that could make my audio easier to acquire and sound better at the end of the day.
I may have caught that unicorn.
I spent time looking at various wireless systems at NAB 2026. A few caught my attention, but the Saramonic K9 intrigued me.
Full disclosure. I was on the verge of buying the K9 — priced at $999 but currently and permanently marked down to $699 — before I reached out to Saramonic about getting a loaner for this review. They kindly sent me one to keep. They have had no input on this review and haven’t seen it until publication.
In my mind, a modern professional wireless mic system needs to check a few boxes:
Must Haves
Fully digital
High dynamic range
Rugged build
Ability to record in 32 bit float at the belt pack
XLR balanced audio out
Ability to use standard TRS wired mics
Real antennas (not wires!)
Nice to Have
Ability to jam sync timecode from an external device
Ability to select the full range of US legal transmission bands
Full featured, easy to use app that allows frequency scanning and remote operation
Single receiver that can support two transmitters
USB bus power/recharge for batteries
Adjustable broadcast power for the transmitters
Maybe One Day:
Local record while transmitting (2028 and the Zaxcom record/transmission patent expiration cannot come soon enough)
Custom color labels for display and belt packs to distinguish between transmitters
Quality mics that are a notch better than the typical stock offering
So the much-anticipated pack came. Then the fun began.

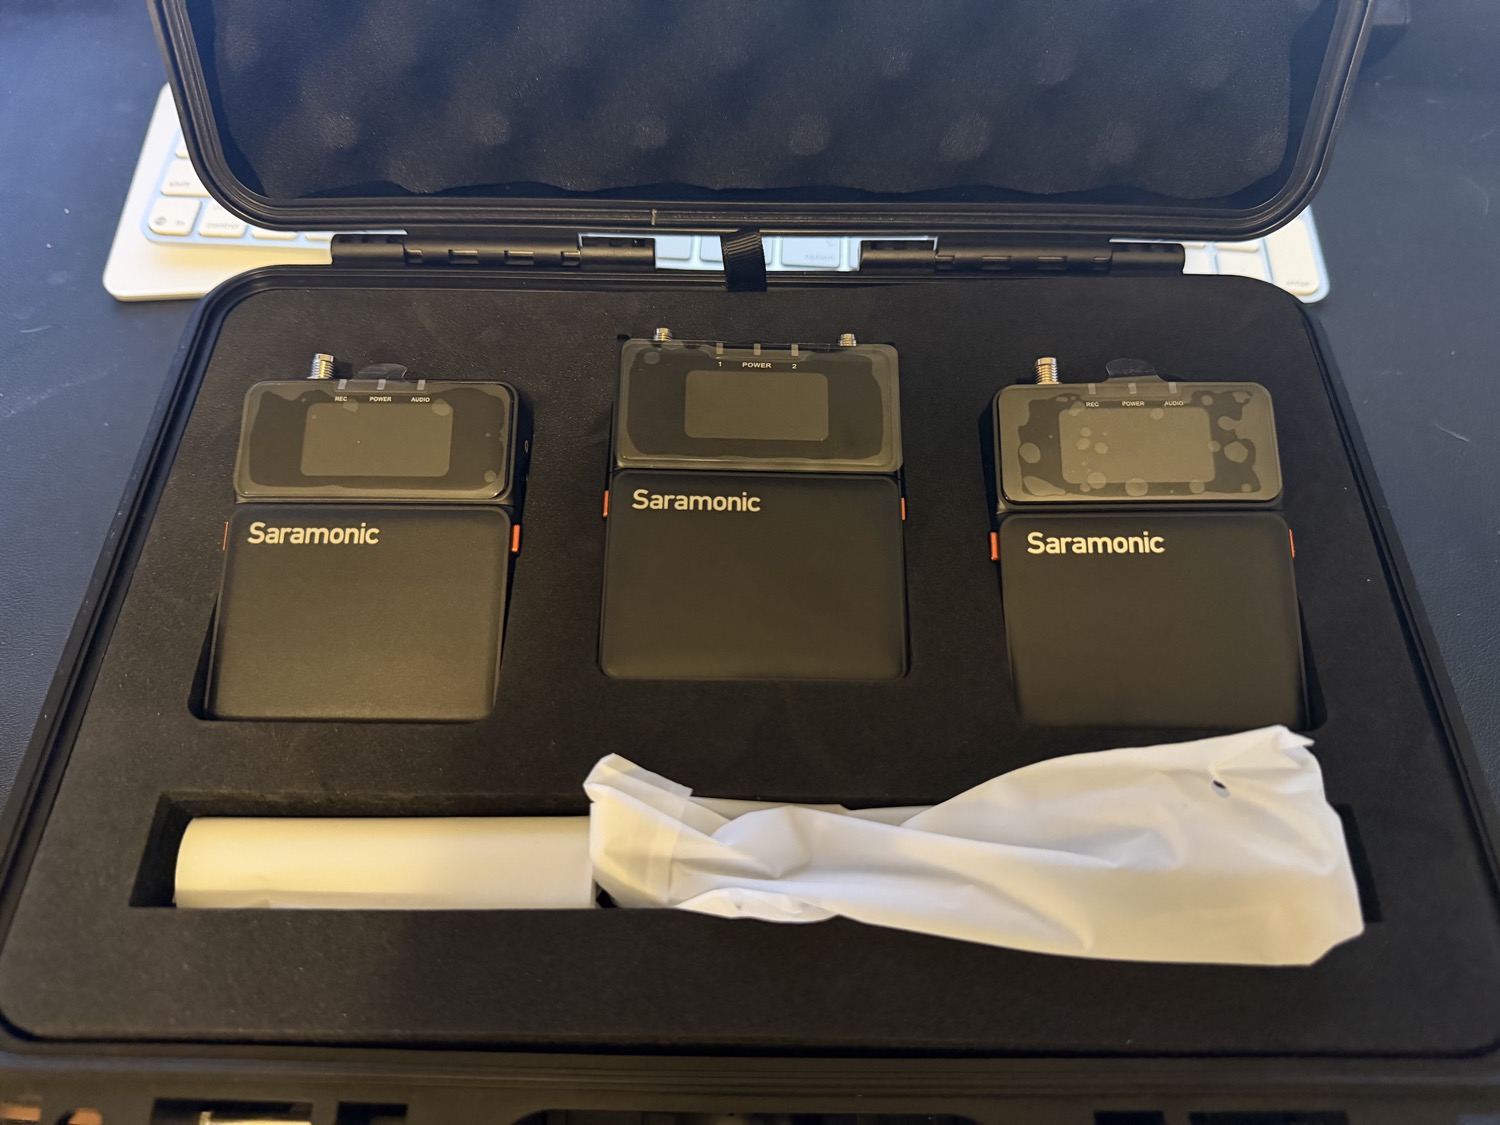
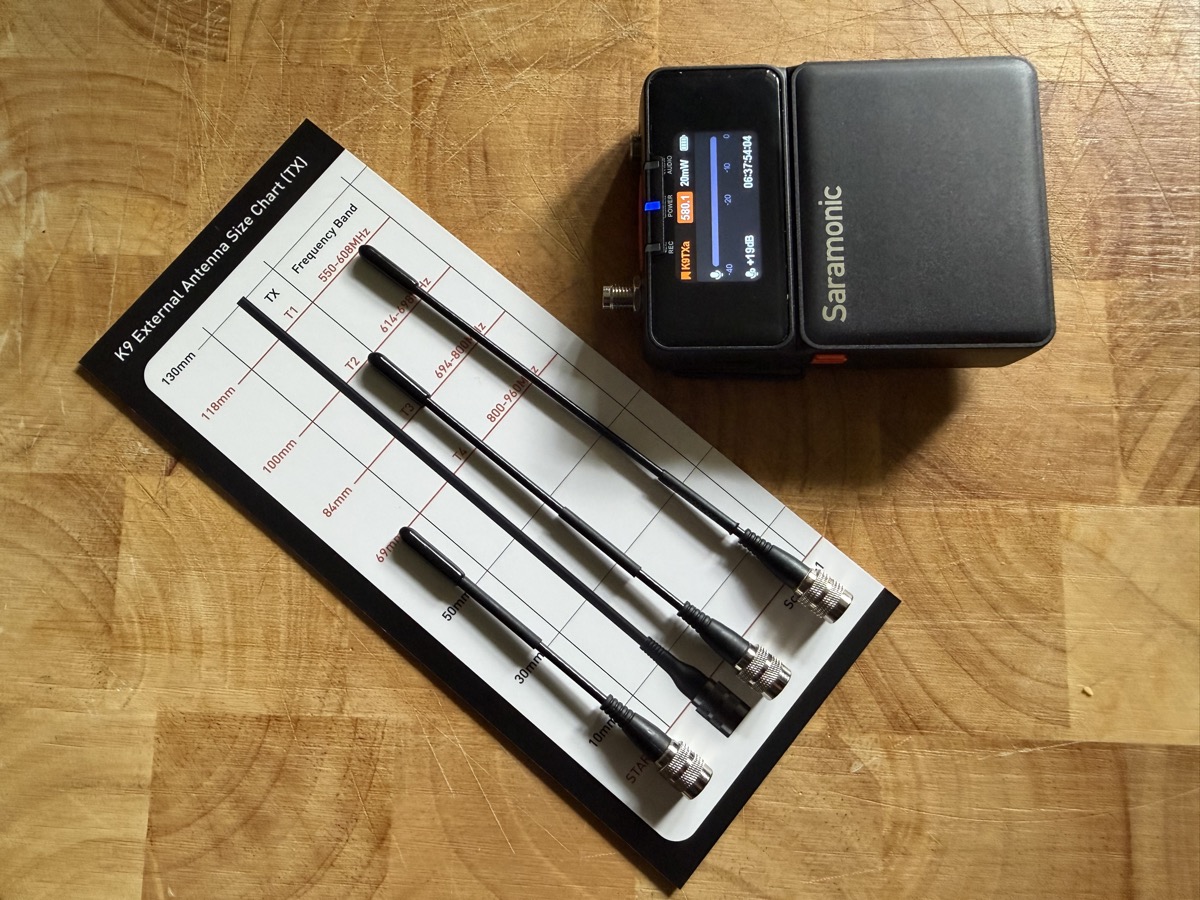
The K9 comes in a great hard-sided kit with custom cutouts for the two transmitters and receivers. Each unit came with SMA antennas in different lengths to accommodate various frequency ranges, along with a handy guide showing how to match your preferred working frequency range.

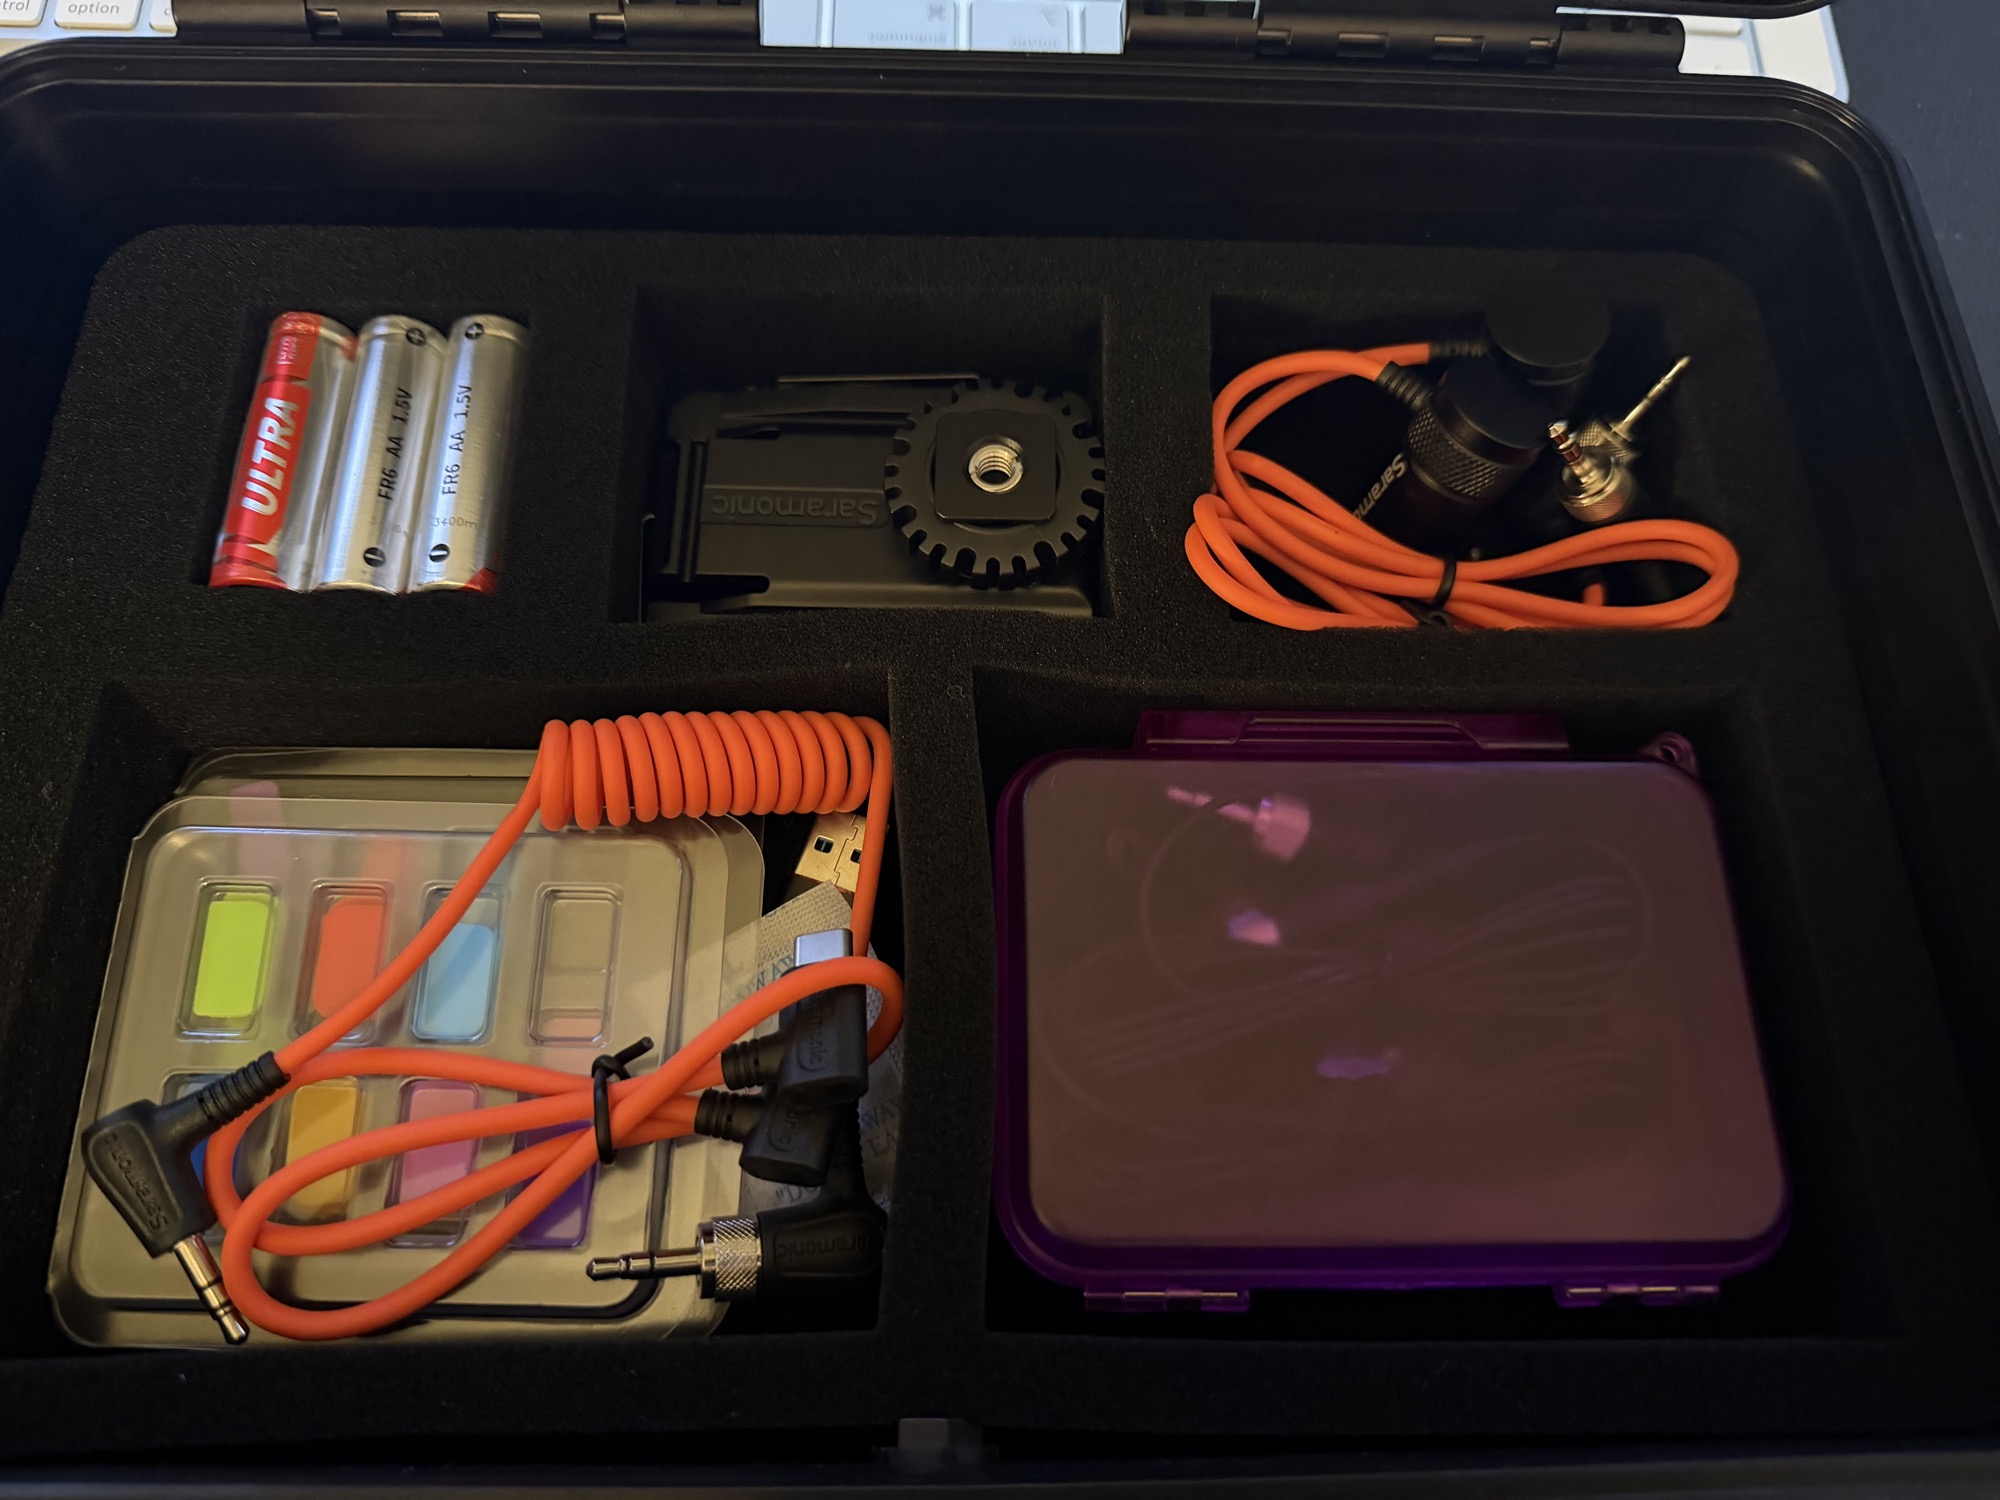
Once you lift up the tray, you have various audio and USB cables in Saramonic orange, plus 8 different colored gel inserts that can be applied to the transmitter and receiver to visually tell units apart. Cool. A small case included 2 lav mics with clips and wind screens. The only cable missing that I would like to have seen included was the 3.5mm TRS to USB for timecode input to the transmitter (more on that below).

I downloaded the Saramonic System app, inserted batteries, and away I went. Or so I thought — two rookie mistakes slowed me down. First, I hadn’t put antennas on the units, thinking they’d connect anyway if the packs were close together; they wouldn’t pair reliably until I screwed the antennas on. Second, the included batteries weren’t fresh and ran out fast, which cost me time troubleshooting what was really just a power problem. Lesson learned: antennas on, batteries charged, before you do anything else.

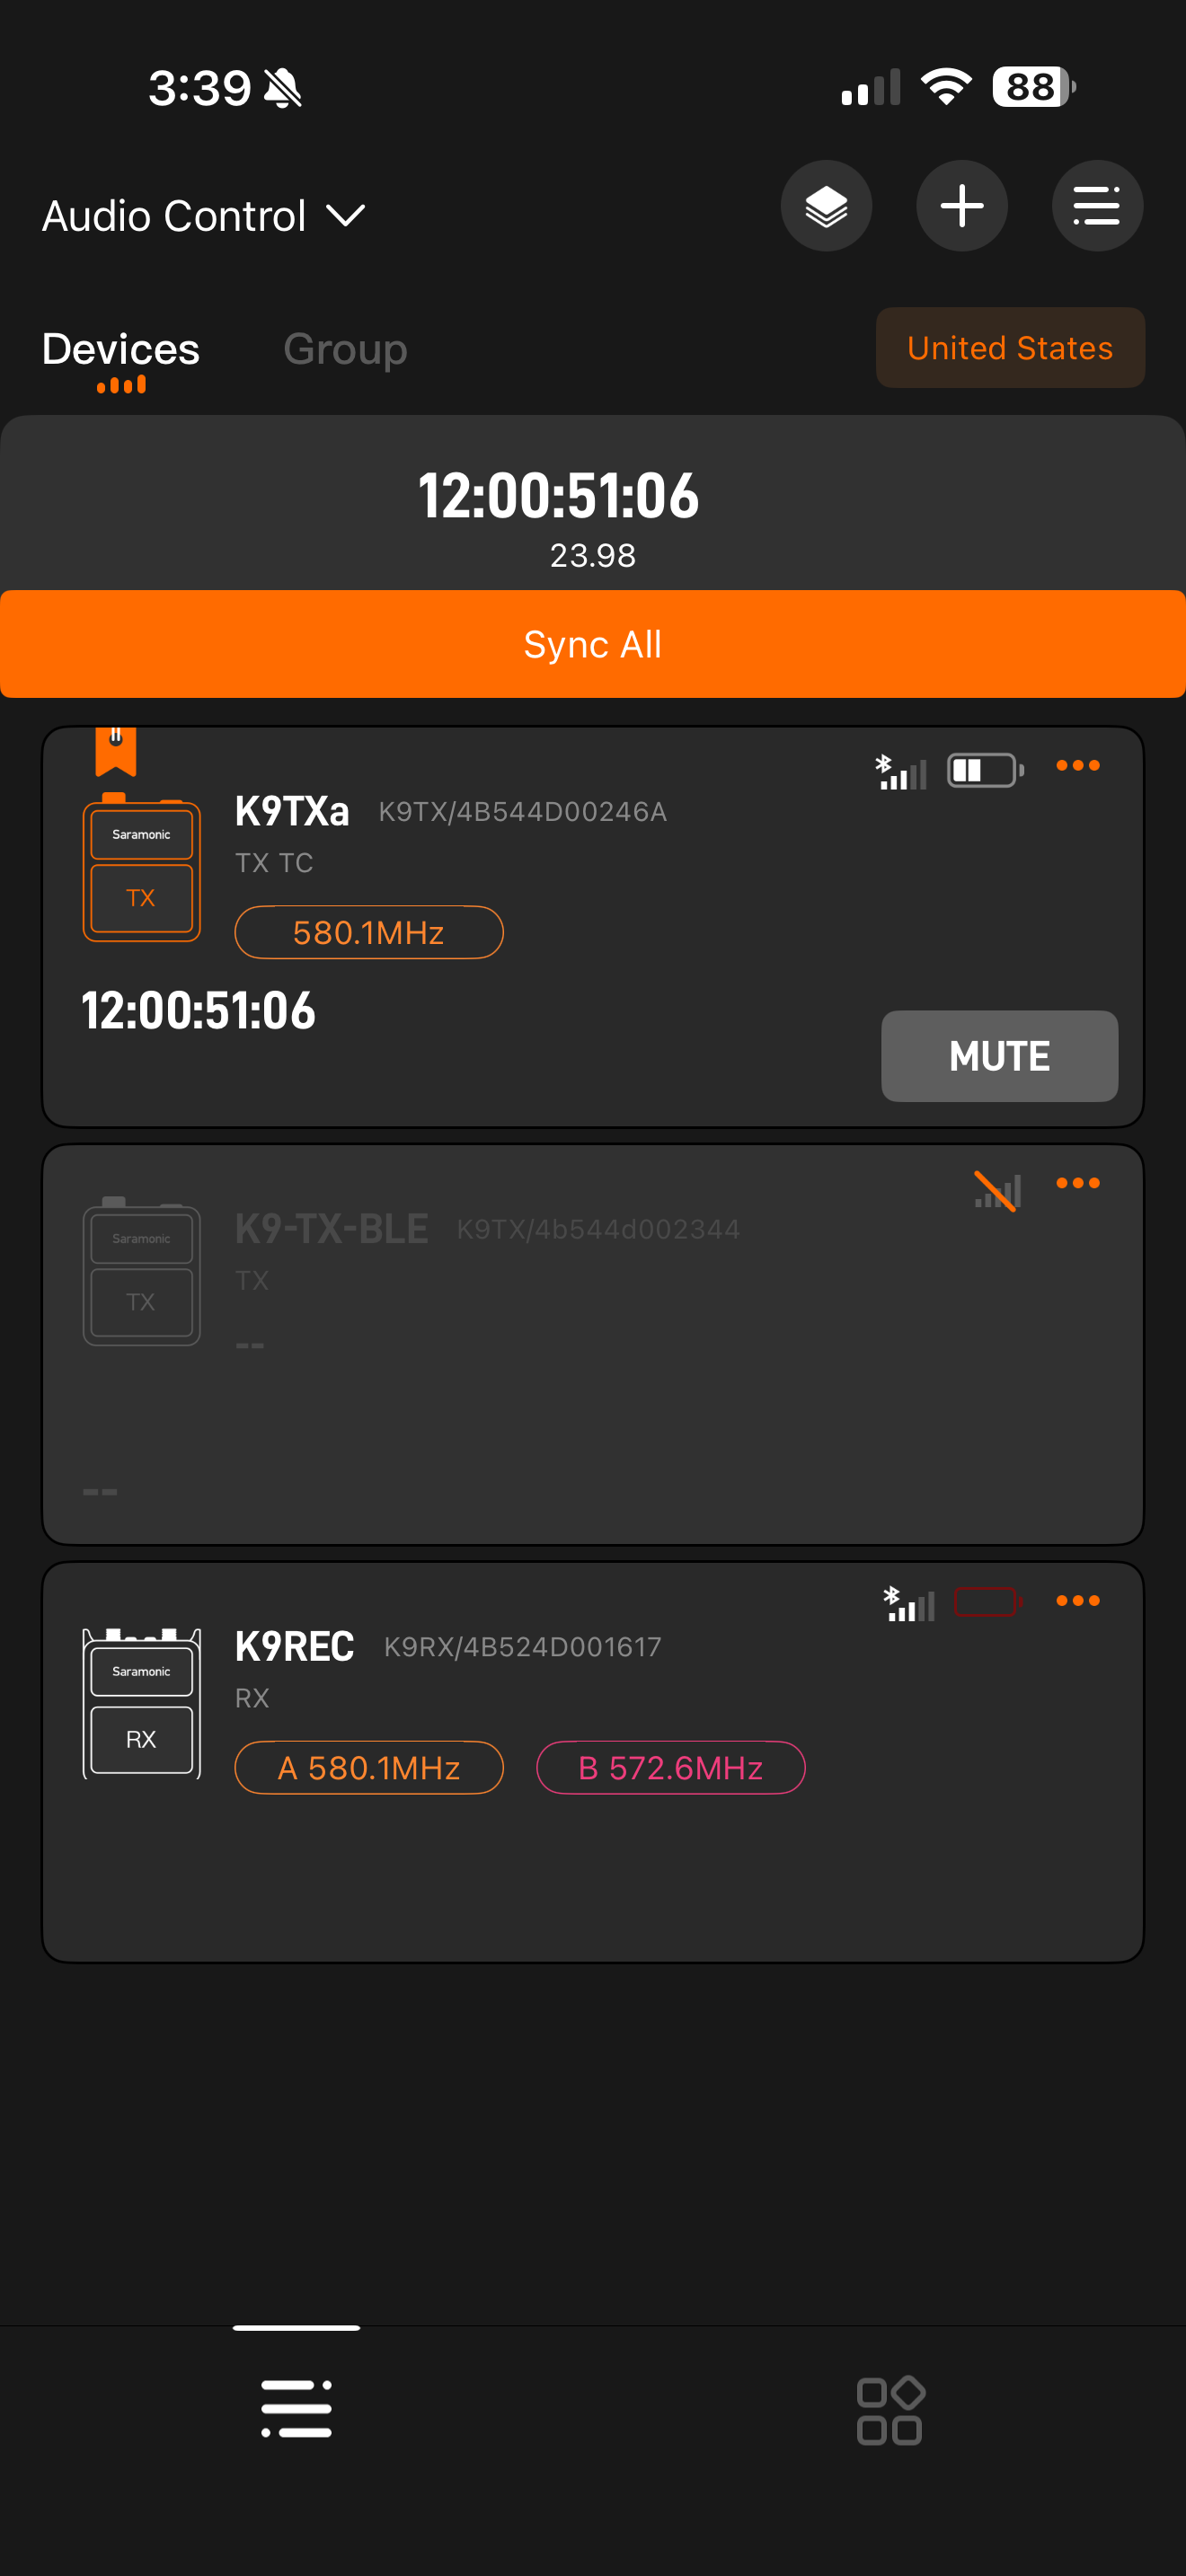
Creating an account and signing in via the app was easy. I registered the units to my account and associated them with the app.
The Units
The units are sturdy and made out of metal. The displays are bright and easy to read. The transmitters have gel inserts that can be swapped with other colors to help visually identify the unit, and the receiver has matching inserts on either side. You can also change the display colors to match. It’s a well-thought-out touch.

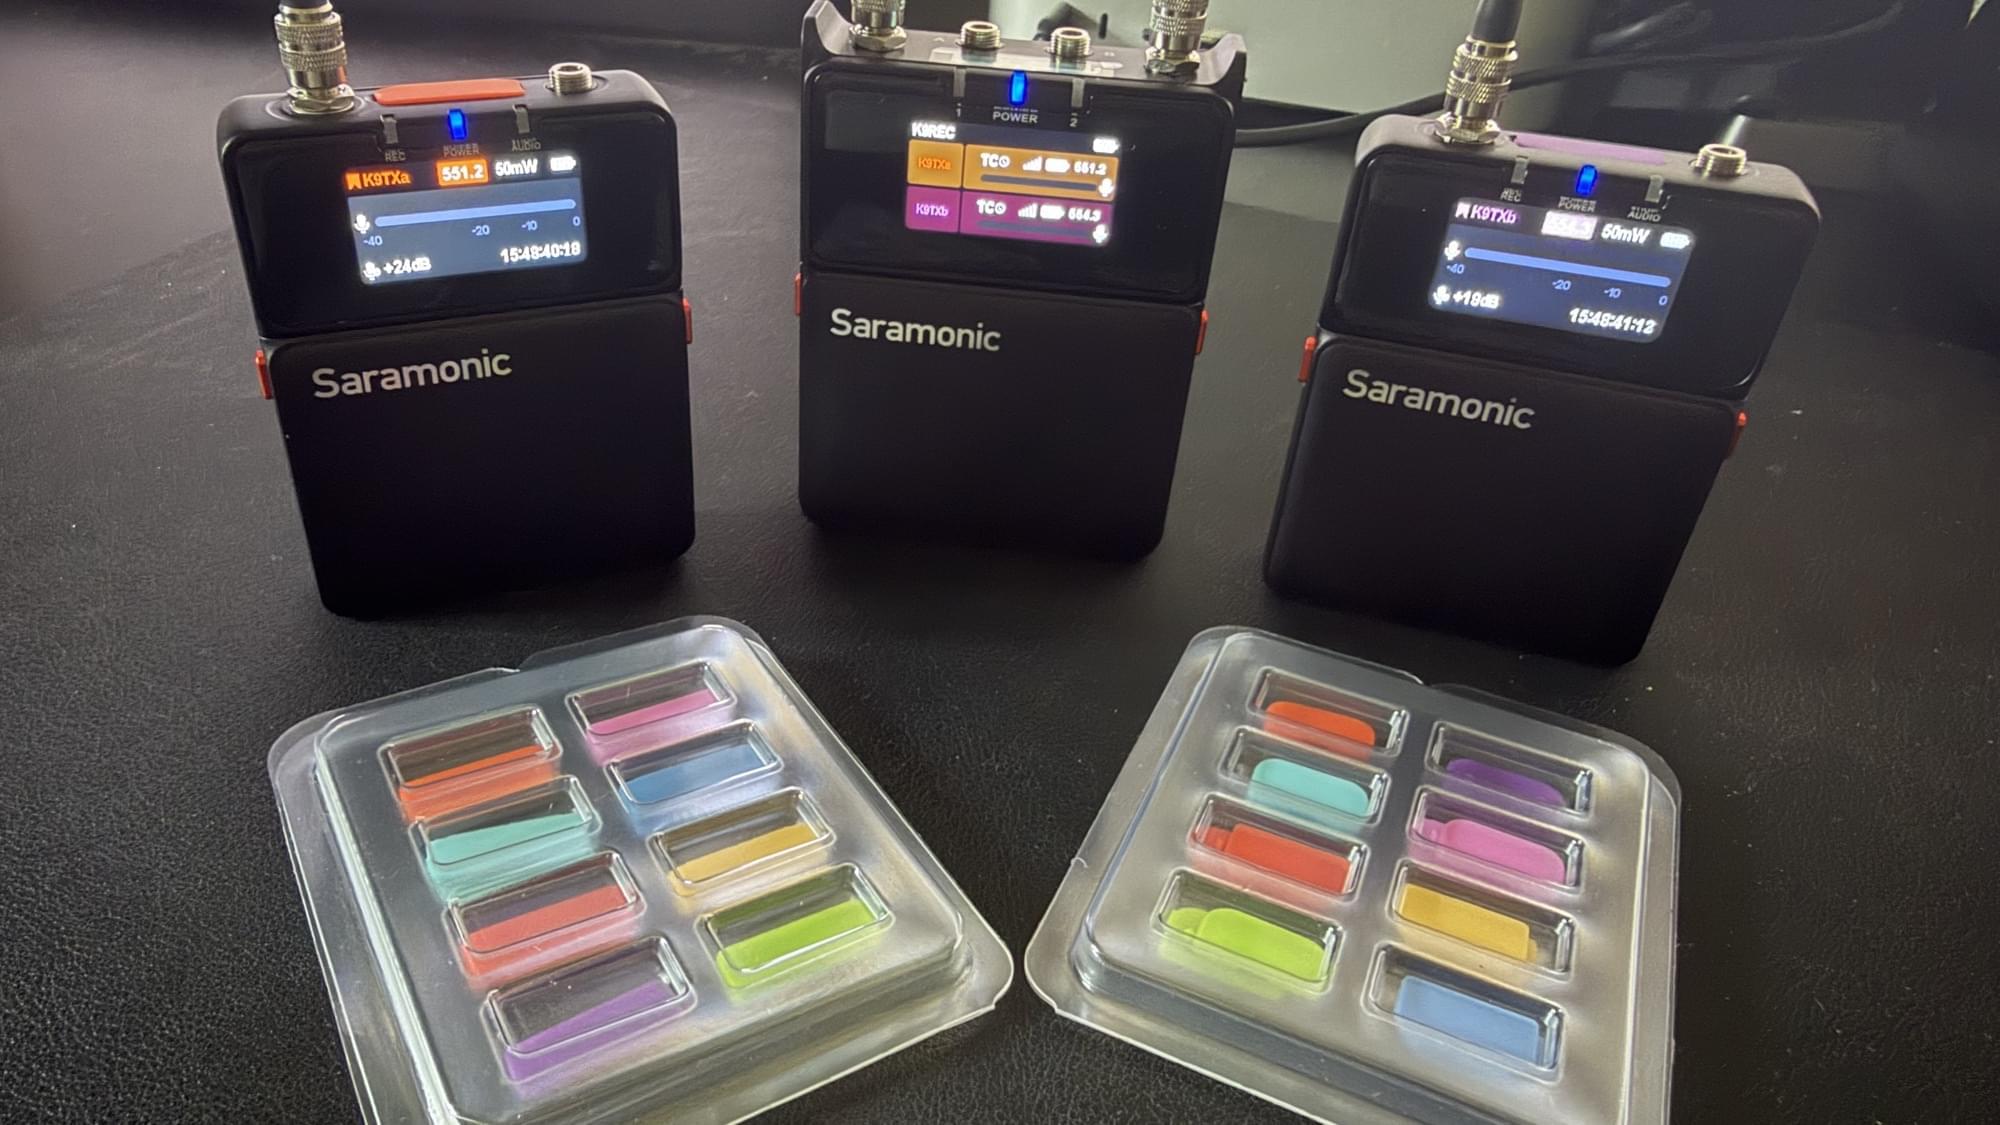
The transmitter itself is compact — along the same size as other units in this range. On top it has a locking 3.5mm TRS for mic input (standard wiring configuration — thanks Saramonic) and the SMA antenna port. On the left side is a USB port that can be used to input timecode, offload the internal SD card, or provide power. The front door opens to reveal buttons for the menu and the battery slot (2 AA batteries).
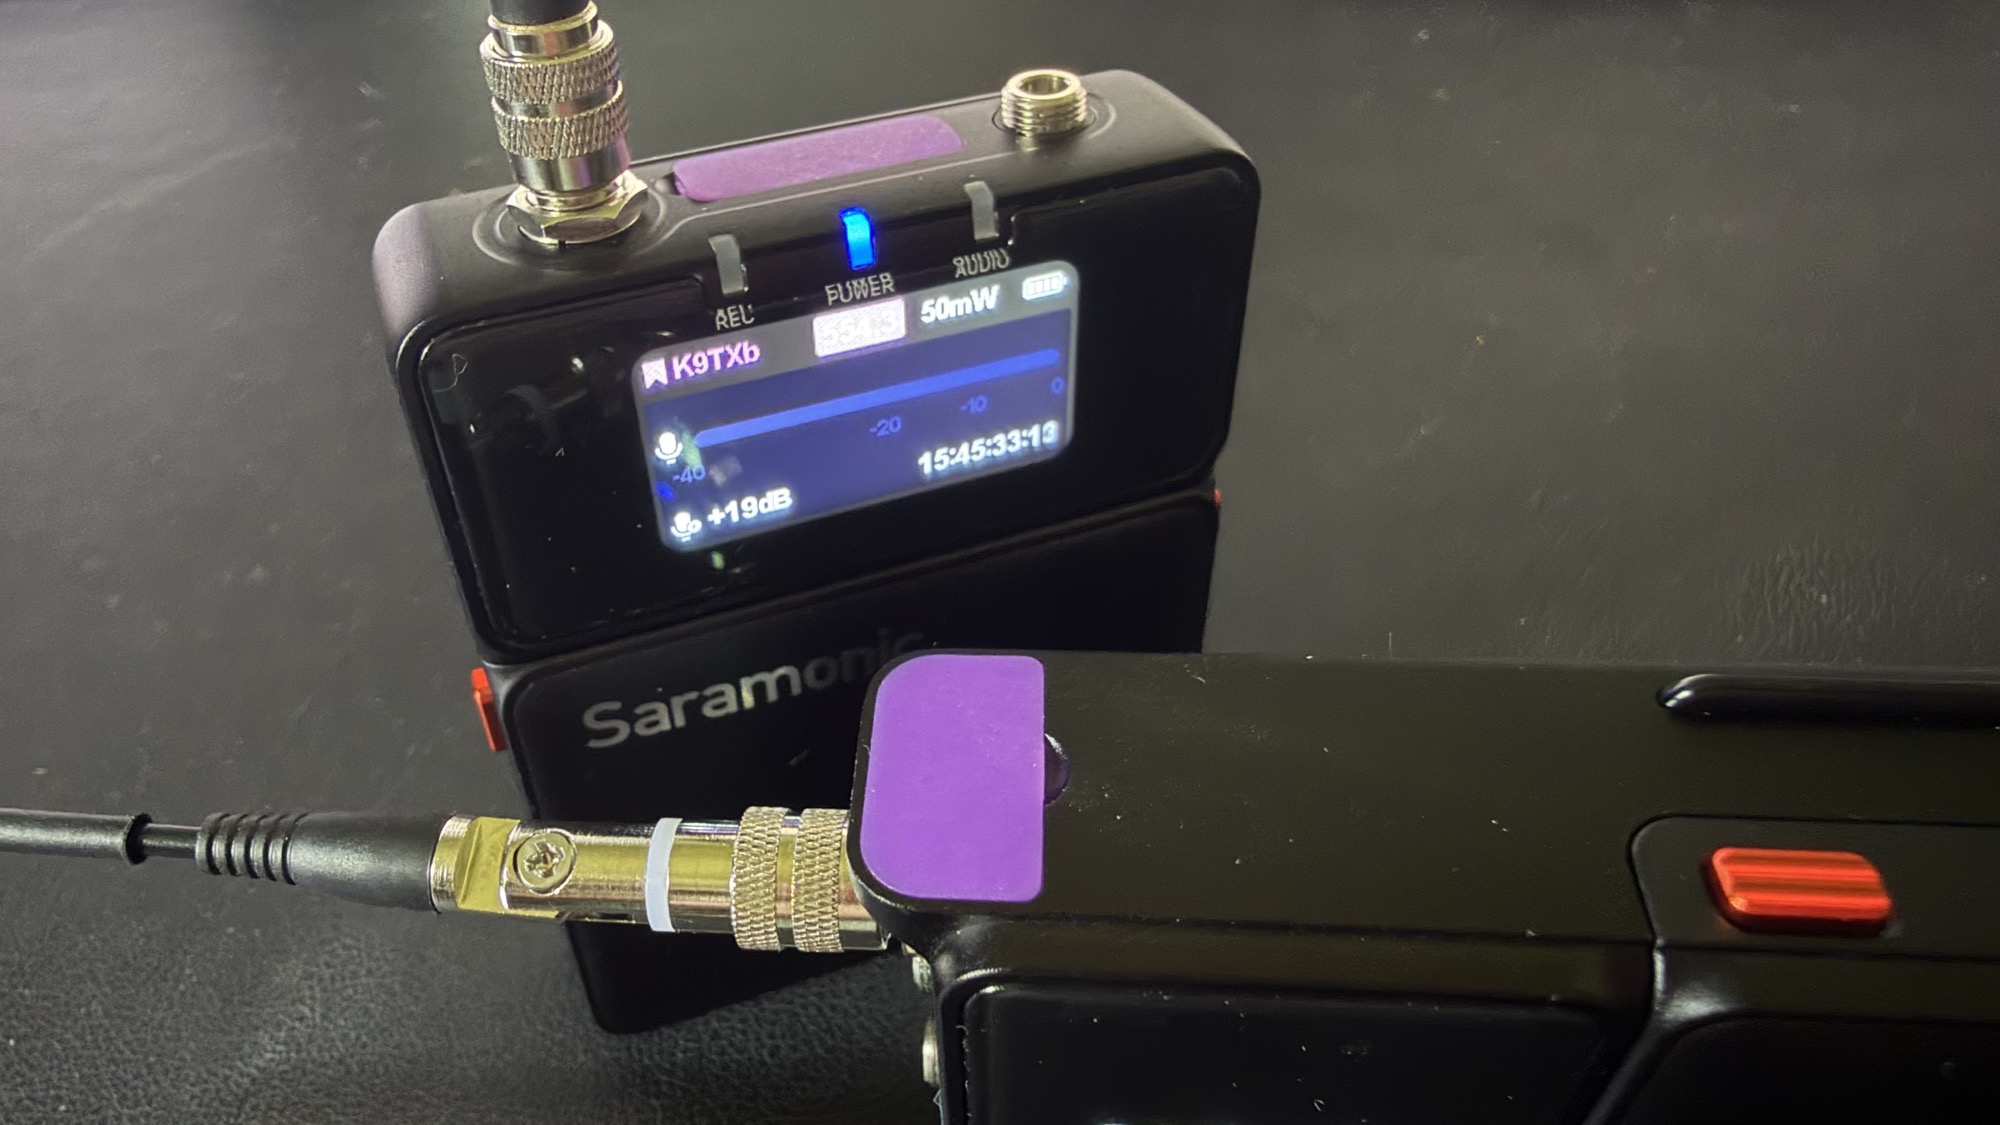
The microSD card slot is above the batteries, which puts it sort of behind the display — a bit of a hassle to eject, since it’s clearly designed to offload via USB instead. Small complaint: the unit doesn’t auto mount when connected to a computer; you have to dig into the menu to put the transmitter into “READ” mode first. Every other similar unit I own auto mounts without a special mode. I’d love to see this be the default.
The transmitter has adjustable transmit power, a feature typically reserved for higher-end units. It ships set to 50mW, which will drain the battery quicker than lower settings. My rule of thumb:
- 20mW (minimum): packs close together, within 25 feet, no walls between
- 50mW: as you add distance
- 100mW (max): longer distances, more obstructions, or a busy RF environment — and be ready to swap batteries more often
The receiver is of the same build quality, with two audio outputs and two antenna ports on top, plus a top-facing display that makes use in a bag simple. The outputs can be configured for separate channels on each jack or mixed. Saramonic includes two 3.5mm TRS to XLR balanced cords for professional use, as well as a 3.5mm to 3.5mm TRS cable for a mirrorless camera.
Timecode
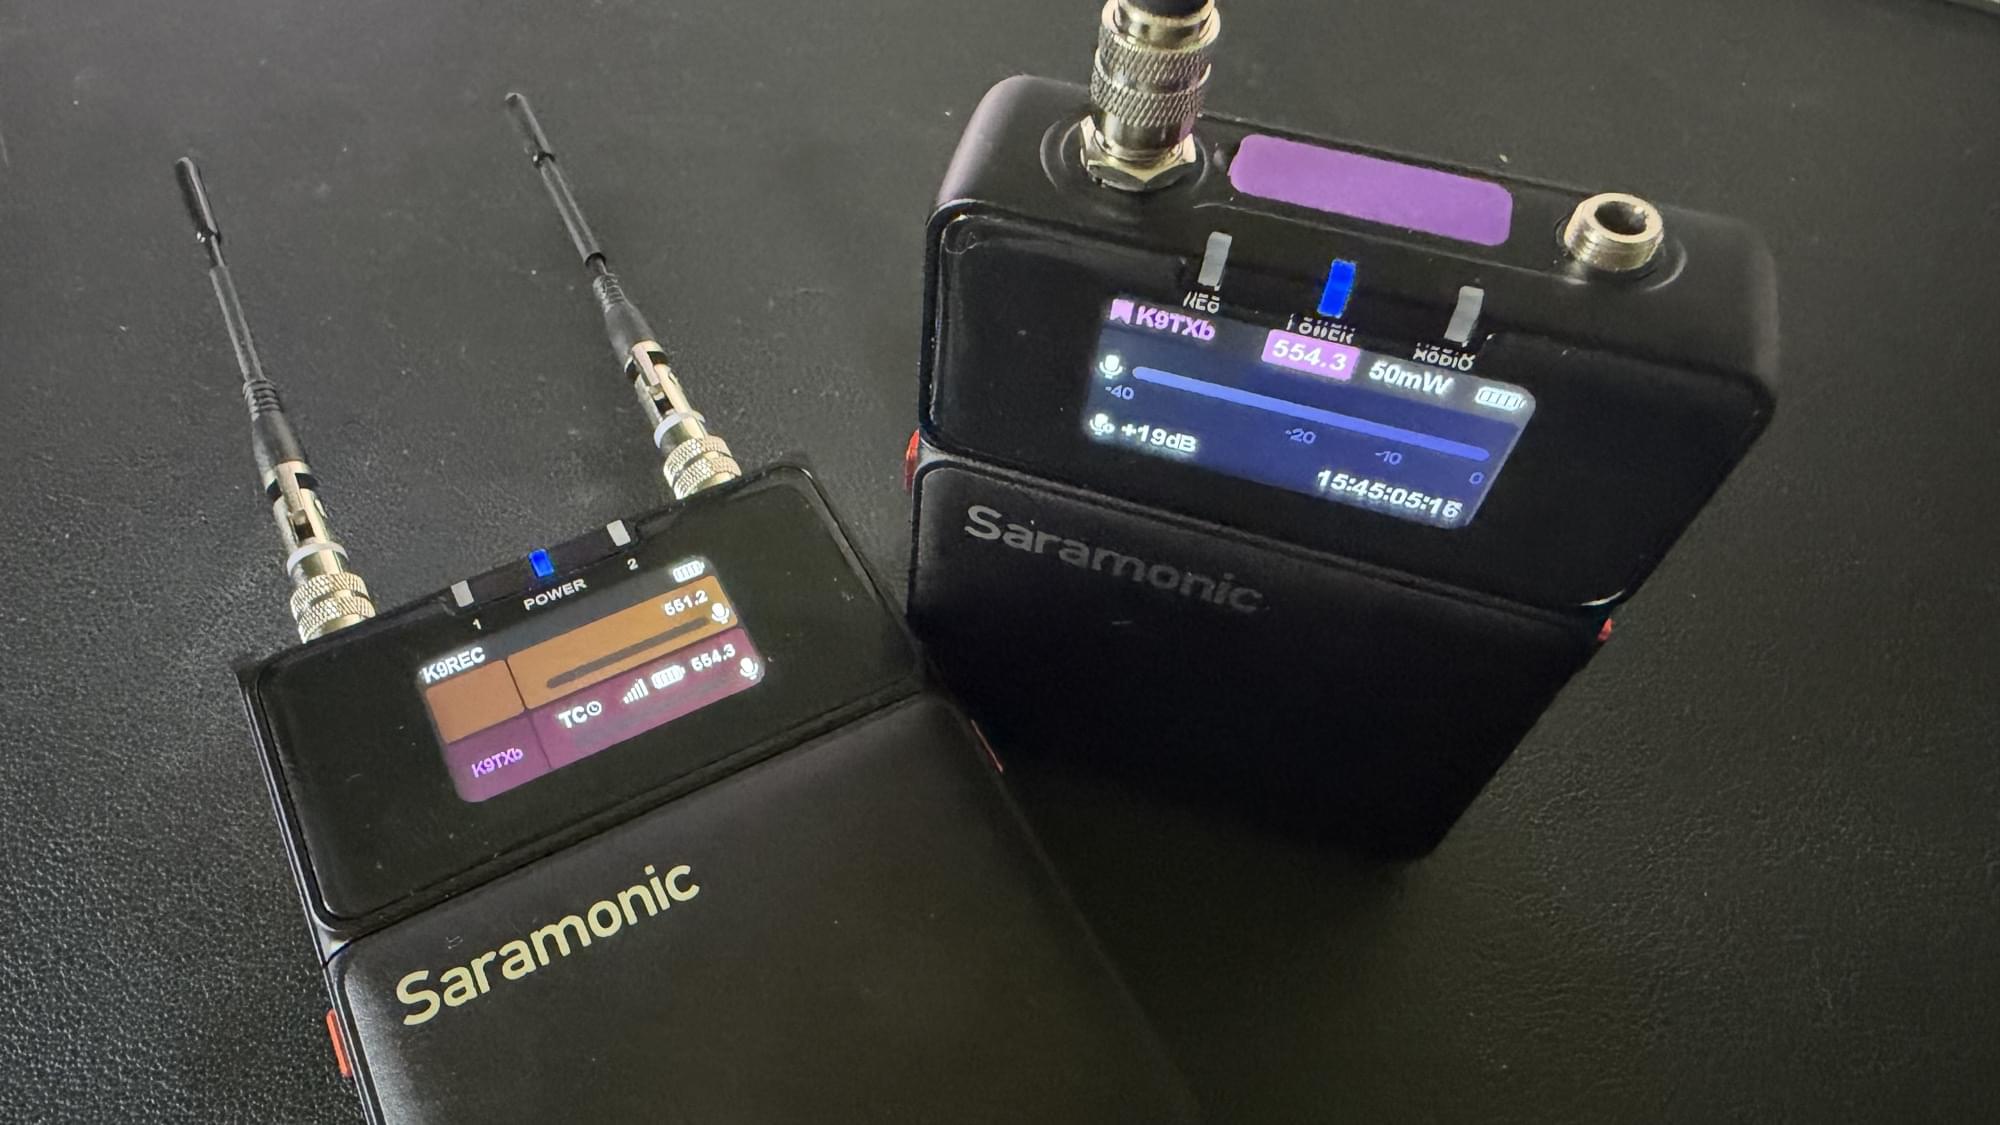
Saramonic has their own timecode ecosystem, but I wanted to see if I could work my existing Tentacle Sync units into the workflow. You can dive into the menu (WIRELESS & FREQ >>> TC SYNC) and set to external sync, or use the shortcut of pressing and holding the down button. The Tentacles synced easily via the 3.5mm TRS input, as long as the Tentacle was outputting a line level signal.
I also wanted to jam sync over USB so I didn’t have to worry about plugging and unplugging the mic. I ordered the Saramonic SR-USB-C02 timecode cable, changed the TC input menu to USB, and it synced just as easily as the TRS.
Using the app, you designate one transmitter as the MASTER for timecode, then sync the system to it (more on that later). I wish the receiver could be the TC master instead, so I could keep the Tentacle in the bag alongside it.
The receivers can record 32-bit Float onboard but can’t simultaneously transmit while local record is running — something that should be fixable via app/firmware once a certain patent expires soon.
In the Field
I used the system on a simple corporate talking-head shoot in downtown Jackson, MS, where I’ve had interference issues with my G4s before. The Saramonic was clean and interference-free. The client wanted the mic straight into the camera (Canon C50) instead of a separate recorder.
I ran my COS-11 through the Saramonic into channel 1 (XLR) and a Sennheiser 8040 on a boom directly into channel 2 (XLR). The wireless lav held up surprisingly well against the boom, and the Saramonic’s dynamic range was definitely wider than my analog UHF system.
One quick note on digital vs. analog: digital systems have a hard SPL ceiling. If the source overwhelms the mic’s capability at the point of capture, no amount of headroom downstream — not even 32-bit Float — can undo that distortion. The whole signal chain matters, not just the transmitter and recorder.
No interference, wide dynamic range, and a clean balanced signal over XLR — my big concerns were put to rest.
I used Panasonic Eneloop rechargeable AAs in both transmitter and receiver. After a solid 4-hour session, the transmitter dipped to three bars (out of four); the receiver dropped to half. I could have supplemented with a USB battery bank to run longer, and probably will when using it in a bag.
Overall: great audio quality, no interference, easy to use, and a genuinely helpful top-facing display on the transmitter. A clear upgrade over the G4s and in a separate class from lower-level 2.4GHz systems.
Menu and App Issues
My biggest friction point is menu organization, both on the units and in the Saramonic System iOS app.
On the transmitter, the SD card format button is buried under DEVICE MGMT > SYS > SD CARD when I’d expect it under REC & FILES. TC SYNC lives under WIRELESS & FREQ for no clear reason. I understand protecting against accidental formatting, but a couple of these settings are more levels deep than they need to be. I’d also like the transmitter to auto mount over USB without manually enabling READ mode first.

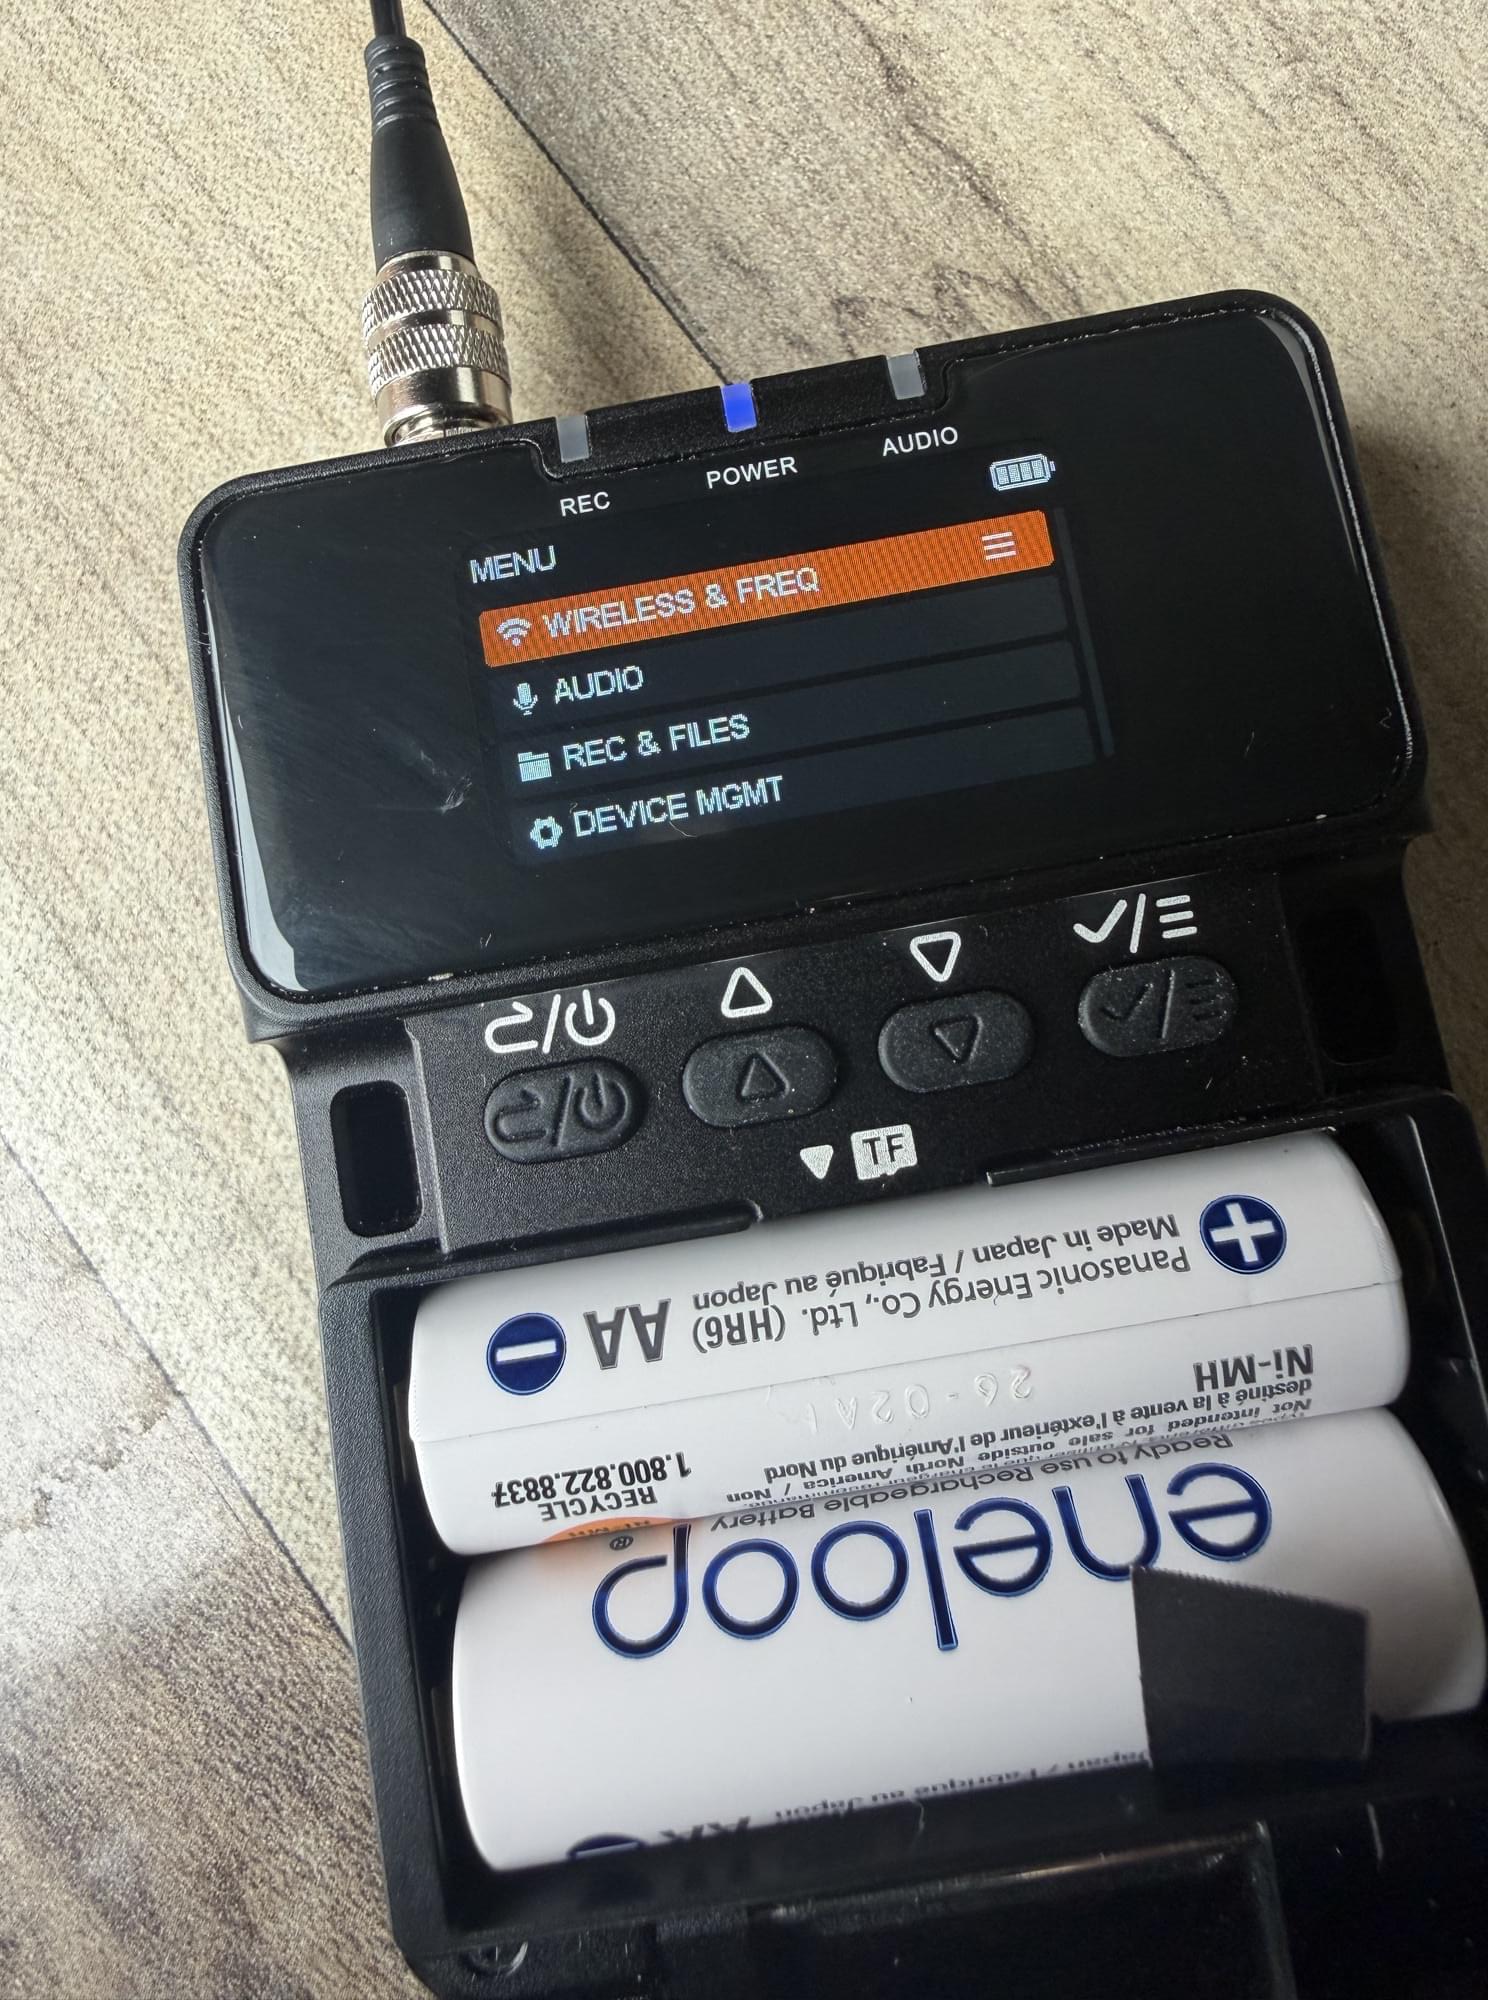
The physical button shortcuts, at least, are handy:
- Transmitter: Hold the return/power button to mute; Hold UP for the record menu then press the check button to start belt pack record; Hold DOWN for the TC menu (internal/external sync and source)
- Receiver: Hold UP to adjust Channel 1 gain; Hold DOWN to adjust Channel 2 gain
The receiver menu is a simplified version of the transmitter’s, with fewer options.
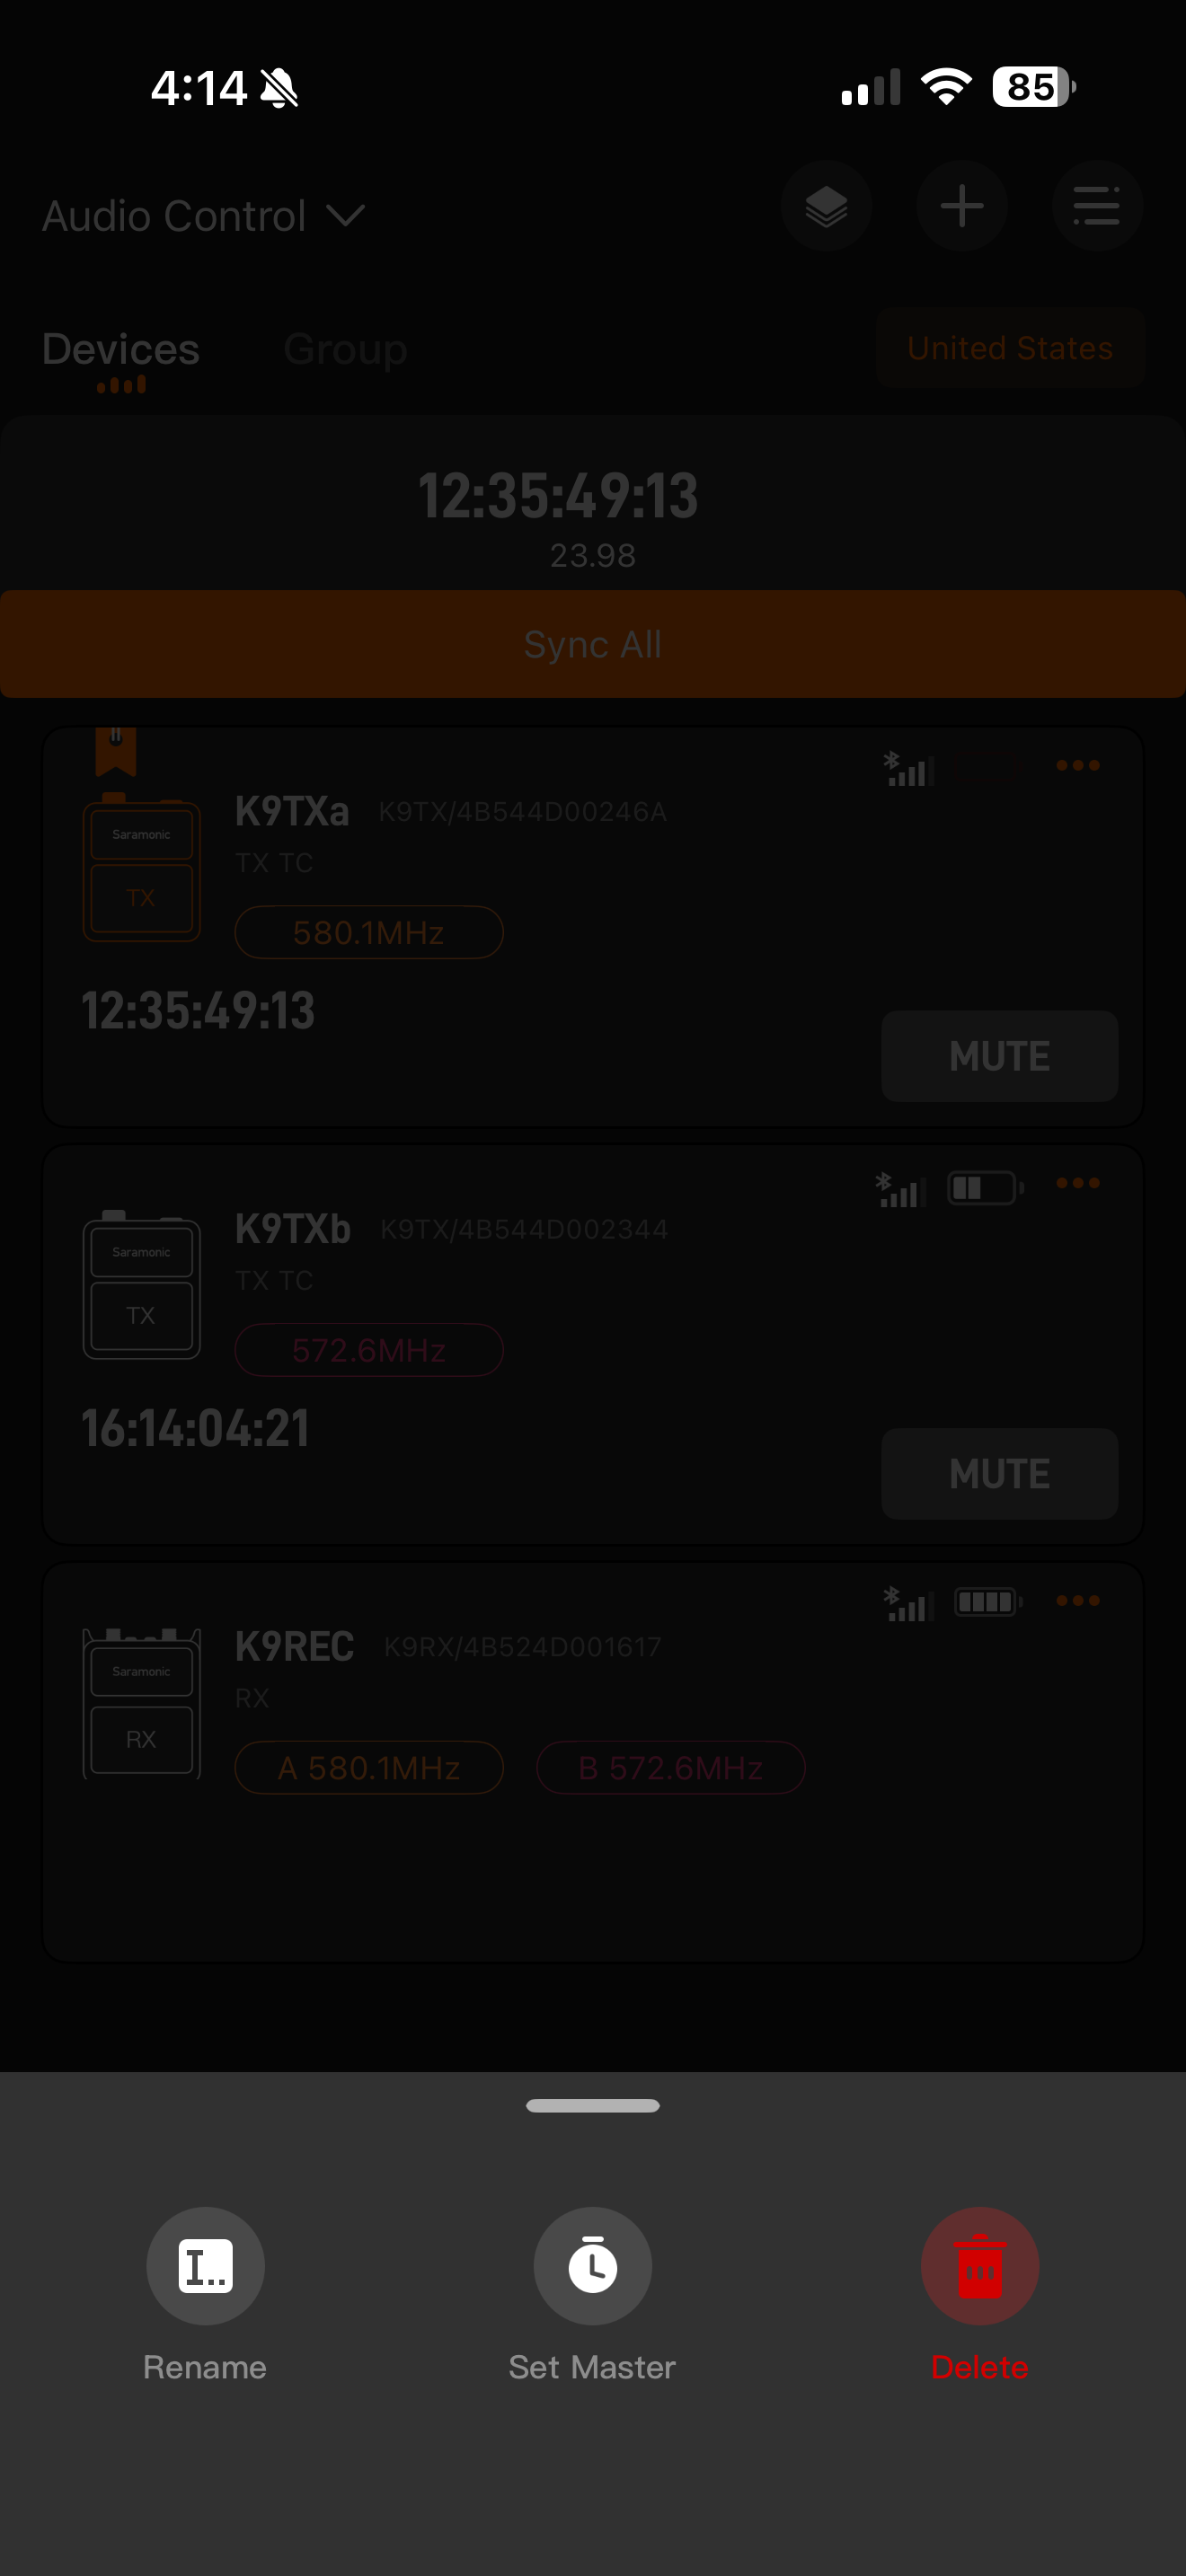
In the iOS app, timecode setup is scattered across a few screens. Syncing and setting timecode within each unit’s submenu is simple enough, but setting a unit as master timecode isn’t in the TC menu at all — you have to go back to the main Device menu, tap the triple-dot menu for the non-master device, and set it as master from there, oddly placed alongside “Rename” and “Delete.” Once that’s done, syncing is easy: hit “Sync All” at the top of the device screen for date format, user bit customization, and time base.

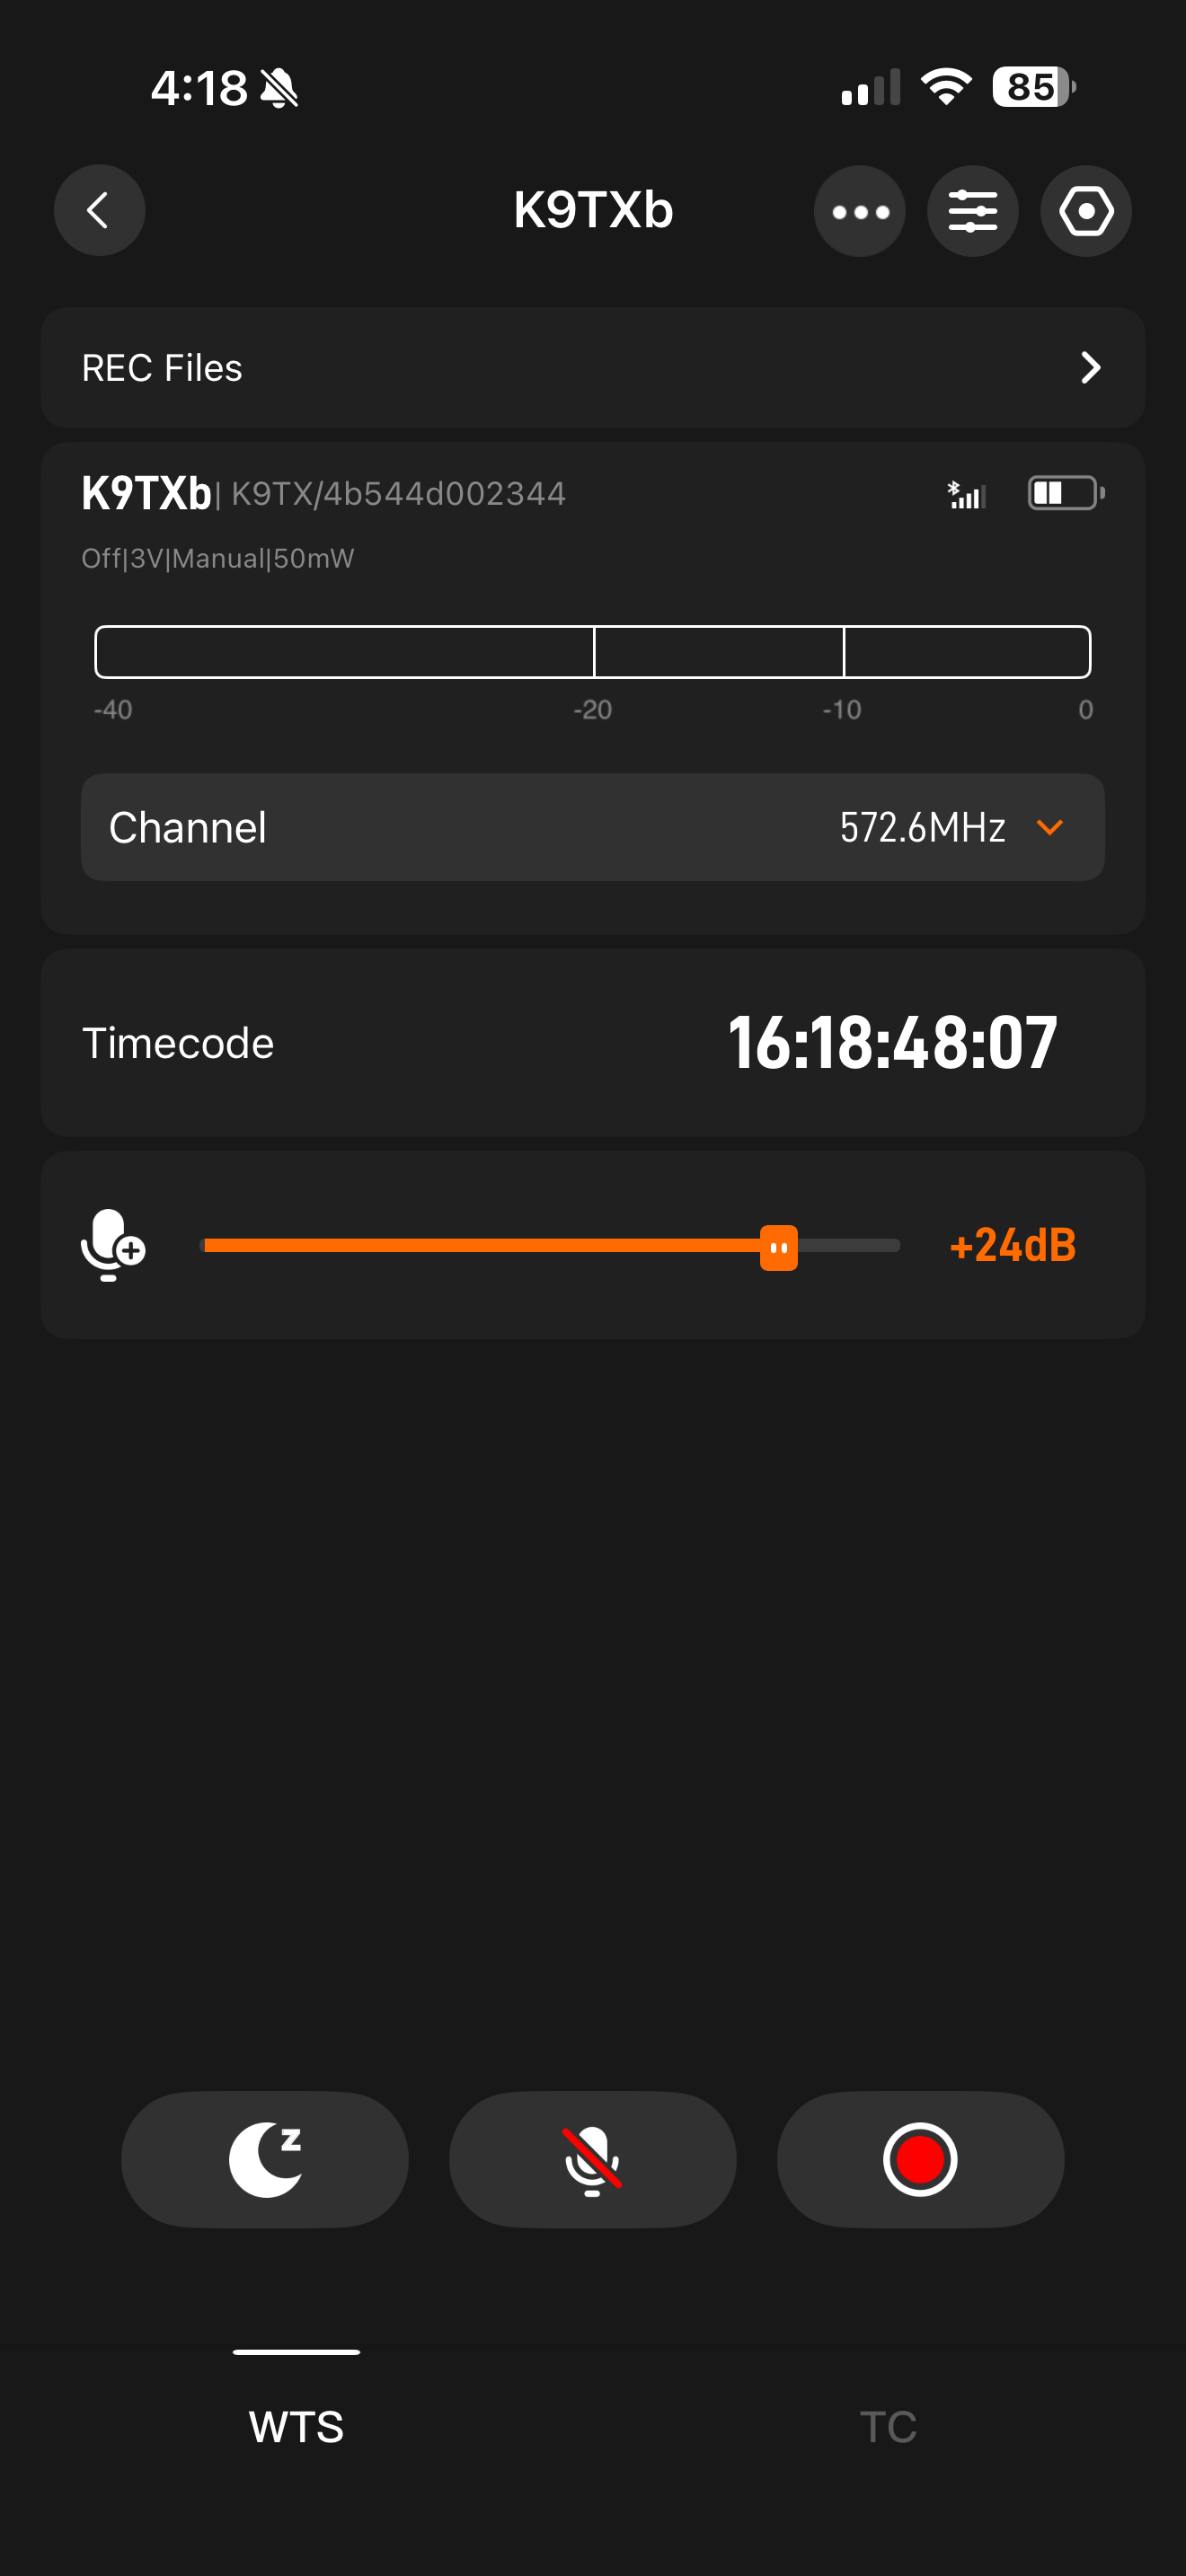
You can set mic gain in the transmitter menu by dragging a slider from +0dB to +30dB — a little fiddly with big fingers; I’d prefer stepped up/down arrows for 1dB increments. Changing transmitter frequency via the app, though, is fast and simple. The upper-right hexagon button opens a device menu for high/low cut, mic voltage, RF power, and battery type (Lithium-Ion, Alkaline, 1.5V Lithium-Ion, 1.2V NiMH, 3.7V Lithium) — I’d prefer these options live one level up to cut down on drilling.

The receiver menu lets you configure levels and signal routing for the two outputs and change reception bands to match the transmitters. The app also supports presets, which I haven’t tried yet.
The app looks nice, but needs to be a bit more streamlined for real-time use mid-shoot with a client looking over your shoulder.
The Mics
The included lavs sound really good for stock microphones — tiny capsules that hide easily, a little bassier than my COS-11 and a bit hotter. They punch above their weight class, though they won’t replace a mic that costs as much as the whole K9 kit.

According to Saramonic, the K9-Lavalier is also waterproof and dustproof with a Kevlar cable. Saramonic even has a video showing them doing bad things to their mic. Like using it to pickup a dumbbell weight and dunking it in a glass with coffee and tea. And the drill test…. It’s the stuff of coiled lav cable nightmares.

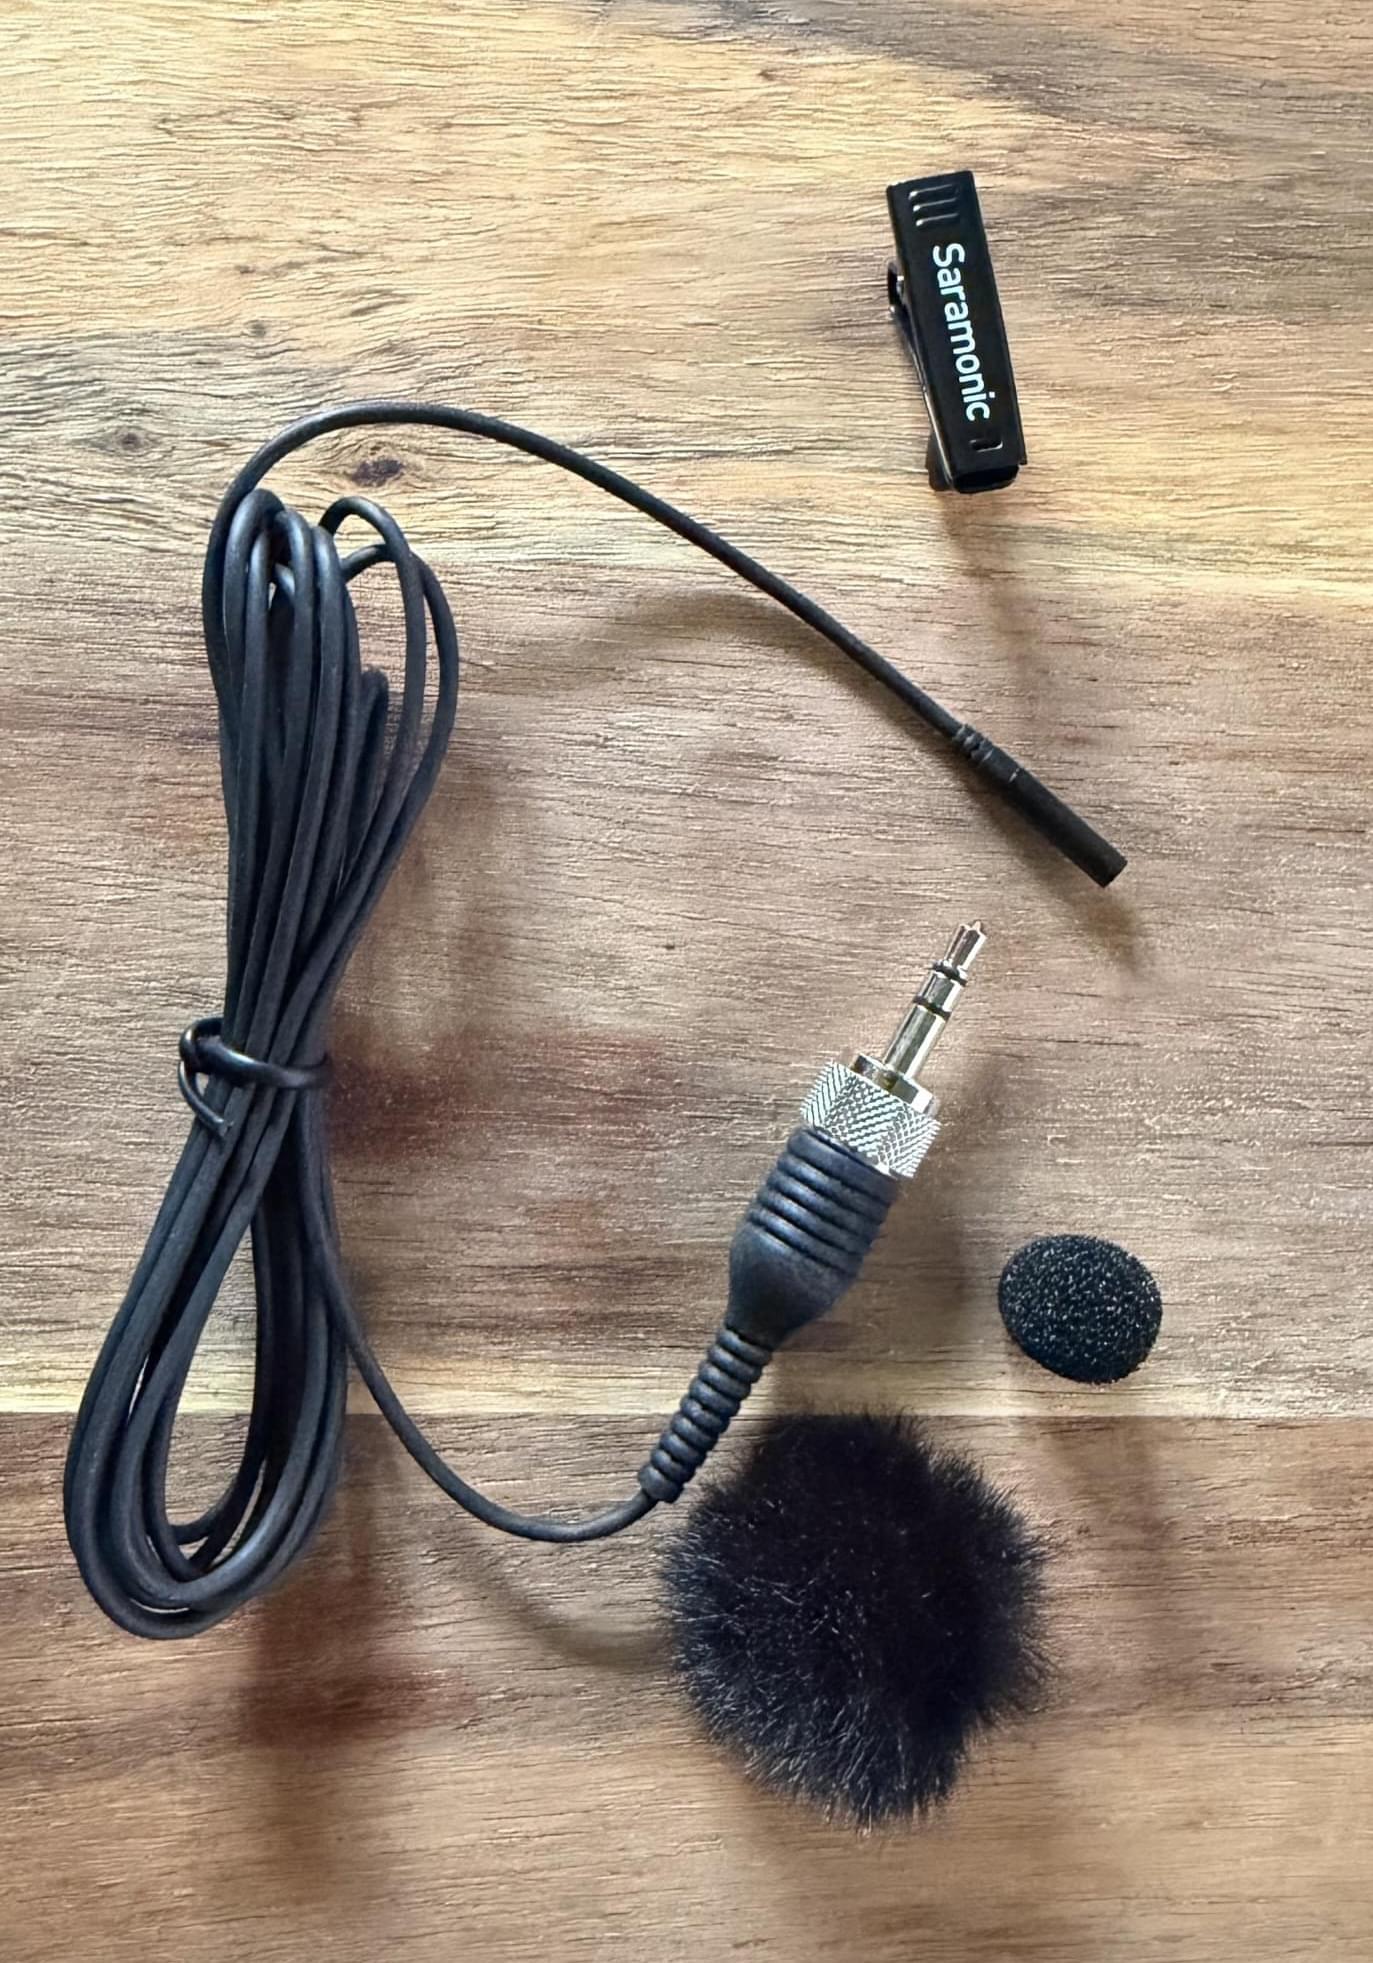
I tested them against a COS-11, DPA 4060, and Sennheiser ME 2, both onboard the transmitter and through the receiver into a Deity PR-4. You can judge for yourself here.

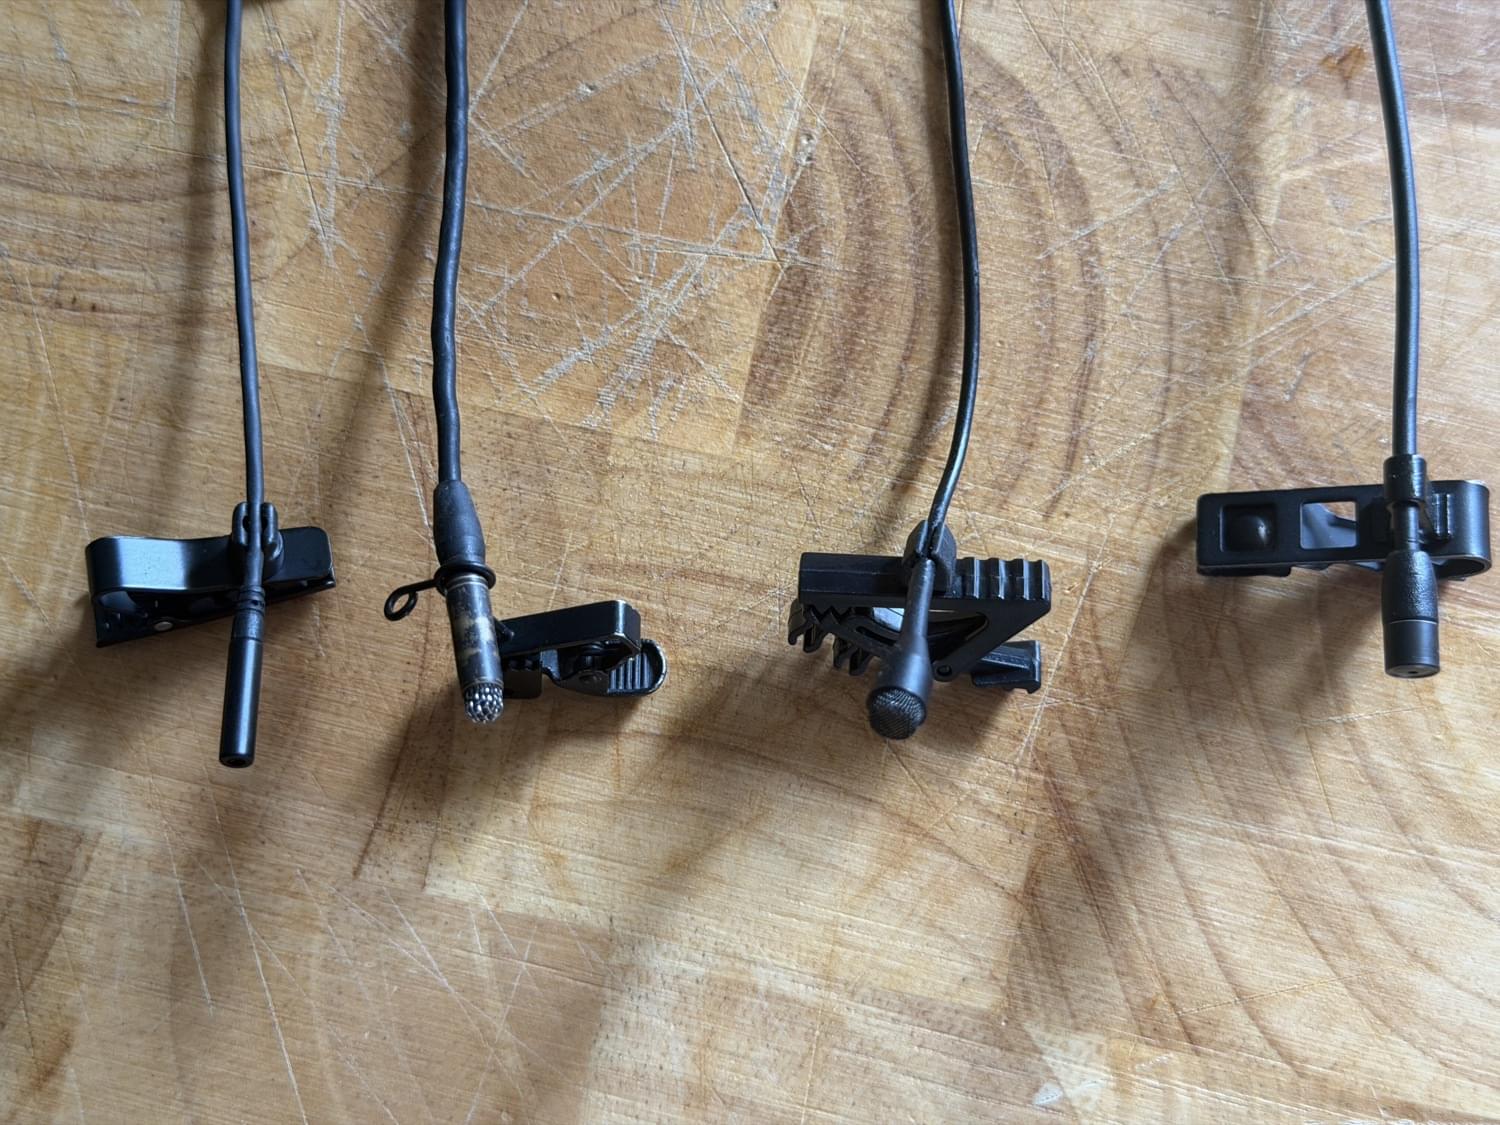

“Four lavalieres not to be confuse with the Four Tenors. The K9 lav is tiny. L-R K9, COS-11, DPA, ME-2”
What You Get
The K9 system comes with 2 transmitters, 1 receiver, 2 lavalier mics, and an assortment of antennas and cables, all in a hard shell case, priced at $699. Wow.
Pros
- Clean, interference-free digital signal even in a challenging RF environment
- Nice build: real antennas, adjustable transmit power, color-coded gel inserts, solid metal housing
- Included lav mics punch above their price class
- A lot of bang for the $699
Cons
- Beltpack menu organization is weird in places (SD format and READ mode buried several levels deep)
- No auto-mount over USB — requires manually entering READ mode every time
- App is about 75% of the way to great — functional but needs streamlining for real-time field use
- App master timecode setting is hidden in an unrelated triple-dot menu, not the TC menu itself
Cautions
- Local record + simultaneous transmit isn’t possible in the US yet (patent-related, expected ~2028)
- Higher transmit power settings (100mW) burn through batteries fast — plan accordingly
- The USB timecode cable isn’t included — budget for it separately if you want that workflow
The Verdict
I would absolutely have spent my money on the Saramonic K9, especially at the $699 price point. The value proposition is great considering everything you get in the package. For me, the K9 is a solid upgrade over running dual Sennheiser G4 100 series wireless microphone systems, and it’s a no-brainer if you’re looking to move beyond a 2.4GHz-based system like the Rode Wireless Pro or DJI Mic 3. Did I mention what you get for $699?
Is the K9 going to replace a Lectrosonics in your bag? No. The Lectros are battle-tested, high-end systems that can withstand cosmic gamma rays and space invaders. The K9 is a nice mid-tier system that will serve well on corporate shoots and small crew documentary work. It will be an upgrade for most traditional social content creators. And unicorns.