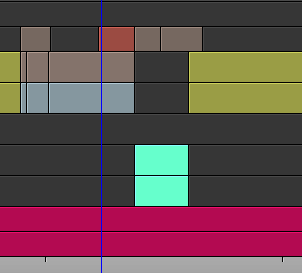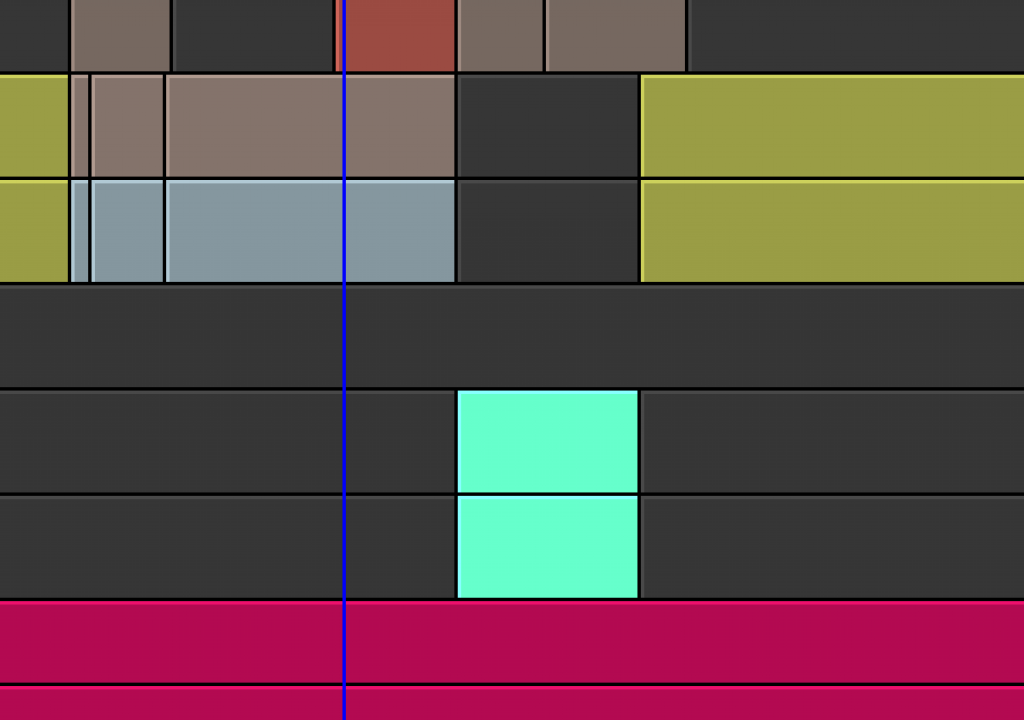
Avid released Media Composer 5 to some big changes and one of those changes that wasn’t so big (but did cause some discussion and frustration amongst longtime users) was exactly how you are able to change the color of clips in a bin. Media Composer has a very nice option where you can select clips in a bin, change the color of those clips and then the timeline can reflect the colors of those clips in a very bright way. I use this all the time to color different types of clips (interviews, b-roll, audio, specific takes) for easy identification when looking at a timeline. Before version 5 you could pick a custom color but with version 5 that changed. The custom color picker is hidden.
To change a clip color you select a single or multiple clips in a bin (you must be in the Brief or Text view) and choose Edit > Set Clip Color. In version 5, when you move to the menu fly-out you’ll see a palette of predefined colors:
Before version 5 there was a written choice of colors and the option to pick a new one via the operating system color picker. (I’m guessing this works the same on PC as well as Mac). Now there’s a palette of many more default color choices than before but the list view is gone as is the option to pick a new one. That still exists you just have to choose the Color option from a Bin column.
To do that just sort a bin by the Text tab and then choose the Color option from the Bin Column Selection:
Once that’s chosen you’ll get a new Bin column labeled Color. When a clip is colored a tiny rectangle will appear with the selected color:
To assign colors in the pre-5.0 manner just click on the color rectangle next to a clip and the old Media Composer color assignment pop-up will pop up:
Then you can choose one of the predefined colors or choose Pick… and get the OS color picker. On a Mac that means you can choose the crayon-style color picker:
Then you can also save those custom colors for later use by dragging a swatch from the color rectangle at the top of the color picker and placing it into one the wells at the bottom. And this is also the place to get specific RGB and CMYK numbers for dialing in a specific color anytime you’re in the Mac OS color picker:
To have those color reflected in the timeline as in the image at the top of this post, choose Source from the Clip Color pop-up located in the Timeline Fast (hamburger) menu:
Happy coloring!

