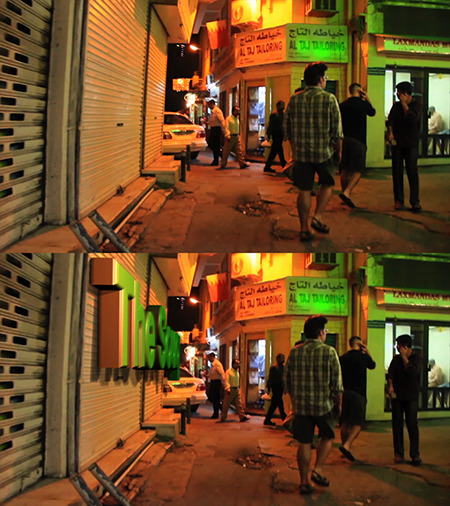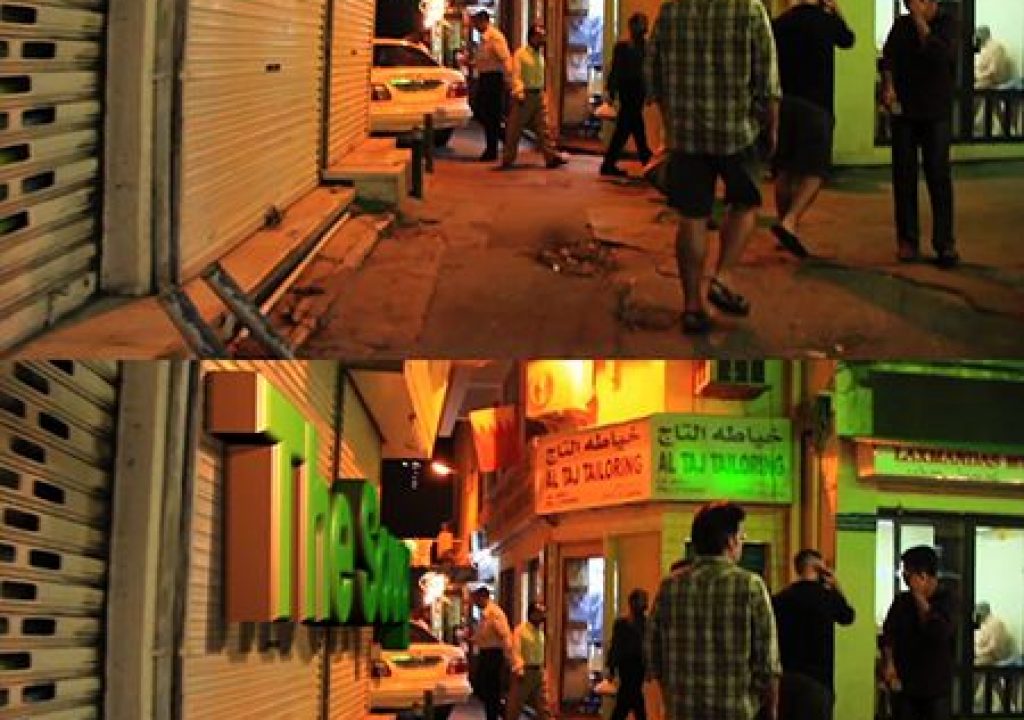
Since the announcement of the Adobe CS6 Production Premium was made, there are a lot of great tutorials and examples made with the product to show off the new features. Most use nicely shot footage with dolly shots or smooth steady-cam work with lots of great contrasting detail to track, which provide great results. Naturally had to try it with some of my own horrendous handheld DSLR video clips to see if I could put it to the test and how it held up. Let’s see how it did.
So what can this thing REALLY do?
I set out to find some typical handheld “recon” video you might expect to see from an inexperienced videographer with a DSLR that thinks they’re a trendy filmmaker – and I found some (in my own camera footage). Yeah, I know – I’m a post guy with a camera and I’ll admit it – but the stories I could tell of the footage I’ve been given by some studios/clients that spent a lot of money being “professionally shot”… but I digress.
I grabbed a quick clip from a recent trip I took with my colleagues, Barry Andersson and Lee Varis to do some training with the US troops in Bahrain. My first visit to the Middle East so our Marine guides took us down to the “Souq” one evening and I pretty much just let the camera roll hanging around my neck. Even with all my natural “padding”, it’s pretty shaky – check out the original short clip:
So we’ve established that this is a dreadful shot. Tough. The studio still wants you to track it and make it work, right?
Okay – so here’s the process…
First, I selected the clip in the Timeline and applied the Camera Tracker from the Tracking panel. It analyses the footage first and then creates the 3D tracking camera and the spreads multicolored points all over your scene.
Next I scrubbed through the video clip and looked for points where that stayed in the scene the entire length of the clip. I need those points to be part of my “anchor” that I’m counting on for my tracked text I’m inserting.
Simply hovering the mouse over a triangulation of points will position a “target” in various planes. You can select more than three point triangulation (the default) by simply click-dragging the cursor around several points that appear to be on a similar plane to the one you’re tracking.
Since I intend to add 3D text to this closed roll-up gate, I select the “Create Text and Camera” option by right-clicking on the target that’s in position.
A 3D camera is created and the text layer is already set as a 3D layer.
Since After Effects CS6 can create 3D Extruded Text, I’ve set the bevel style to Convex, at 1.0 and the Extrusion amount of 5.0.
Continued on Next Page…
.
Since the 3D extruded text layer looks like a blob until I add some light to it, I create a couple of spot lights that simulate the light reflecting in the scene to help make the text fit in more realistically. I check the “Casts Shadows” option and set the amount of diffusion for each light’s shadow.
Each light needs to be positioned and pointed in the correct direction in 3D space to get the best, more believable results. Also, the material options for the 3D text layer need to be adjusted to give the best result in specular shine, diffusion and reflectivity.
I want believable shadows cast on the roll-up doors, so I go back to my tracked footage layer in the Timeline and position the cursor to hover over the same triangulation I used to create the 3D camera and text layer and select “Create Shadow Catcher” – which is basically similar to a solid layer that is set to the material options of ” Accepts Shadows Only”.
This Shadow Catcher layer is positioned directly behind the 3D text layer and scaled up to be large enough to capture all the shadows from the spot lights.
The Result?
The tracker did a pretty good job overall considering what it had to work with. I did have to tweak the position a bit along the Timeline with Keyframes to keep it from “floating” a bit but it was an easy “tweak”. I also added motion blur to help make the text blend in more naturally.
Here’s the final rendered video:
Overall – I must say I’m pretty impressed with the first release of this feature and applaud Adobe for tackling such a big feature on top of totally re-vamping the 3D engine this go-round!
~ Jeff
______________________________________________________________
Jeff Foster is a published author of several how-to books and training videos in the motion graphics, animation and video production industries and is an award-winning video producer and artist. Visit his web site to learn more about his training methods, tips & tricks at PixelPainter.com

