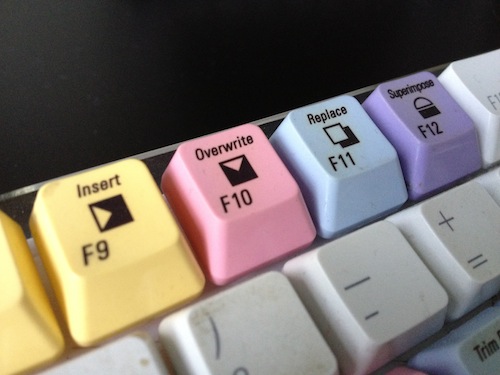
In Part 1 we covered the JKL keys for playing footage and the IO keys with various modifiers to mark and clear in and out points. We also covered zooming in the timeline. In this installment, we’ll cover the Insert, Overwrite and Replace buttons; and the Pen Tool.
Many editors in FCP prefer to drag clips and reposition them in the timeline with the mouse. This is a workflow that will work very similarly in Avid Media Composer, especially with the advent of SmartTools, which make FCP-like timeline editing easier in Media Composer. But, for many other editors, the speed of keyboard-based editing keeps the flow of the edit moving and increases efficiency and precision. If this is the way that you edit, then obviously understanding how the Insert, Overwrite, and Replace buttons work will be critical.
The Replace button is not mapped to the keyboard. As we explained in Part 1, mapping the keys to new positions is quite simple, and if your muscle memory of years of editing with the keyboard in FCP is strong, you may want to map Media Composer’s keyboard to match FCP’s. The Insert, Overwrite and Replace Edit buttons are in the same tab (Edit) of the Command Console (see Part 1) as the Clear In and Clear Out buttons were.
My philosophy on Mapping My keyboard is massively customized. It is completely unrecognizable from the standard FCP or Media Composer default. I have come to believe that this is not necessarily a good thing. Often times, when trying to teach or give presentations or freelance, I end up with a standard keyboard configuration. When this happens, my years of “muscle memory” fail me and I fumble to find the keys that do what I want. Obviously, in freelance situations, I can bring my custom keyboard with me and install it so that I’m working with a familiar keyboard layout, but there have been times when I’m collaborating with another editor where my reliance on a heavily modified keyboard layout has caused issues. My current philosophy on mapping the keyboard is to use as much of the standard keyboard mapping as possible, but definitely utilize remapped keys whenever it can improve efficiency. Also, if there are keys that you rarely or never use, map the “blank” key over them so that accidentally hitting the wrong key does less potential damage. I like to keep the most common keystrokes in positions so that my hand doesn’t have to move much. This makes “touch typing” much easier and less prone to mistaken keystrokes. Beyond the “core” keys, stick with the defaults or use mnemonics to help remember which commands are attached to which keys. For example, placing the “Find Frame” command on the “F” key.

