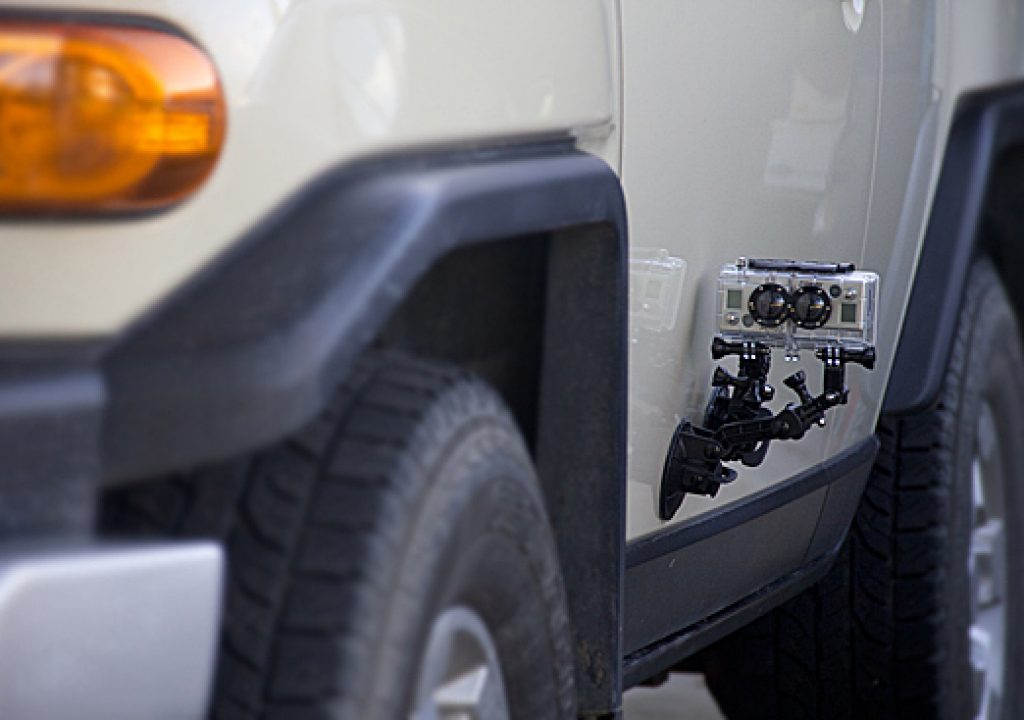
Adobe included a 1-step option to create a 3D Stereo Camera Rig in After Effects CS5.5, to everyone’s enthusiasm for a simpler workflow in 3D space. Great if you are working in 3D space in After Effects, but what about an easy option for 3D Stereo pairs captured by a 3D camera or twin cameras on a rig? In this tutorial I’ll show you how to quickly modify the Stereo 3D Rig in After Effects to quickly mux your L&R video files and adjust the convergence for anaglyph, interlaced or stereo pairs output.
Getting Started
I start by importing my video pairs from a pair of GoPro Hero2 cameras in a 3D Stereo Housing into a new project in After Effects CS5.5, and create a new Comp that matches the footage and rename it. I then add the R side footage to the comp and do my edits on the timeline to trim the footage to the desired length. Note: you can also add additional clips from the same camera/rig if the setup hasn’t changed from shot to shot. Just be sure you are add only the R side clips to this comp.
Create a comp and clip/edit the R side footage clips
After I’ve completed my trim/edits on the R side clip I am ready to create the 3D Stereo Camera rig. With the layer selected I choose Layer>Camera>Create Stereo 3D Rig. Since we are working with 2D layers and not working in 3D space a dialog pops up warning: “Camera and Lights do not affect 2D layers…” – ignore this warning and click “OK”.
Create a Stereo 3D Rig from the selected footage layer
The result will be several comps created for you with cameras and layers automatically generated, and you will be looking at a final comp with “Stereo 3D” added to the name of your original comp naming.
Modifying (Fooling) the Stereo 3D Rig Process
Since the Stereo 3D Rig is designed to look at a scene in 3D space, the R&L eye comps are dinged to point at your original comp from two different cameras. To “fool” the cameras we need to put different images in front of them to get the result we’re trying to achieve.
I start by duplicating my original comp in the Project panel, then I rename both the original comp and the duplicate comp for R & L eyes.
Duplicate the original comp and rename both the original and duplicate comps
I then open the duplicated L comp and replace the R footage layer with the L footage clip, by selecting the layer in the Timeline and Option(Alt)-clicking and dragging the replacement clip on top of the selected layer in the Timeline. This retains all the cropping/editing I’ve already done on the R footage clip in my original comp. Be sure to repeat for any subsequent clips you’ve added to your original comp.
Replace the footage layer in the duplicated (L eye) comp withe the L footage clip
CONTINUED ON NEXT PAGE…
.
Next, I open up the Left Eye comp that was automatically created by the Stereo 3D Rig and unlock the comp layer so it can be modified. It will be the original comp name. I then select the duplicated L comp that I have swapped the R & L footage clips in and replace the comp in the Timeline.
Swap the sub-comps from R to L in the Left Eye comp
Adjusting the Convergence and Alignment
Note: If you don’t have a 3D monitor with shutter goggles on your machine, then the best way to do this next step is with Red/Cyan anaglyph glasses.
I open up the final Stereo 3D comp and open up the Effects panel to make minor adjustments to the 3D Glasses effect. Since I’m merely combining my stereo pairs in 2D I don’t need to modify the camera separation or convergence settings in the Stereo 3D Controls effect.
With my anaglyph glasses on, I first adjust the Vertical Alignment by sight. I then adjust the Scene Convergence until I get the best results of correct depth of all items in the scene. You can scrub through the Timeline to check various positions as well as set keyframes to modify the convergence (depth) over time for an effect.
Adjust Vertical Alignment and Scene Convergence by eye using Red/Cyan glasses in Anaglyph viewing mode
Since the Stereo 3D Rig is designed for 3D space in AE, the 2D files will appear with a black frame around them when the comp is viewed to fit your window. To remedy this, simply adjust the Scale of the Stereo 3D Controls layer in the final Stereo 3D comp to approximate 105% to crop.
Scale up the Stereo 3D Controls layer to crop out the black frame around the view window
Various Preview & Output Options…
There are several options for outputting your completed 3D footage, including Red/Blue (Cyan) Anaglyph, Interlaced Upper/Lower, Over/Under stacked pairs and Side by Side Stereo Pairs.
There are several options for viewing and output from After Effects for the 3D Stereo workflow you desire
Jeff Foster is a published author of several how-to books and training videos in the motion graphics, animation and video production industries and is an award-winning video producer and artist. Visit his web site to learn more about his training methods, tips & tricks at PixelPainter.com

