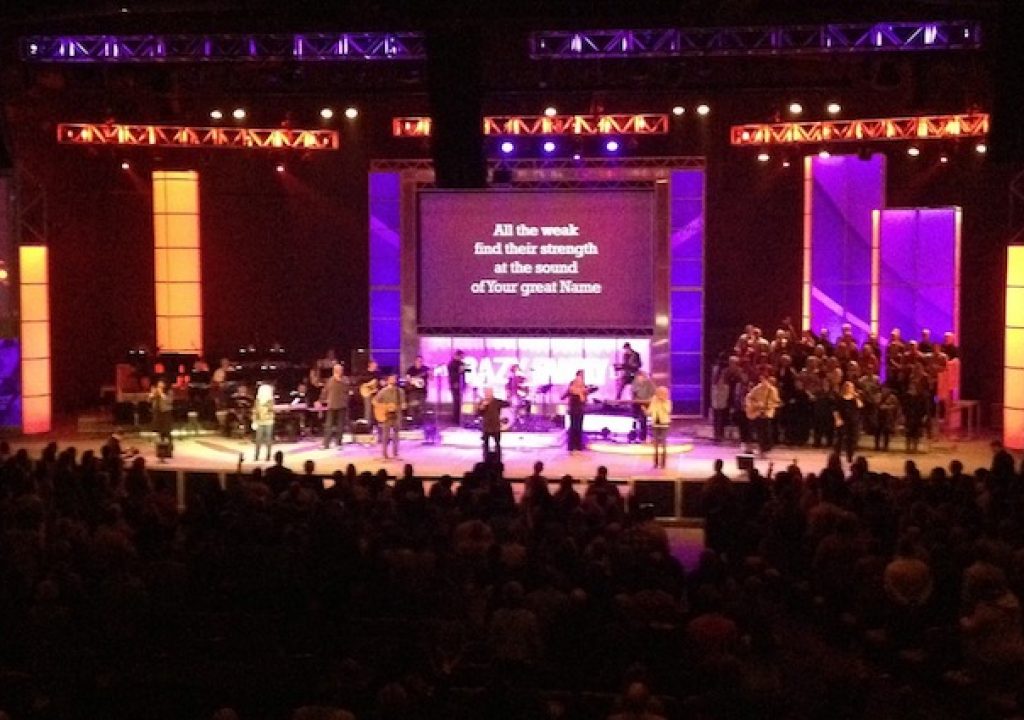
This will be the first of three posts about the basics of IMAG. We should probably start out with an explanation of what IMAG is: IMAG stands for “Image Magnification,” and is live multi-camera coverage of an event on big screens so the entire audience can see what’s happening on the stage. It’s similar to multi-camera TV coverage of an event (and sometimes the same feed), but created with people seated in the back of a big venue in mind. You see it at concerts, some award shows and conferences, and even large churches (where I gained my experience in IMAG). Usually the magic number for when you might start considering an IMAG system is when you have an audience of 1800 or more in your auditorium.
Part 1: The Gear
The (very) basic elements of an IMAG system are:
- Cameras, both on tripods and/or handheld
- Tally lights to know when each camera is on air
- Intercom packs/headsets for the director and camera operators to communicate
- A Switcher to cut between cameras/sources
- A way to see each source, as well as the Program and Preview feeds – typically a multi-viewer these days
- A Character Generator for any on-screen graphic needs
- A display for the audience to watch the feed, like a projector or LED screen
Of course there are other considerations, like cabling, signal converters, blackburst/genlock, etc., but the above is the basic skeleton of what you have to have, with #5 being the only semi-optional item.
Here’s an example of what a mid-range HD IMAG system looks like:
The Auditorium
The Control Room
The Director’s Station
The Switcher
This is the control room at Biltmore Baptist Church, where I worked for several years doing original content during the week and running the IMAG team every weekend. This setup consists of:
- 5 cameras
- 2 Panasonic HPX-370s on tripods in the middle of the auditorium seating
- 3 Panasonic HPX-170s handheld cameras on stage
- 2 separate character generators (Mac based running ProPresenter – an application somewhat unique to the church environment, but very powerful with video playback, linear (alpha) key output, etc.)
- A Ross Crossover 12 switcher
- 3 projectors and screens (big 8K Barco projectors – RLM-W8s if you’re interested)
- The two side-screens are mirrored, and are from the program feed of the switcher
- The center screen is fed by one of the character generators being passed through the switcher from an “AUX Bus” – or a separate, assignable output of the switcher.
- Various other supprt gear like routers, blackburst generators, recorders, etc.
Here’s a look at how complex the signal flow is for just the video signal of this system :
A setup like this can range anywhere from $100k – $300k or even more (this counts system design, gear, furniture, wiring, installation, etc.).
Large systems that run huge production switchers, enormous maxtrix routers, broadcast quality character generators and high-end cameras with great lenses can easily run $700k+.
A Flight Pack
It’s actually possible to build a portable system called a “flight pack” on a (relatively) small budget. A flight pack usually breaks down into 1 or 2 road cases, and doesn’t include the displays (projectors, LED screens, etc.), with the idea that the venue would have these already and you would just hook into them.
A budget flight pack might cost in the range of $12 – $25k depending on the quality of gear you get. There are some great options these days for a good flight pack. Blackmagic Design’s ATEM line is an incredible value for what you get. You can use a cheap consumer LCD for your multiviewer, prosumer cameras have great image quality (we used 3 Panasonic HPX-170’s as the handheld cameras at Biltmore, and they looked great on the huge screens), and you can get separate ClearComm belt-packs and tally converters (like the one from DataVideo, though you have to do a little extra wiring) to give your prosumer camera most of the features of a full IMAG camera setup. You can even get A/V combo cables from companies like Canare that can carry HD-SDI, tally, and intercomm down one cable for ease of use. Some switchers have character generators built in, or you can look at cheaper systems like Compix, or even go with a non-traditional but very flexible mac based system like ProPresenter (which is what we used at Biltmore – it even has linear key capabilities!).
The above is just a very basic starting point if you’re interested in hacking together a budget flight-pack. There are also ready to go systems from companies like Mobile Studios, DataVideo, Newtek’s Tricaster, etc. If you do decide to make one, I highly recommend paying a professional to help you do the system design unless you really know what you’re doing; there’s a lot of details to take into account with the signal flow.
So there’a very basic introduction to the gear world of IMAG. The next two parts of this series will cover how it all actually works together and how to run it well! Read Part 2 here.

