One of the most significant but underused sections of After Effects has to be its vector-based painting engine, introduced back in version 6. One of the capabilities of this engine is the ability to clone one area of a piece of footage onto another area, including cloning from different points in time. As sexy as that sounds, in the real world cloning can quickly become tedious, especially when the object you are trying to replicate (or eliminate) is moving. Fortunately, other features in After Effects – including Expressions and its Motion Tracker – can greatly ease the pain. In this column, we’ll walk through such a task. These same general techniques can probably be applied to other compositing/motion graphics programs as well.
Holes in the sky
In our example, we have a piece of footage shot at an airport with a plane in the foreground, and a second plane in the background taking off. (The shot we’re using is from the Artbeats Establishments: Mixed Cuts stock footage library; if you have it, import clip EM107 and follow along.) The director is concerned that the second plane might confuse the issue of which one the viewer should be paying attention to, and asks if you could “just” remove it from the shot.
Our goal is to remove the second, smaller plane between the control tower and the hero plane (left). Cloning in another piece of sky might result in an obvious spot, as the sky actually consists of a subtle gradation (center). By using a combination of tracking plus cloning from a time-shifted frame, we can ensure we always clone an appropriate piece of nearby sky that follows the smaller plane’s movements (right).
Your first thought might be “there’s a lot of nice, even, blank sky in this shot; I’ll just clone a section of it over the unwanted plane.” But even a fairly even sky such as this one still has subtle variations and gradations, which can make the cloned spot flash out like a beacon (see above). A better approach is to clone the same section of the sky back onto itself, meaning you should have the closest possible match. The trick comes in cloning from a time when the second plane is not present – such earlier or later. To pull this off, make sure your clip has some handle (extra time at the head and/or tail) to be able to clone from. If the clouds move, you may still have some trouble matching their pattern; you will want to clone from the nearest time possible where the plane is not present.
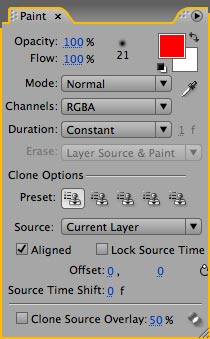
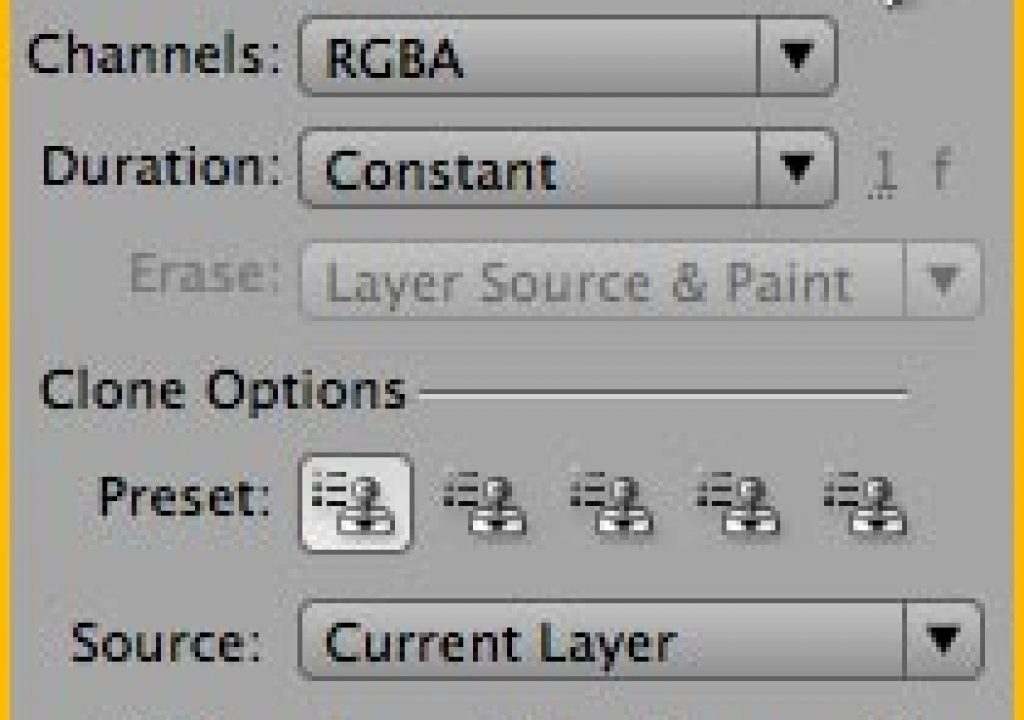
To accomplish this in After Effects, place the footage in a composition, select the resulting layer, and double-click it to open its Layer window. In the Tools palette, select the Clone tool – the shortcut is Command+B on Mac (Control+B on Windows). If the Auto Open Panels option is checked (it defaults to On – look for it above the Comp panel in After Effects CS3), this will open the Paint and Brush Tips panels. Make sure you select a brush large enough to cover the smaller plane. Dial in a feathered edge that is large enough to create a nice blend, but not so large that it causes the plane to be revealed inside these edges. You can dynamically resize your brush in the Layer window by placing the cursor over the object you want to clone, holding down the Command (Control) key, and dragging the cursor to resize the brush’s Diameter. Let go of the Command (Control) key but keep dragging to resize the stroke’s Hardness (feathering amount) – you will see a second circle which shows the size of the feather.
If you wanted to clone from one place in the sky to another, hold down the Option (Alt) key and click on where you want to clone from, then start painting over the plane – if your brush is big enough, one click should do it. Since we want to clone “from” and “to” the same point, just click twice on the plane. Type PP (two P’s in quick succession) to reveal the strokes you’ve made in the Timeline window. Paint will appear as an effect that has been added to the original layer; each stroke will appear as a separate sub-layer. When you’re done experimenting, delete your practice strokes.
Twirl open the Clone stroke’s parameters in the Timeline window, then twirl open its Stroke Options. At the bottom of the list is Clone Time Shift; offset this earlier or later in time until the plane is replaced with clean sky from a time before or after the plane entered this particular point in space.
Life seems cool, until we preview the cloned shot and realize we’ve only fixed one point in space – as the plane flies across the sky, it emerges from behind our cloned sky. Don’t create a new clone stroke for every point in time the plane reappears; you’ll end up with a bunch of strokes, which makes them harder to manage. A better approach is to animate Stroke Options > Clone Position and Transform > Position to make the stroke follow the plane. Best is to make After Effects animate the stroke for you, using its Motion Tracker – which we’ll discuss on the next page.
Making tracks
The Motion Tracker and Stabilizer were completely overhauled in After Effects 6.0 at the same time the Paint Tools were introduced; although the look of their options have changed in subsequent versions, the Tracker still works pretty much the same. One of the nicer features introduced to the Tracker in version 6 was that no longer have to apply a track as soon as your create it – you can make as many tracks as you want, and use them later as your needs (or desired workflow) dictates. There is no need to manually save tracks, as they are now automatically stored as keyframe data for the layer.
Expressive clones
To finish off our repair, we need to have the Clone stroke’s Clone Position (the “from” point) and Position (the “to” point) use the track data we just created. You can copy and paste keyframes; in our case, we’ll take advantage of expressions. (Commotion and combustion have their own ways to assign track data to paint strokes.)
If you don’t already have the Clone parameters twirled open in the Timeline panel, type PP, and twirl open its Stroke Options and Transform parameters. Then type Shift+U to also reveal the keyframes created by the Motion Tracker. This is lot of parameters for the Timeline window to display; to reduce the clutter, you can employ another feature introduced back in After Effects 6.0: Solo Selected. Click on the Track Point > Attach Point parameter, then Command+click (Control+click) on Stroke Options > Clone Position, Stroke Options > Clone Time Shift, and Transform > Position to select them as well. Type SS (two S’s in quick succession), and only the selected parameters will remain in the Timeline window. Don’t confuse the stroke’s Position parameter with the layer’s overall Position! Pay attention to how far the parameter’s name is indented; make sure it is inset from the Clone stroke’s name.
Time to make the stroke follow the track. Option+click (Alt+click) on the animation stopwatch for Clone Position to enable Expressions for this parameter. Then drag the pick whip tool that appears for this parameter up to the words Attach Point, and hit Enter – Clone Position will now be expressed to follow the Attach Point. Then do the exact same for the stroke’s Position. RAM Preview, and the plane should now be cloned out.
The Timeline window of our finished project (this screen capture is from version 6; the information is the same through CS3). The Clone stroke’s Clone Position and new Position are expressed to follow the Attach Point keyframes created by the motion tracker.
If you can still see pieces of the plane, you may need to increase the stroke’s Diameter. If pieces of something else in the scene – such as the main plane – come too close to the cloned-out plane and momentarily appear in the sky, you may need to change the time you cloned from. You can keyframe the Clone Time Shift parameter same as any other; for example, you might need to move from two seconds earlier to two seconds later in time. Using Hold keyframes will ensure you don’t accidentally interpolate through “zero time” where you will just be cloning the original plane back on top of itself.
If that seems like a lot of steps, we can honestly tell you it takes less time to actually do than to read about it! The hidden story in all of this is: When possible, let the tool do the work for you. You’ll save valuable brain cells and hair, plus get more sleep as well.
The content contained in our books, videos, blogs, and articles for other sites are all copyright Crish Design, except where otherwise attributed.

