A lot of people are surprised when they hear that the Smoke 30-day trial includes free technical support. But at Autodesk, we think that support is just as important as creative tools.
My name is Robert Adam and I’m a Knowledge Specialist with Autodesk Customer support. I’ve put this guide to support options together to make sure you have the best experience trying Smoke.
The best way to get a taste of Smoke’s awesome features is to install the trial. It’s free and you have 30 days to play around with Smoke and discover the things it can do.
Make Sure You’re Ready for the Trial
You can try Smoke on most Intel Macs, as long as the screen has a resolution of 1440×900 or higher. You can try it on a Mac Pro, an iMac and even a MacBook laptop. For an optimal experience I recommend using hardware as close to the system requirements as possible.
Once you have made sure your Mac can handle Smoke, it’s time to prepare your system for the installation.
First of all, you’ll need an external disk drive or at least a separate partition on your internal drive where Smoke will store the frames of your clips. Smoke renders internally at 4:4:4 RGB, so you want to make sure your storage can support your project’s resolution. If you are working with HD or 2K projects, I don’t recommend storing media on the same partition as your operating system. The system partition could run out of free space and that may cause issues with your OS.
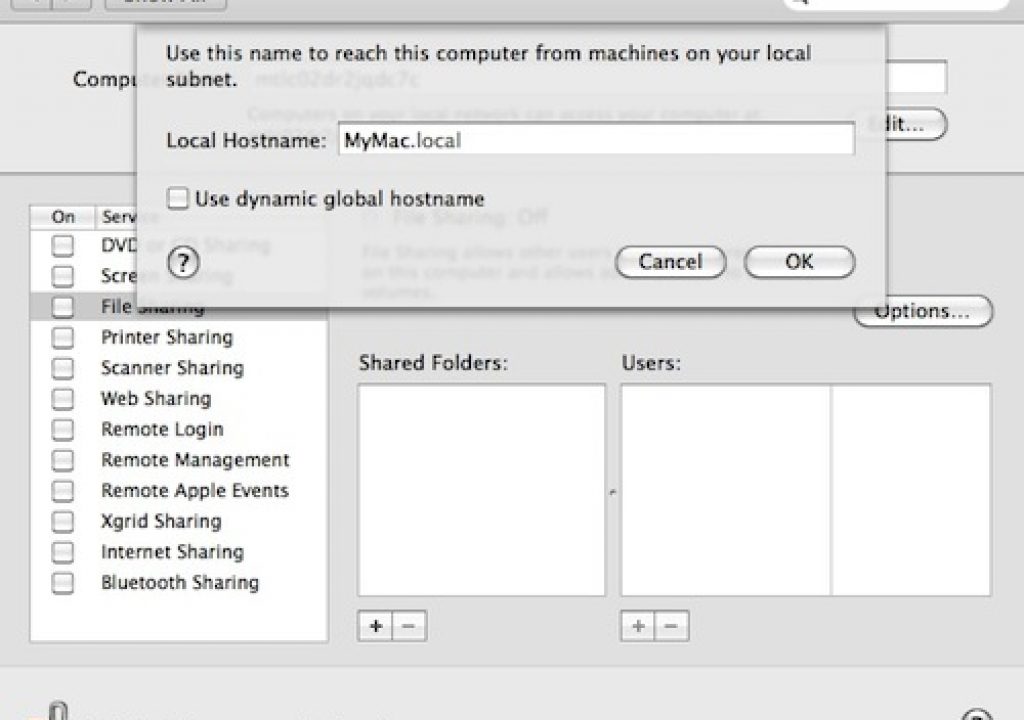
Another important pre-installation step is to ensure that your Mac’s hostname does not change. This is especially important if your Mac is connected directly to an ADSL or cable modem, as these have a tendency of changing client hostnames. It’s best to set a persistent hostname before installing Smoke to ensure there are no issues with Smoke’s media database after installation.
Here is a knowledge base article that explains how to do that: Setting a persistent hostname on a Mac workstation that uses DHCP.
Next, follow the instructions in the following Wikihelp article to set Mac OS system preferences recommended for Smoke: System Preferences.
Get the Trial
Now let’s get to the good part. Go to the Smoke trial Web page, fill in the form (I know, it’s a bit long) and download the installation package.
The installation process is pretty easy and straightforward, and we’ve created a video tutorial to walk you through it:
Remember to check the “Smoke Tutorials” checkbox in the installer. These tutorials are a great way to become familiar with the basics of Smoke. You can also find a myriad of great tips & tricks and tutorials on using Smoke on the AREA community forums and on the Smoke Learning Channel.
Support When and Where You Need It!
Have fun discovering Smoke and remember: if you run into any issues while installing, configuring or starting Smoke, you can get free technical support from Autodesk. Just drop us an e-mail at me.support@autodesk.com or call the Customer Support office nearest to you.
If you don’t feel like calling us, you can find a wealth of troubleshooting guides in the Smoke Knowledge Base.
You can also like Autodesk Support on Facebook and follow us on Twitter to stay up to date with important announcements and useful tips & tricks on Smoke.

