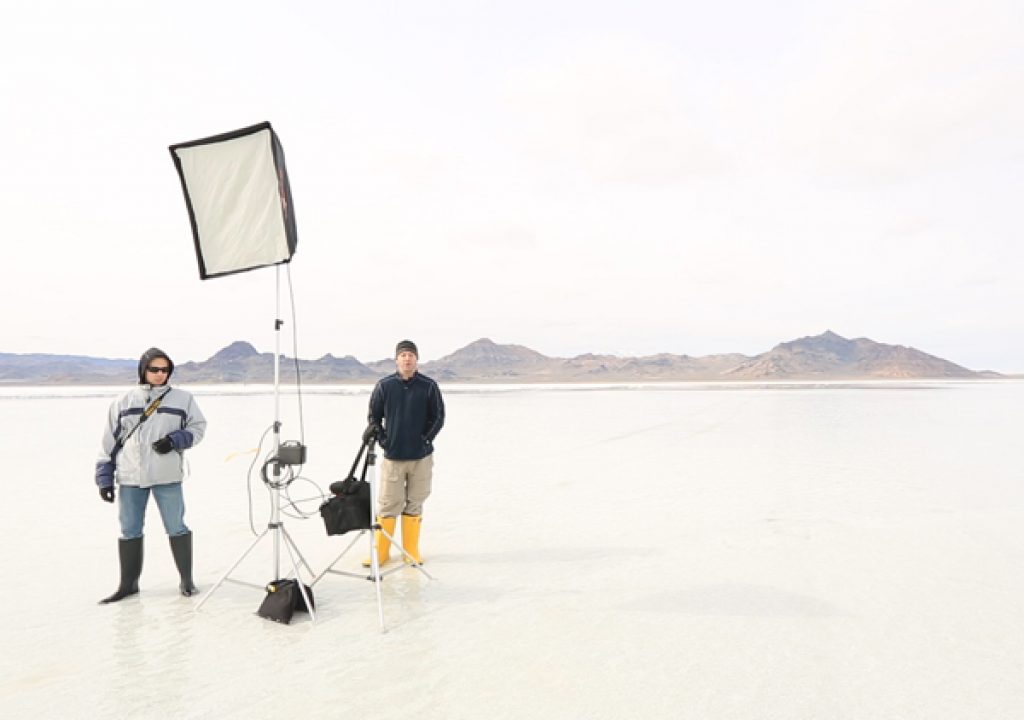
In today's Slanted Lens lesson we are out at the Bonneville Salt Flats. Our lesson will look at how to blend strobes with daylight so that the image does not look artificially lit. We will look at a method that I use to see what the strobes are doing in daylight and help you better control them when the modeling lights are not bright enough to guide you. For our shots today we have an old wooden boat as a prop to work with. Out talent, Mary, will be wearing a dark vintage dress and be bare foot in the ice cold water. I want her to wear dark so it will contrast against the light sky. In our last shot we will switch her to a light dress as it gets dark so it's easier to get her to stand out against the darker sky. Let's take a look at shooting strobes in daylight.
1. We will use a medium soft box as a key source to light her face. This will be the only light source other than the ambient light. When I scouted the location I looked for a direction to have a great view and have the sun to my left. This will make a nice light on her face that I can strengthen with my strobe. Blending these two sources together will make them look natural together.
2. Here is our first shot with only the sunlight. Not a bad look on its own, but I want to punch up the highlight on her face.
3. We will add the strobe from camera left to get a nice highlight on her face. I am using the portable power supply by Dynalite. I tied it to a stand and the pack to a different stand. This is so convenient when on location. Here is the shot with the strobe head. This gives me just the right amount of punch on her face.
4. As the sun gets lower I am going to have her change her dress to a lighter dress and move to set up for the final shot. I know that my strobe on full power with a soft box will give me about f8 so I will set my aperture at f8 and using the in camera meter underexpose the scene by 2 stops. Remember we are going to control the ambient with shutter speed and the strobes with the aperture. My image looks like this. Not much to see. Everything is very dark.
5. Now when I add my first strobe I can see what it is doing very clearly. Here is the soft box from the camera left side.
6. I will now add a second strobe head from behind her on the boat. This head has only a reflector on it.
7. I will now raise may shutter speed by one stop and look at what it is doing. It’s still too dark in the background and the strobes are too obvious.
8. I raise it one more stop and it feels right to me now. The strobes are blended with the background. I will lengthen the shutter speed as it gets darker to keep the background exposed correctly. See the lesson on balancing strobe with the setting sun to see how to do this procedure. You are chasing the sun and the shutter speed has to change to accommodate the setting sun.
9. Here is our image.
10. I took one of the boat images into Nik software and applied a vintage effect to the image and a white vignette. I like the high key look. I then used the color cross over filter to add red to the shoes and her lips. I like the look. Keep those cameras rolling and keep on clickn’.
Thanks to our sponsors.

