

I’ve spend a lot of time this month, wrapping my head around rigging and animating. Now, if you’re new to animation or Blender / Unreal Engine 5, rigging is the process of creating a skeleton for your character, and then taking that skeleton and adding animation to it. I’ve done a ton of research into all of the different Unreal Engine 5 training sites, and they all push animation and how quick and easy it is to get yourself up and animating in Unreal Engine 5, however, they leave out one critical thing before you sign up, and that is that most of what they are going to show you is using “canned” animations. Meaning that you’ll take animations that are purchased (or even free) from other sites, and you’ll simply bind those to the Unreal Engine 5 skeleton, and away you go! That’s great and all, but what happens if you want to animate something that doesn’t match the Unreal Engine 5 skeleton? That’s where things get a bit tricky, and you can quickly have things fall off the rails. In this first of a two part article, we’ll talk about the the animation retarget process in Unreal Engine 5, how they work, and why Blender might just be the tool you need to get yourself animating in the right direction.
The reality is, once you move beyond those prebuilt setups, you start to see how important it is to understand the fundamentals behind rigging and animation. It’s not just about making something move—it’s about making it move correctly. Bone placement, hierarchy, and proportions all play a huge role in how well an animation transfers from one character to another. Even small differences can cause major issues like stretching, clipping, or unnatural movement. Taking the time to learn these basics upfront will save you a lot of frustration later, especially as your projects become more complex.
The UE5 Mannequin Conundrum
So, what do I mean by the “UE5 Conundrum”. Well, it’s this. Adding animations made for the UE5 mannequins to them is pretty easy. Simply download them to your project, retarget them to your mannequin, and add them in the Sequencer. In many cases, they are already setup for the Manny’s (either or), and you can just add them.


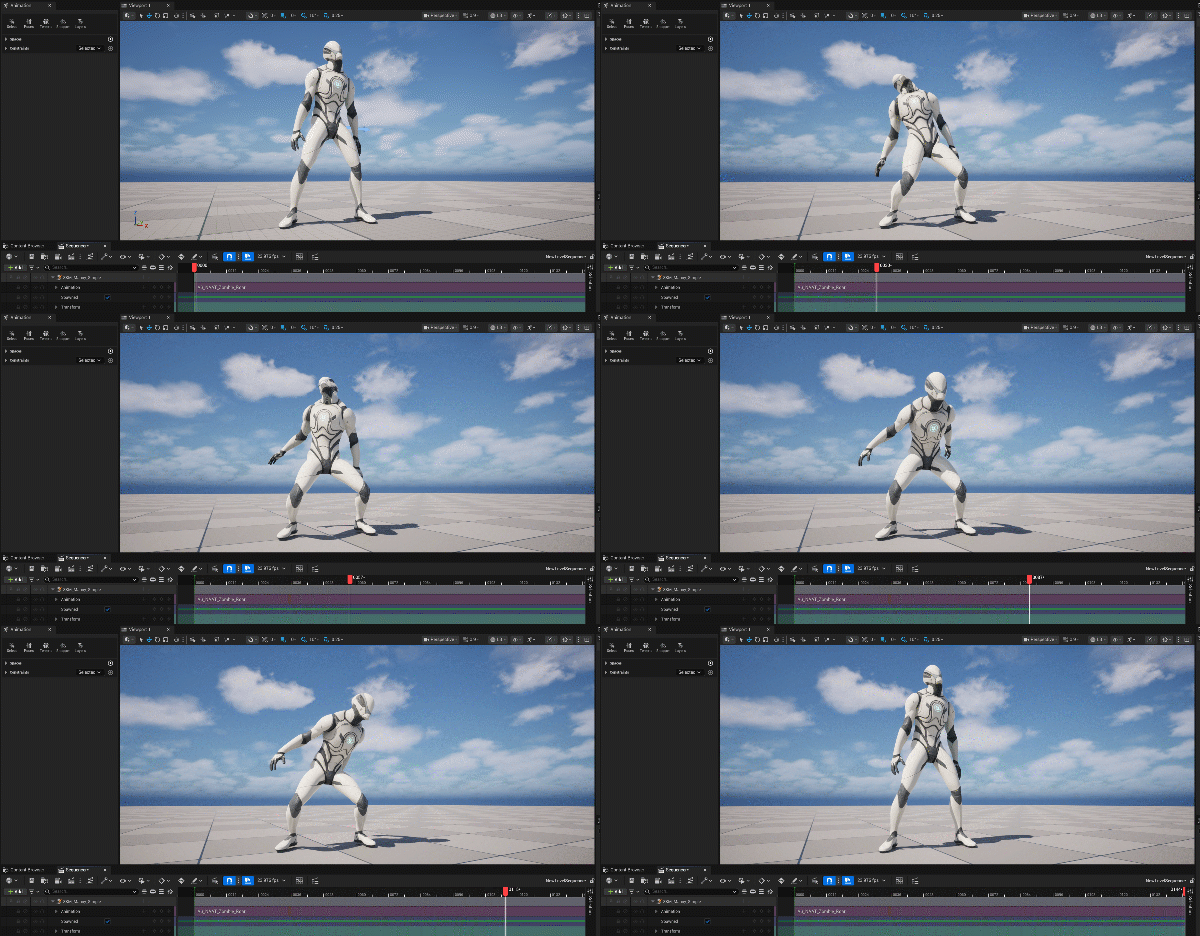

This is AWESOME!!!! We’ve now got animations in our UE5 project. Except for one minor problem. Well, two minor problems. The first problem is that this means that all our animations have to line up with our mannequins. Ok, that doesn’t seem like that big a deal. However, it also means that all our characters have to have the same bone structure as our mannequins so that once we swap them out, we can apply the animations to our new “mannequins”, to have them animate. So, let’s go a little more in-depth of the process for taking animations and retarget them to characters. Let me give you an example of a typical workflow of how to retarget animations from a third party product.
OK, so we have some zombie animations from MoCap Online and some zombies from BigMediumSmall’s Infected product. So, let’s get both into Unreal Engine 5. Now, the first thing I want to point out about MoCap Online is that they sell their animations in many different ways. You can purchase UE4 ready animations (don’t worry, they easily port over to UE5) as well as FBX. For us, either or works fine. If you’re only wanting to use the animations for your UE5 productions, you can purchase them directly through FAB, or you can purchase them on their website, and then they can have them added to your fab account. For me, I like flexibility so I’m working with the FBX version of the Zombie 3D Character Animations pack. We’re not going to go crazy, we’ll just bring in one animation. These are .FBX files that can contain a character, an animation or even both. For us, we only care about the animation, and because these animations were created with the UE5 Mannequins in mind, they will all import fairly simply, and we can create a skeletal mesh that can be used to animate our Mannequins. Once you drag and drop the FBX, you’ll be brought to the Import Content window, which will appear anytime you drag an FBX into Unreal Engine.


Now, I know two things. First, I know that not only does my FBX contain a skeleton that more or less matches the UE5 Mannequin skeletons, but it also contains animation. How do I know? Well, this is where Blender will play an important role in your rigging and animation workflows. I can simple import the FBX into Blender (which is completely free), not only to check the skeleton, but to see the animation as well.
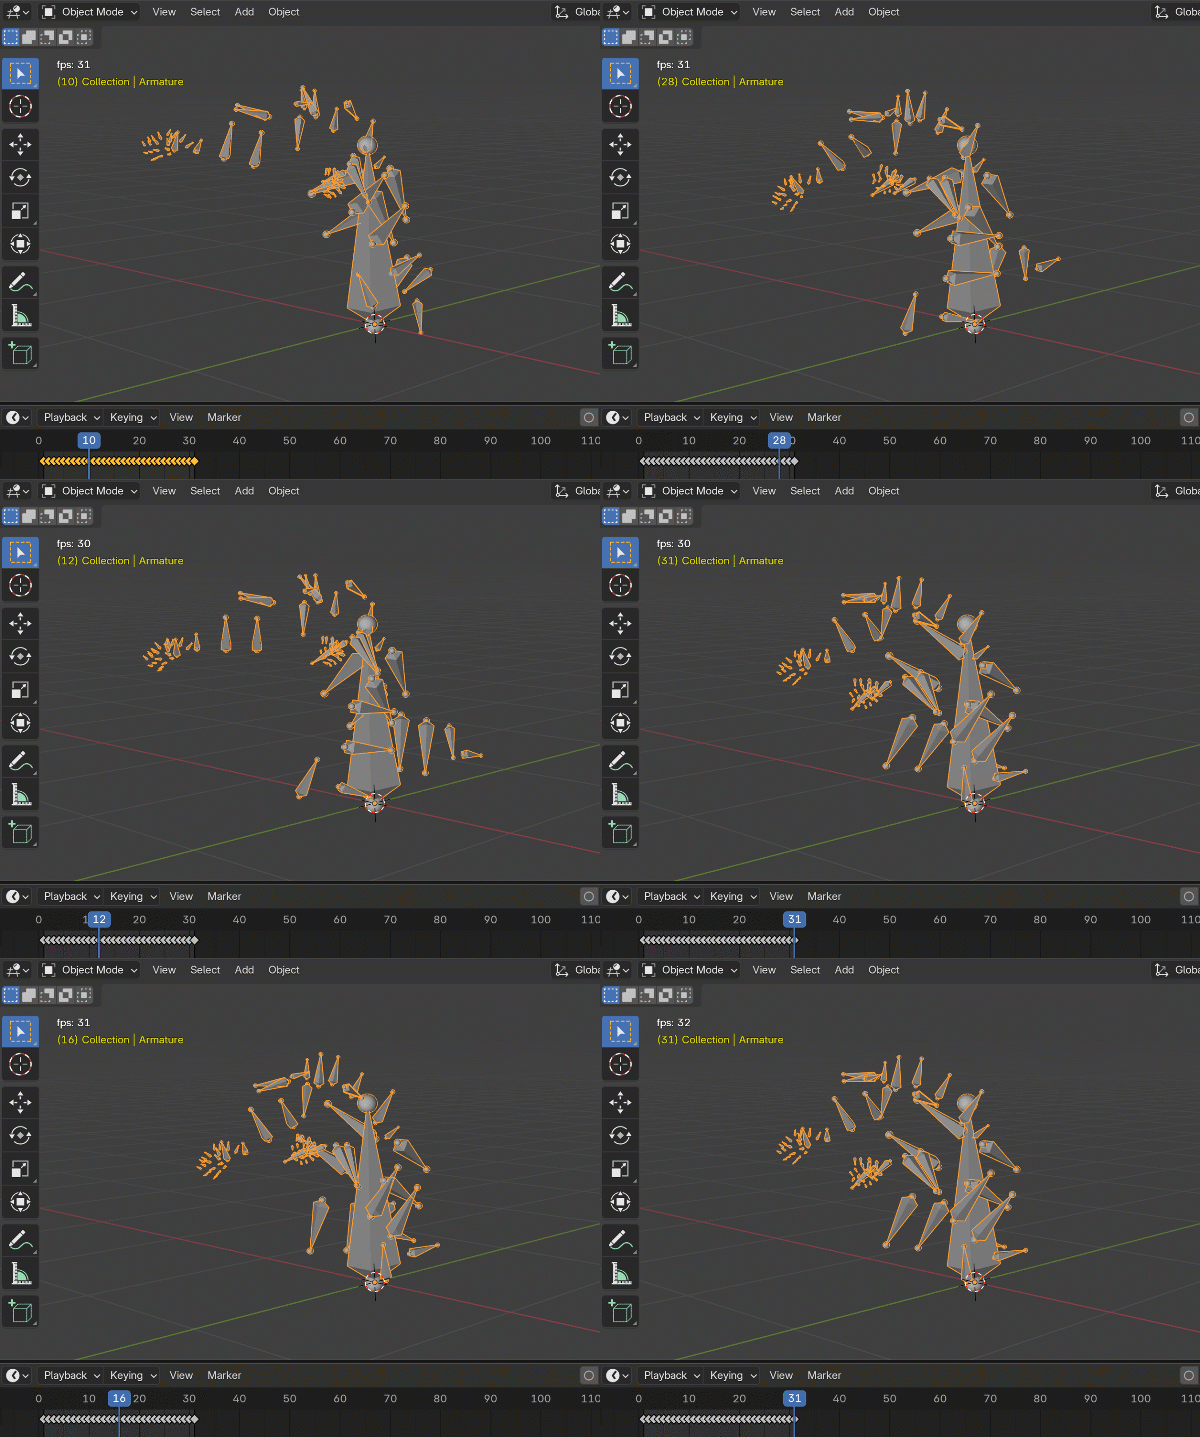

So, we can pretty much see exactly how this is going to work, with one important note. All of our MoCap Online animations come with their own Mannequin that we’re going to use as our initial reference, before we move the animations to our UE5 Mannequins. His name is Motus Man and he looks like this:
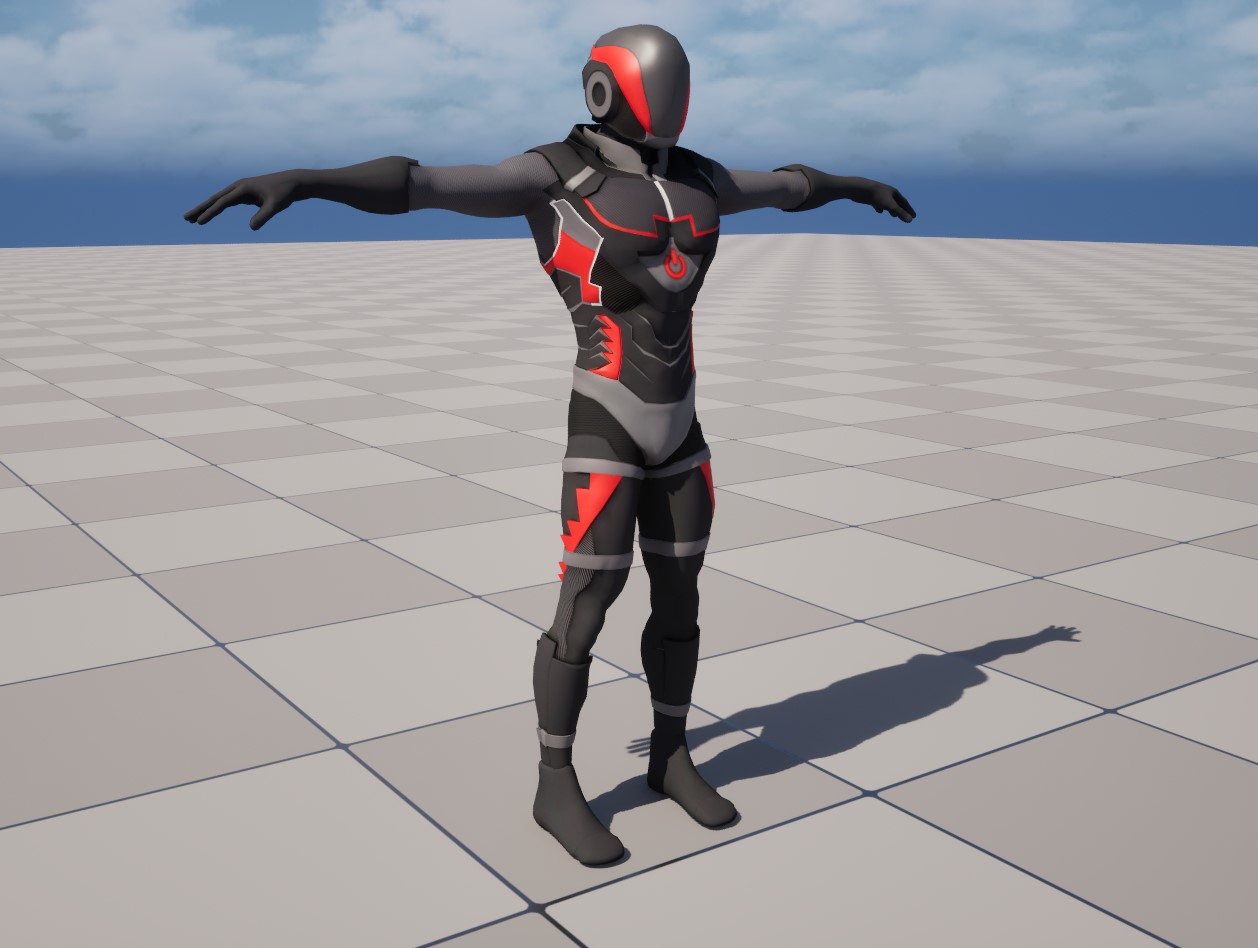
He’s an FBX file that I just dragged and dropped into UE5, and I didn’t choose a skeleton already in UE5, as Motus Man (MM) has his own skeleton, and that’s what we’re going to attach our animations to, before porting them over to other characters. This is what’s exceptionally important to keep in mind. MM’s skeleton is about 95% compatible with the SK_Mannequin skeleton, but we want to get our animations up and running with MM before we take any further steps.

Ok, let’s go back to our import window. Once we’ve dragged and dropped our Mocap Online FBX into UE5, we’re going to scroll down in the Import Content window to the “Common Skeletal Meshes and Animations section” and we’re going to want to click the checkbox to import the animations, but we’re also going to want to pick a skeleton to bind it to. Since we know that all the animations from MoCap online work with our MM skeleton, let’s pick that one.
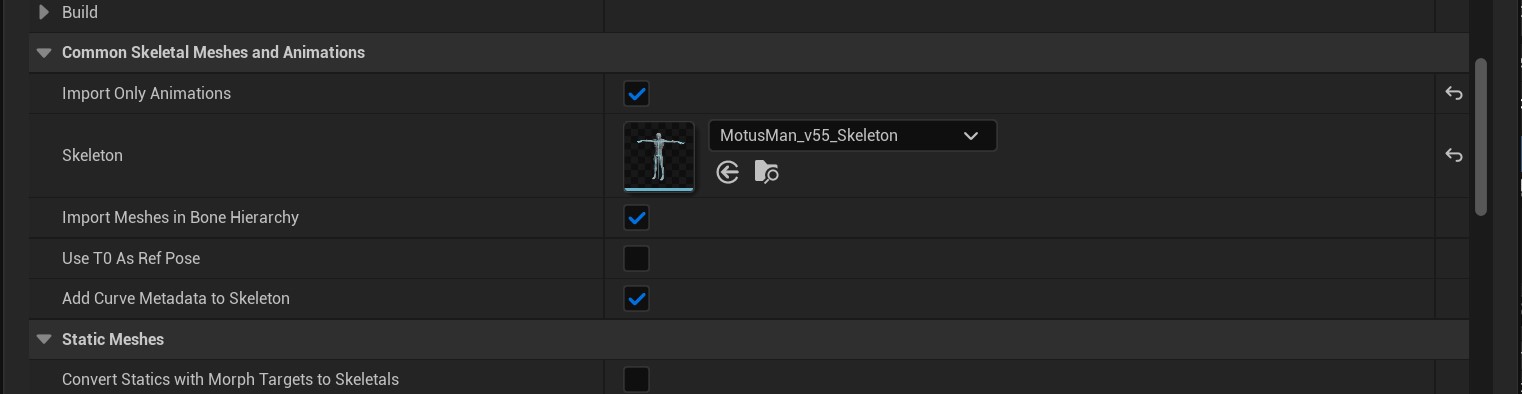

Now, once we import the animation, you’ll see it appear in our project, and we can now add it as an animation to our MM character.
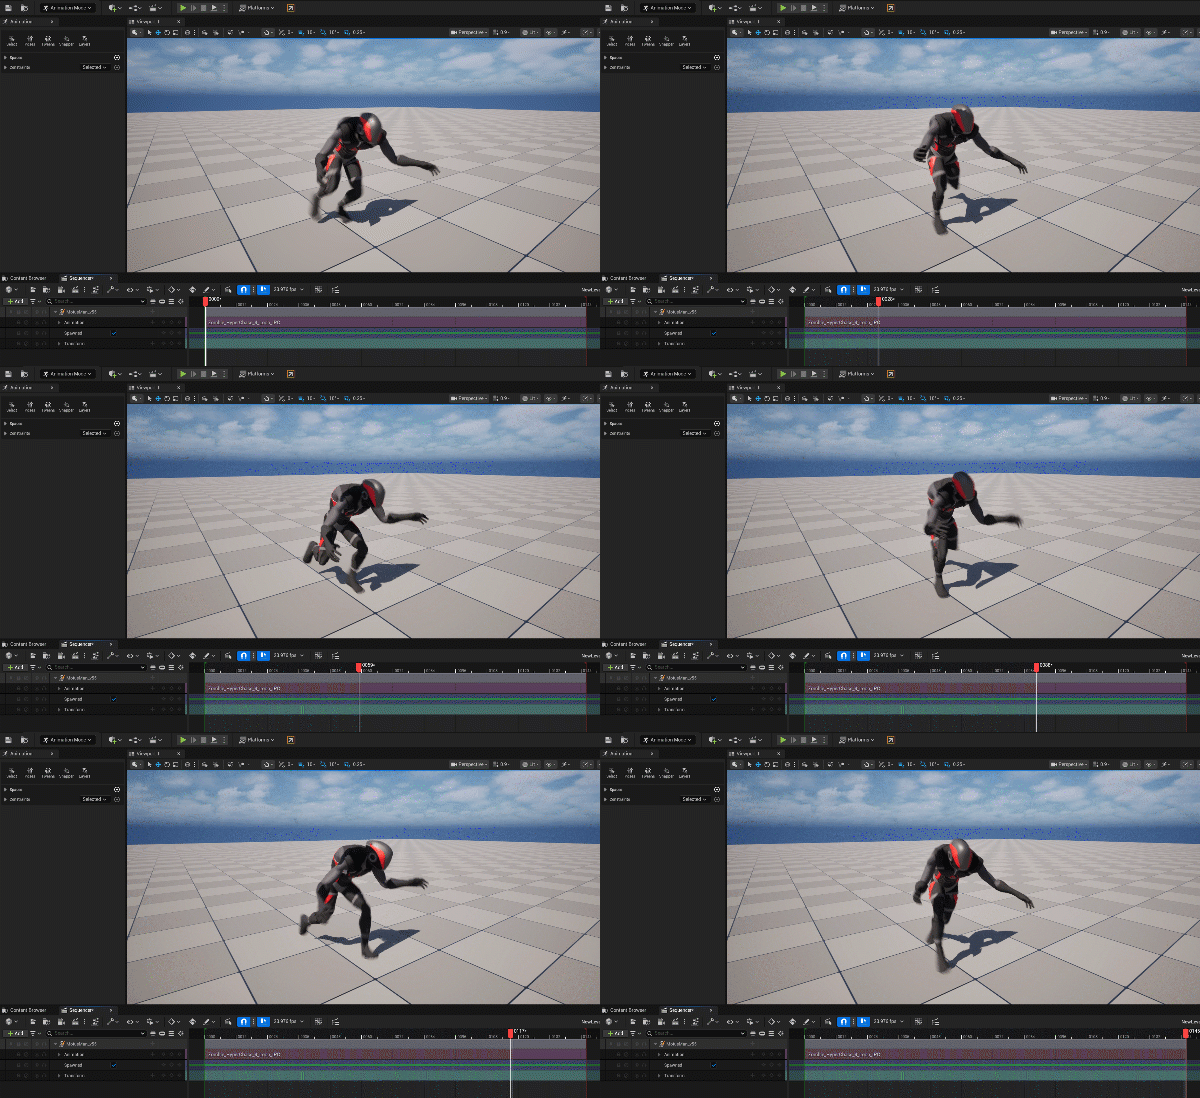

Alright, so this is great, so let’s take this concept one step further, but taking an actual character from another company, and adding animations to him, and we’ll use a zombie that we have from BigMediumSmall’s (BMS) Infected pack. Now, with this pack, you can get your Zombies one of two ways. You can get them as an already created Unreal Engine pack (not via the FAB store), or via FBX. Well, since we have them as Unreal assets already, let’s simply take the entire project, and copy and paste it into our project. Infected is a little bit different than most characters that you’ll use in Unreal Engine 5, as they are designed as Blueprints that can be used to create almost an infinite amount of zombies, in different stages of infection, but what’s important to keep in mind is that all the Infected Zombies are rigged to the UE_Mannequin skeleton, meaning that any animation that works for our Manny’s, work for our Infected Zombies. So, let’s create one. Right away, you’ll notice something a little different. Not only do we have our Skeletal Mesh and Skeleton for our Zombies, but we have Blueprints as well. The reason for this is that it’s much easier for BMS to make the zombies modular this way, then just giving you over one hundred zombie variations. So, I’m going to drop my BP_Modular_Male into my Sequencer, and you’ll notice right away that he looks nothing like a zombie and has a control right around him.
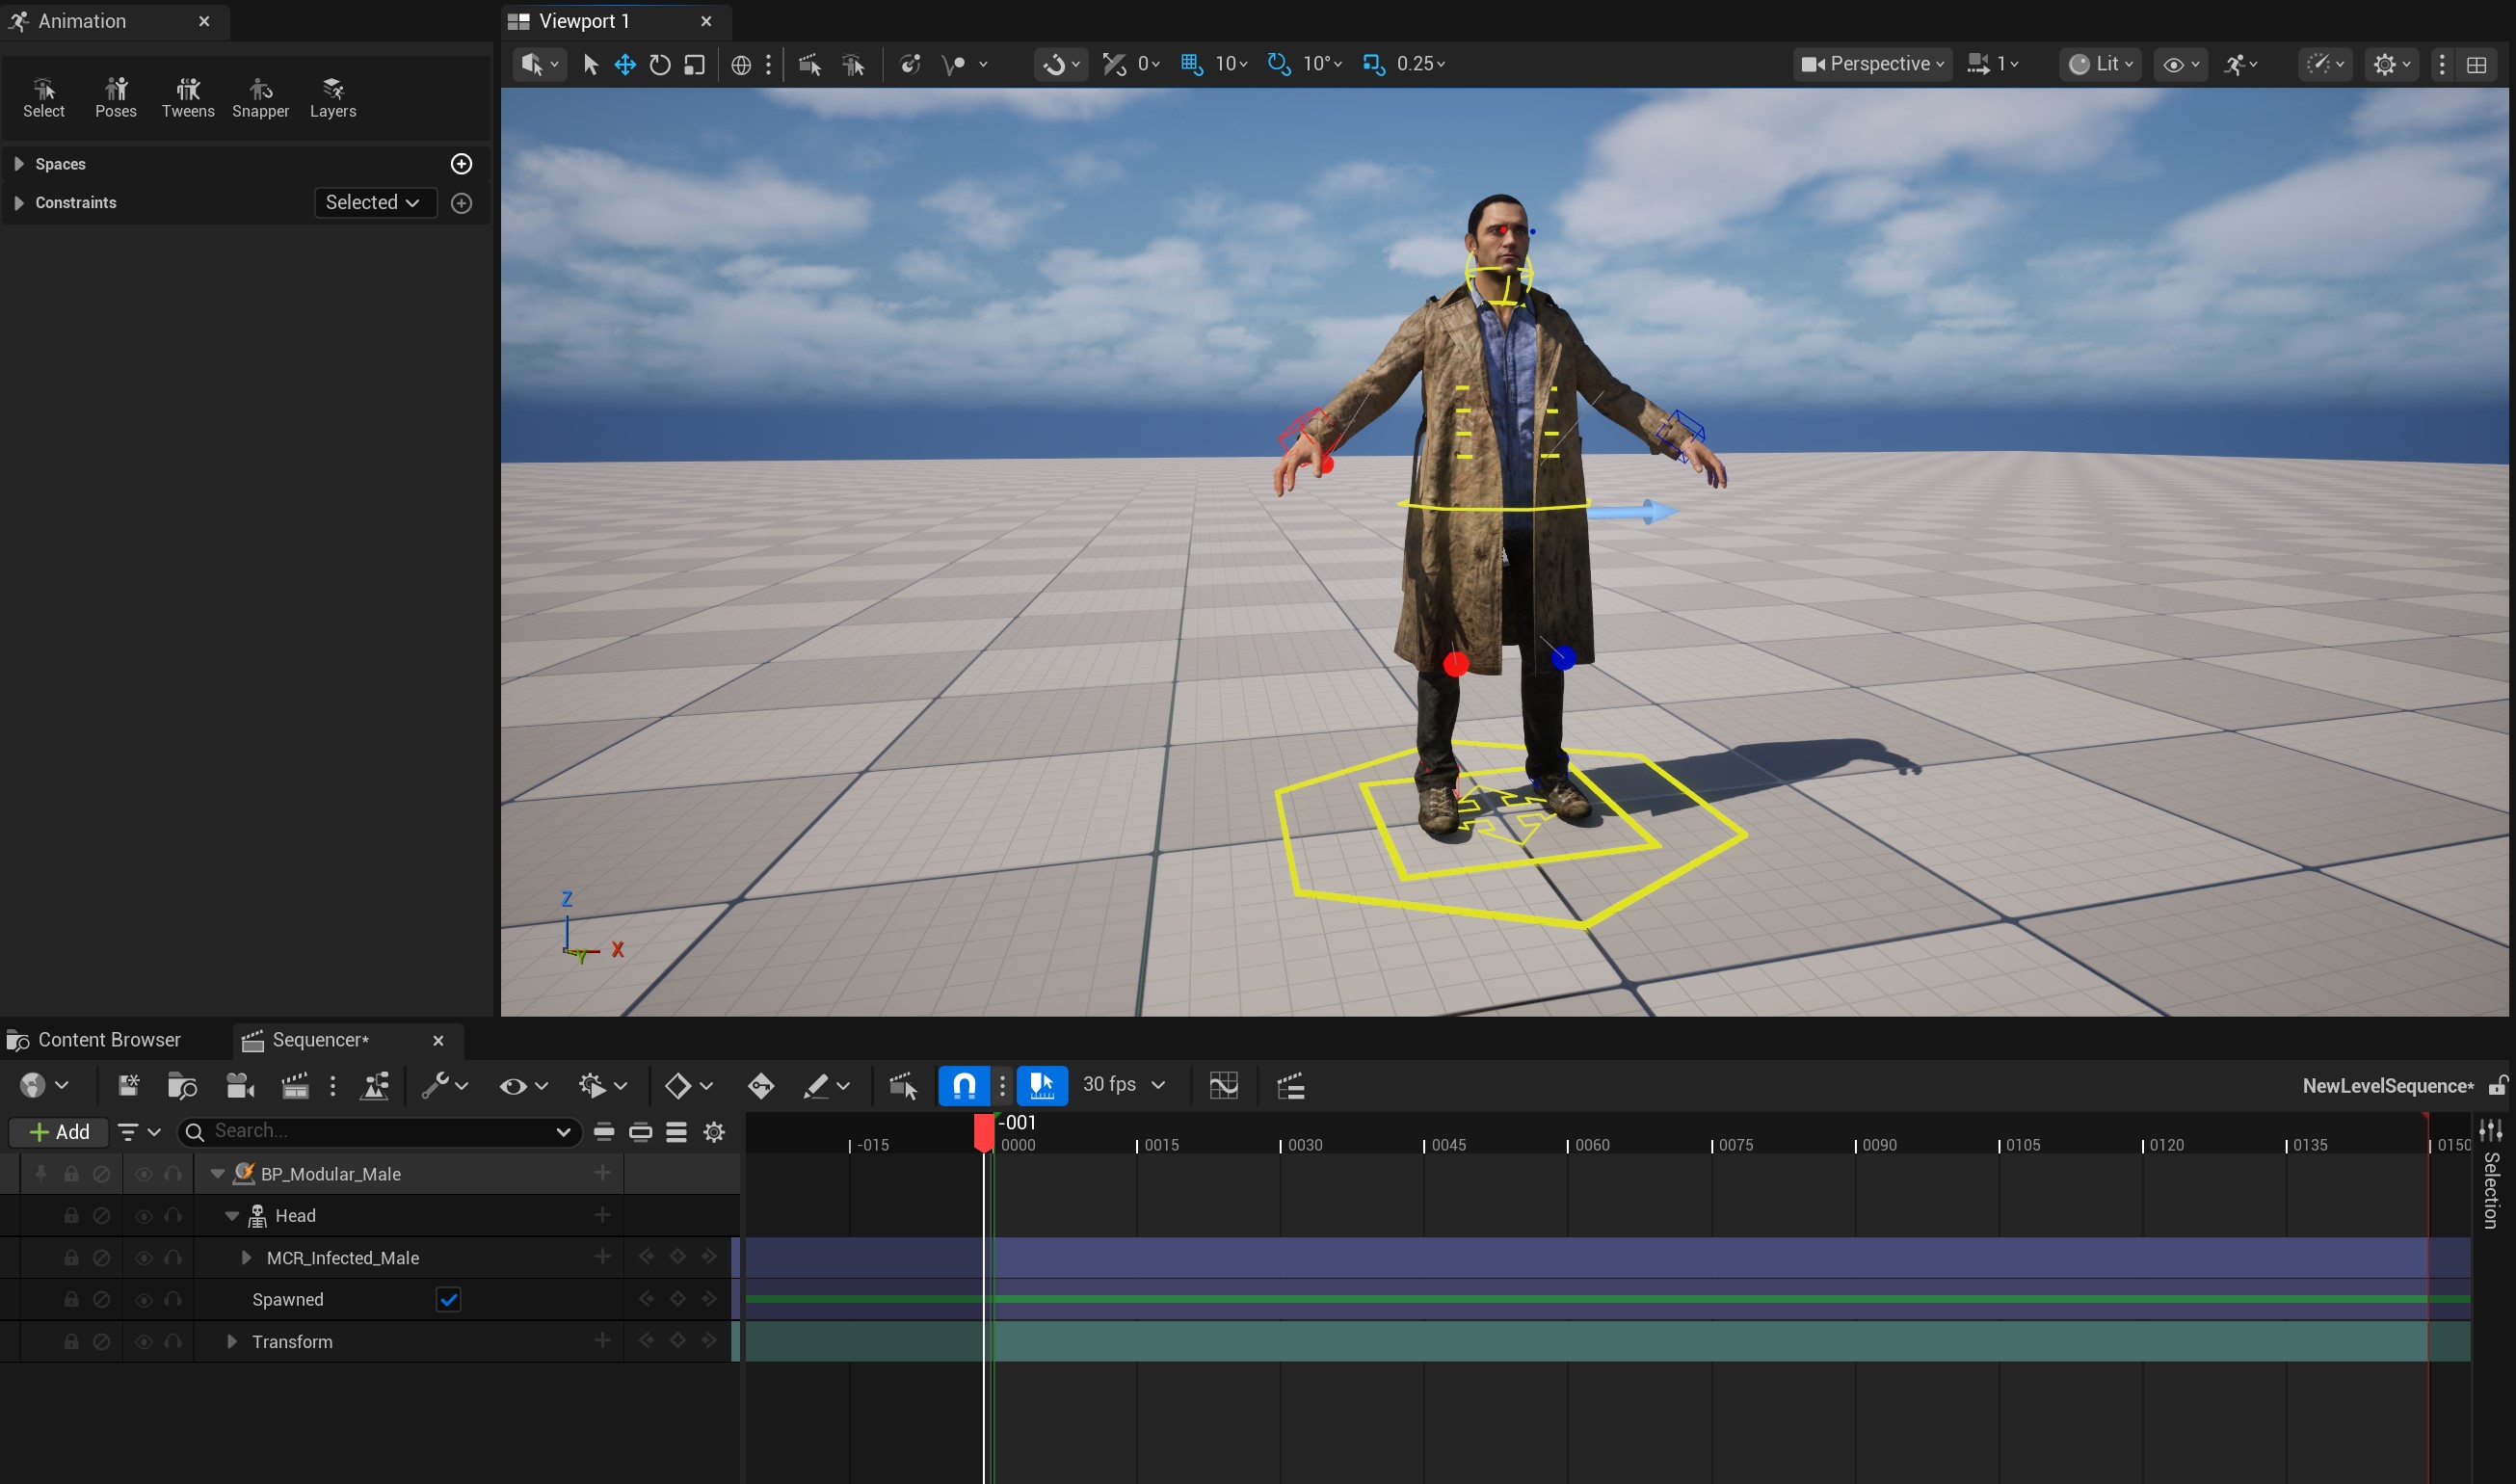

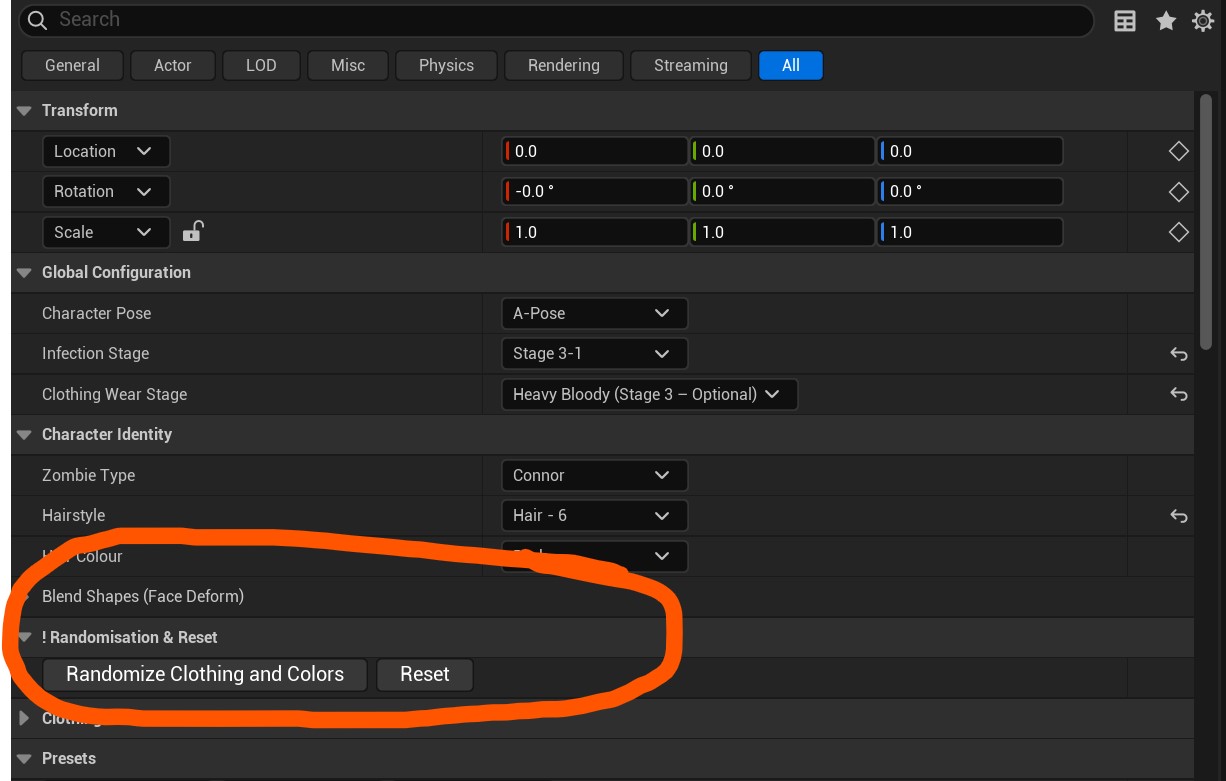
It’s OK that he doesn’t look like a zombie. We’re going to “infect” him in just a second. First thing I’m going to do is to delete the control rig, as I don’t need it. Then, I’m going to select my “zombie” and take a look at the details panel, and you’ll notice that there are many sections that we can use to “infect” our character, but we’re going to focus on one button. The Randomize Clothing and Colors button.

BOOM. Instant Zombie.
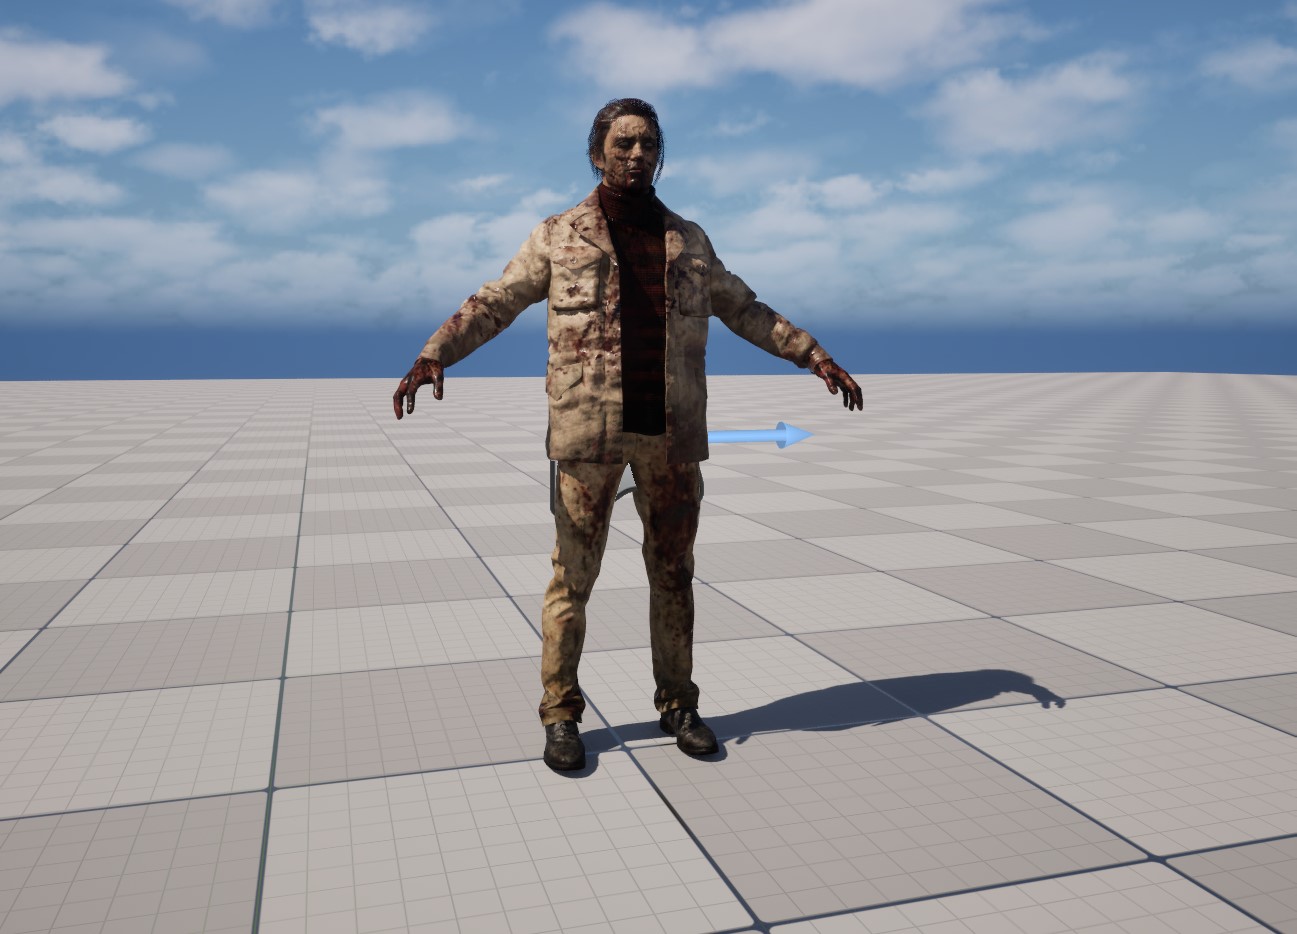

However, there is a slight problem. If you go to the animations, you’ll notice that there are only static poses included with the set, so anything that we want to animate, we’re going to need to get an animation and retarget it ourselves. So, how do we go about doing this? The first thing we need to do is to figure out what Skeleton was used to create our BMS Zombies. We can do that by selecting the root folder of our Infected pack, head up to the filter and simply filter by Skeleton.
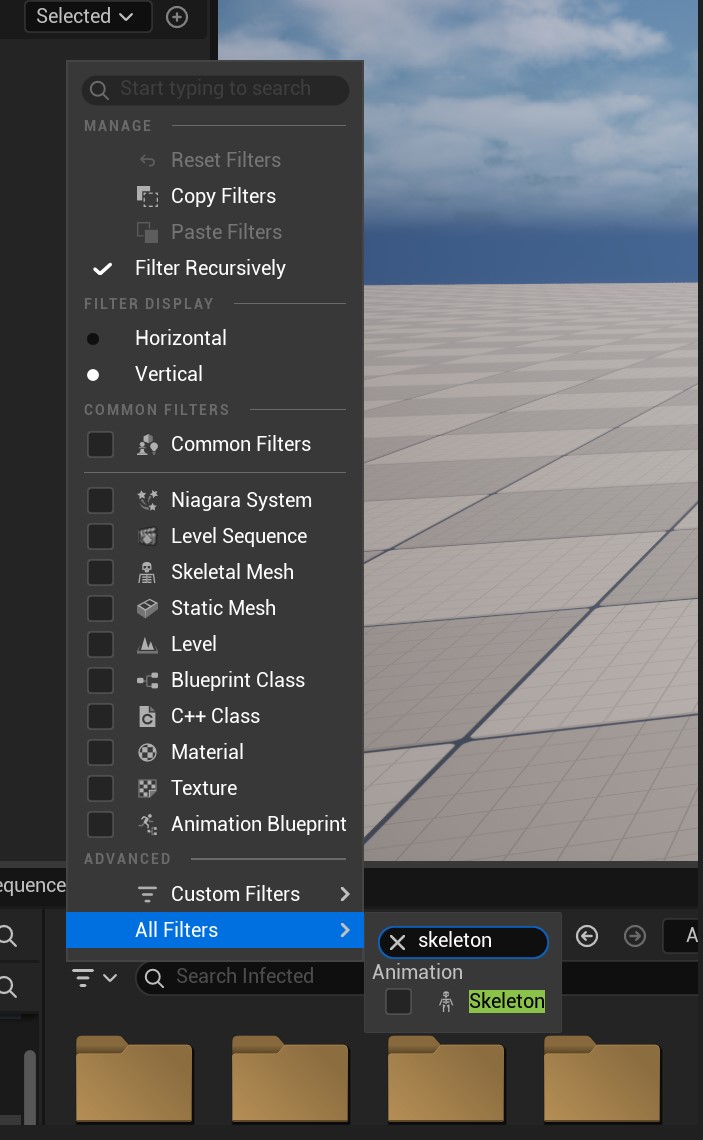

You’ll see that there are two Skeleton’s in the Infected pack. One called SK_Infected_Female and one called SK_Infected_Male. Once we’ve figured that out, we can search for any full skeletal meshes that would match our skeleton’s. There are two called SKM_Zombie_Female and SKM_Zombie_Male.
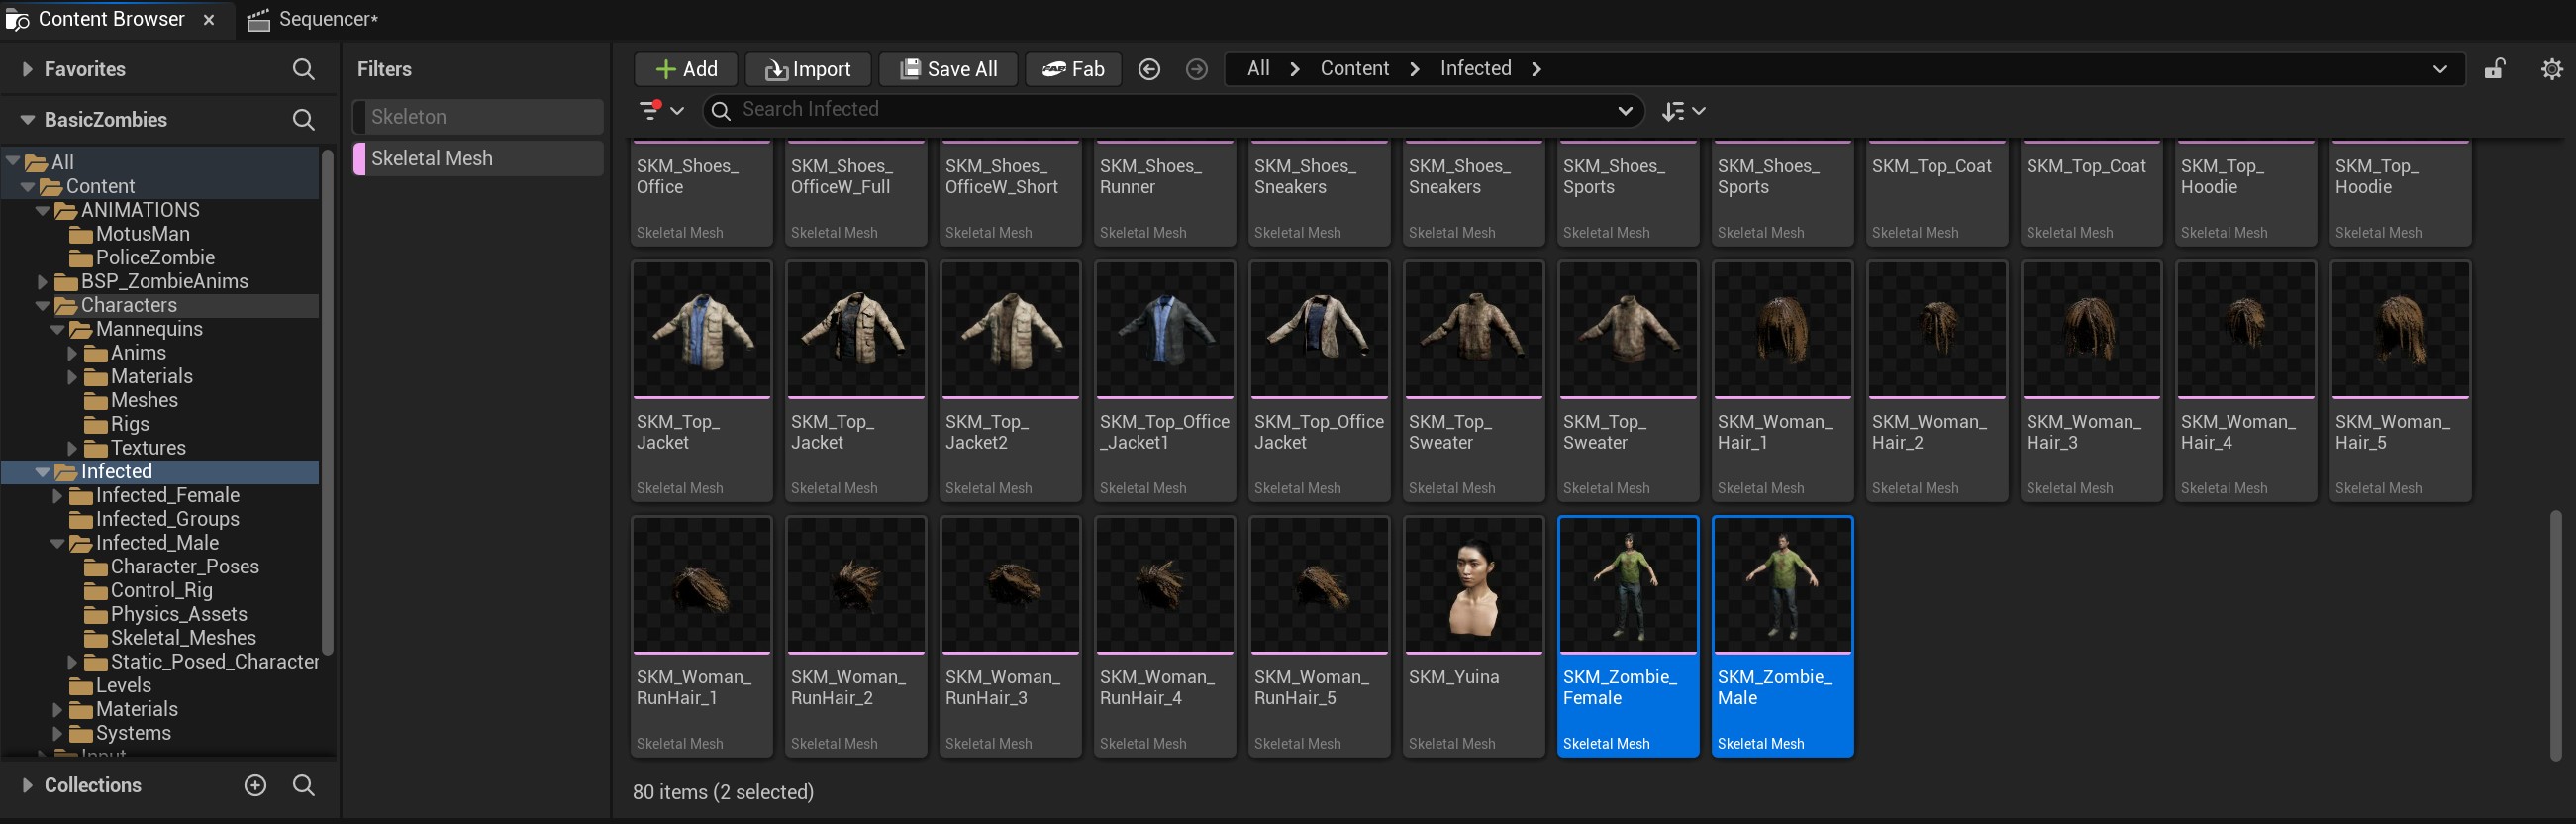

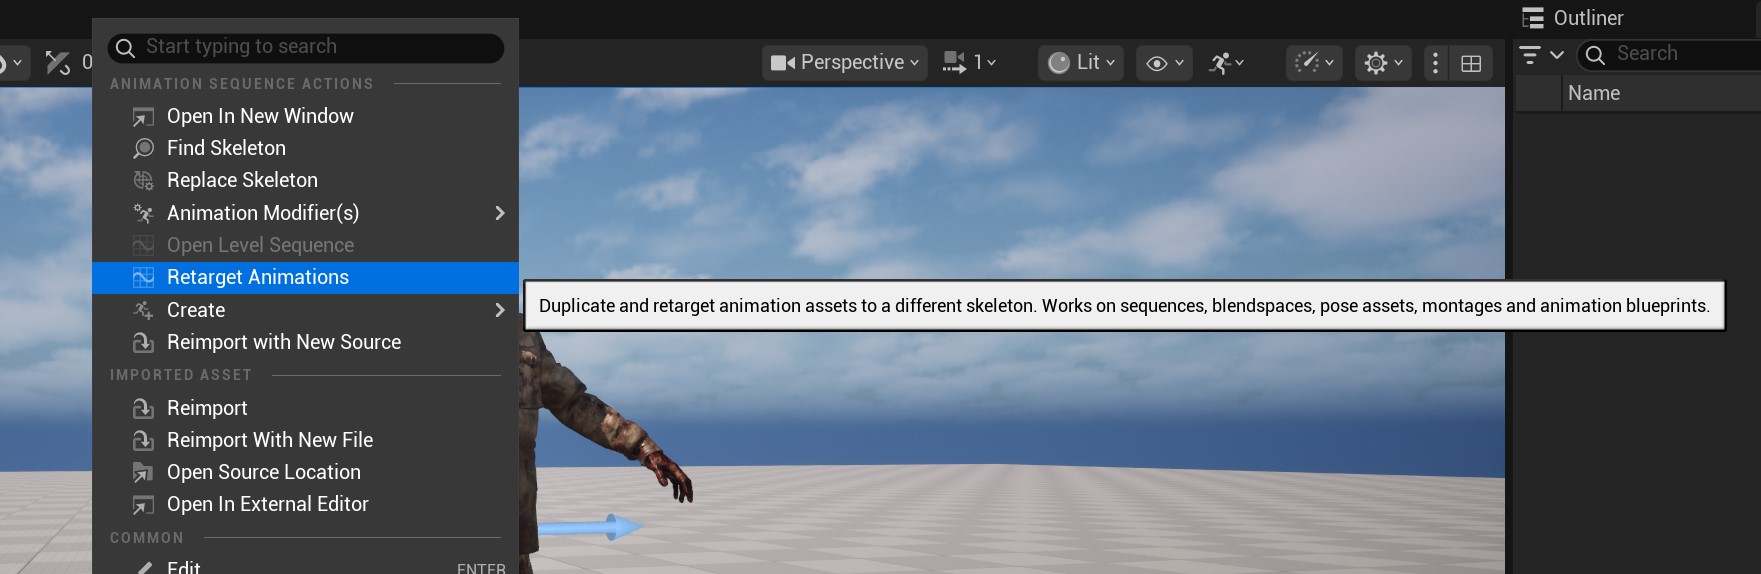
Now that we know what the skeleton is called, we’re going to take our animation that we know works with our Motus Man, and retarget it for our newly infected zombie. To do this, we’re going to find the animation that we know works, right click on it, and select “Retarget Animations”.

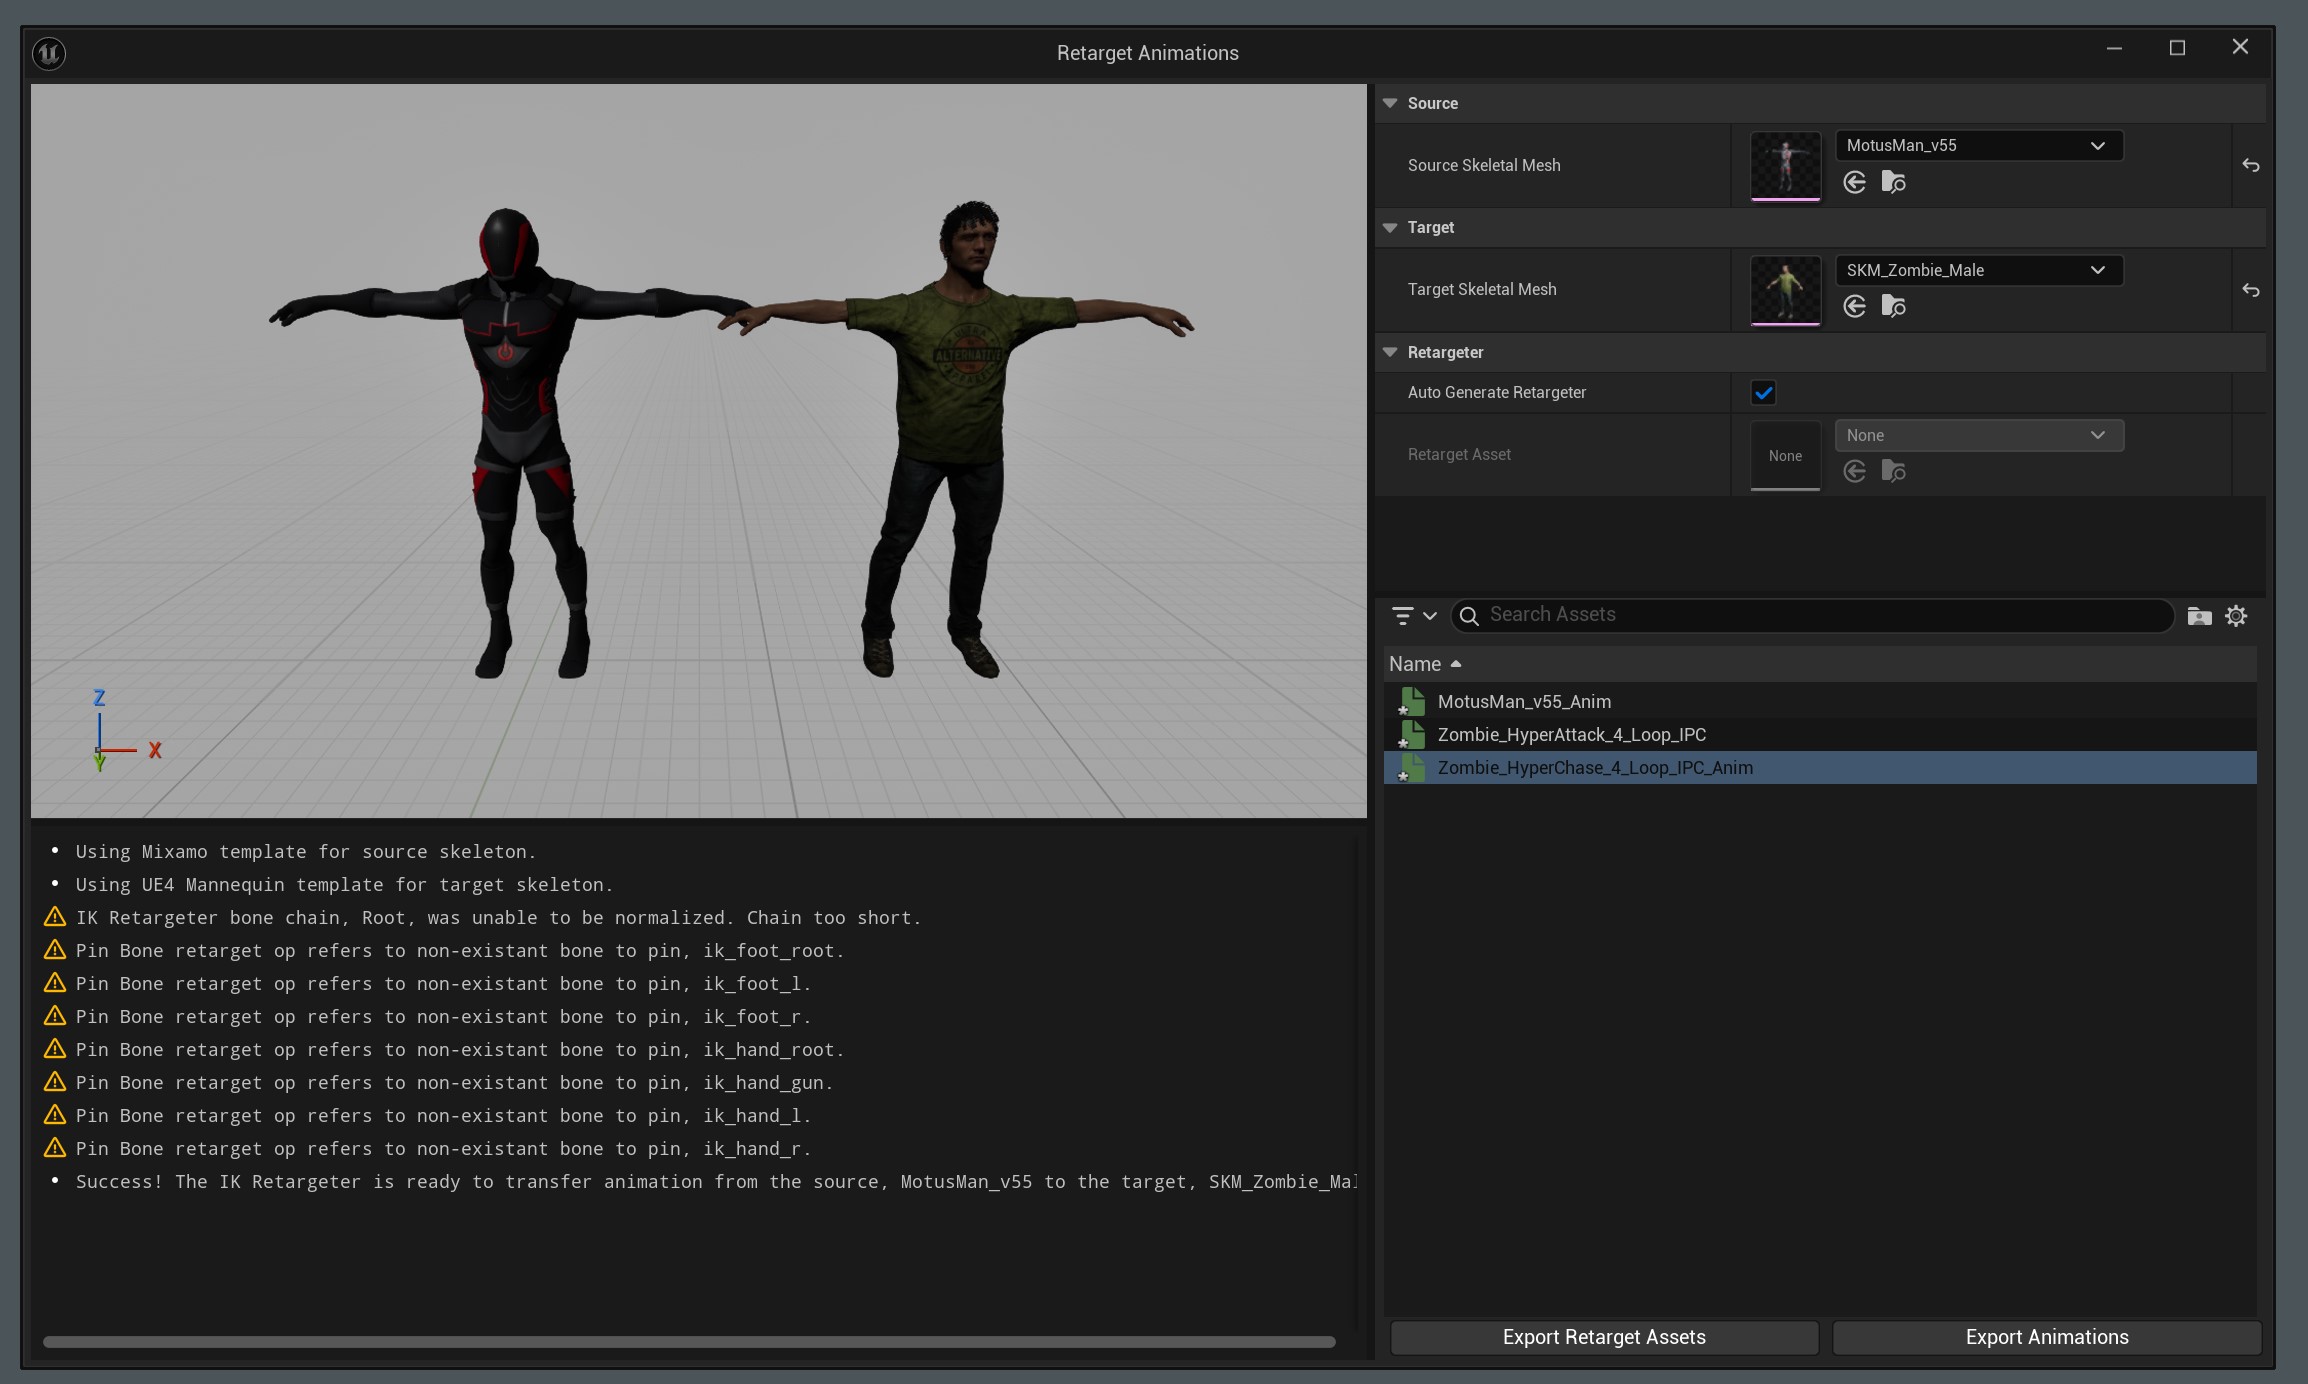
You’ll notice that what’s appearing in the retarget window is the Skeletal Mesh (and Skeleton under that mesh) of our Motus Man, which is our Source, and then we want to pick our SKM_Zombie_Male (and SK_Infected_Male skeleton underneath) as the mesh we’ll retarget our animation(s) to. Keep in mind that you can retarget as many animations as you want at one time using this method. For us, I’ll just retarget one. What’s important to keep in mind is that your Skeletal Mesh/Skeleton might not contain all the bones that the Source SM/S does, but as long as it has the main ones, you should be good to go. What you want to see in the feedback window is a “Success!” line, saying that the IK Retarget is ready to go.

You can now simply hit “Export Animations”, and you’ll be good to go. Keep in mind that it’s probably a good idea to give the new animation name a prefix or suffix to easily identify it. I’ve given mine the prefix of BMS_ so I know those animations go with the BigMediumSmall Infected characters. Now, all I have to do in the Sequencer is simply add the animation to my BP_Modular_Male zombie, and he’s running just like Motus Man did, exactly like I would expect from an “Infected”!
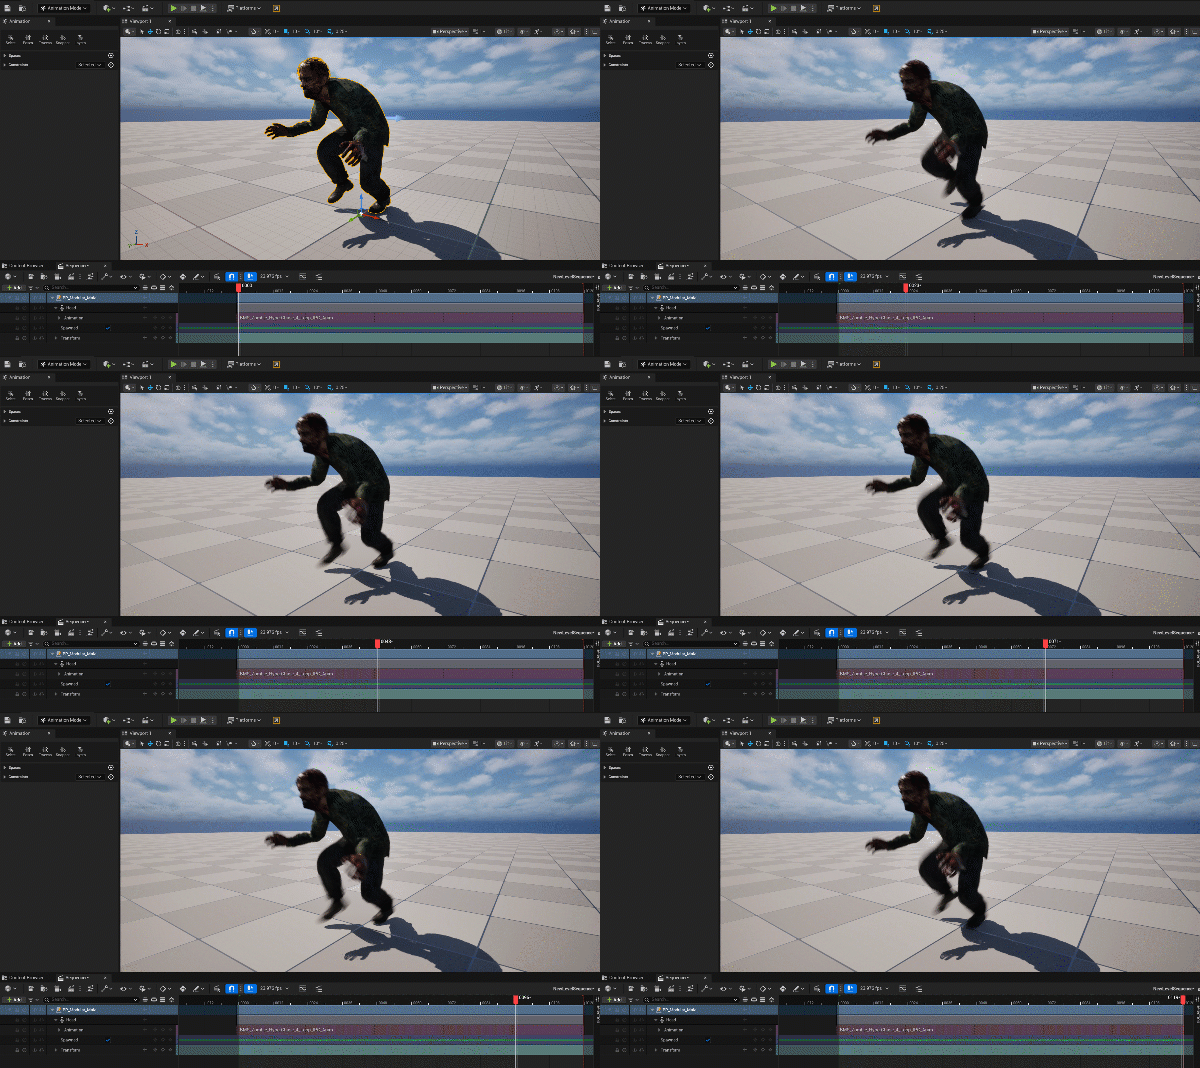

At the end of the day, working with animation in Unreal Engine 5 is a bit of a double-edged sword. On one hand, it’s super easy to get up and running using pre-made animations and the default Manny and Quinn skeletons. You can drop things in, hook them up, and suddenly your characters are moving around like pros. But on the other hand, that convenience can box you in pretty quickly if your character doesn’t match that exact setup.
That’s where things start to get interesting—and a little more challenging. Once you step outside those standard skeletons, you actually need to understand what’s going on under the hood. It’s not just about applying an animation anymore; it’s about making sure everything lines up properly so it works the way you expect. That’s why tools like Blender are so useful. Being able to quickly check your models, skeletons, and animations before bringing them into Unreal can save you a ton of headaches.
What this whole process really comes down to is taking more control over your workflow. Instead of just relying on prebuilt assets, you’re learning how to adapt and make things work together—even when they weren’t originally designed to. Retarget animations might seem like a small step, but it’s actually a key skill that opens up a lot more possibilities.
And honestly, this is just scratching the surface. As soon as you start thinking about animating things like animals, insects, robots or anything with a completely different physical structure, you realize how important these fundamentals really are. Getting comfortable with this now means you’ll be way better prepared to tackle more complex projects later on, like we will in the next article.