


The three most widely used NLEs have always taken very different approaches to dealing with colour. Resolve’s origins as a grading tool have given it a clear technical edge, with nodes, color space transforms, and all the rest. Premiere is currently undergoing a complete rethink of its color engine, a huge turnaround from a couple of years ago when color management was disabled entirely.
This is, of course, a good thing. Color management is the only way we’ll ever be able to upgrade our output from Rec.709. Since most screens which most people are viewing most content on are more capable that Rec.709 in terms of color gamut, luminance range, or both, it’s borderline negligent to stick our heads in the sand and just ignore it. Eventually, ideally, we should be tagging our output with an appropriate color profile.
I’ve written about this before, and tagging is not the focus here. Instead, it’s time to look at a new, more controlled way to manage your inputs, in order to help you get a more consistent output. Final Cut Pro has always had a color managed workflow with a comprehensive set of tools, but managing multiple kinds of cameras has involved compromises — until now. Let’s look at why a color space transform is a better idea than a LUT.
Yesterday’s compromises
FCP has never tried to tackle things like color space transforms at the more serious level which Resolve does. For more specific needs, most users took their timelines to Resolve, but not all users did. The tools in FCP are very capable for many tasks, though you won’t find tools like clip grouping. However, between the excellent Curves tools, the very nice (and fast) masking support, the well-hidden Apply Color Correction commands and Adjustment Clips, you can certainly get the job done.
Still, for some more color-minded users, the tools just weren’t quite there.
Many shooters these days are using Log formats to extend the dynamic range that can be captured by their cameras. Just in case you’re not familiar with Log shooting, it’s a way to safely capture more of the data that a camera sensor sees, by using less of the standard range of brightness values available.

While that sounds contradictory, a standard image with deep shadows and bright highlights can lose data. By avoiding the low and high edges of the possible data ranges, Log formats avoid clipping the data captured, and allow the editor or colorist to make the final decision on how the image is treated. Since this image data is typically captured with 10 bits per channel (or more) rather than the standard 8 bits, there shouldn’t be any quality loss either. Many different types of Log are available, including Apple Log, BlackMagic Design Film, V-Log (Lumix), C-Log (Canon), D-Log (DJI), N-Log (Nikon), S-Log (Sony) and Log-C (Arri).
The compromises come when the log footage is redistributed to a standard Rec.709 color space for final output. While this can be done by hand, if you use a more automated correction method like a LUT, you could be throwing away away some of that hard earned data.
LUTs can trash your dynamic range
You can think of a LUT as a pre-packaged color correction which changes one kind of footage into another, and there are two main kinds of LUTs:
- A “look” LUT might take a normal-looking clip and make it look like a retro clip in a western, or like a particular feature film.
- A “correction” LUT might be designed to take log footage from a particular brand of camera and make it look “normal”.
While both kinds of LUTs can cause clipping when used incorrectly, if a correction LUT is used too early in the process, it can ruin later correction steps. Manufacturers don’t always make their LUTs neutral, so when you try to match different cameras, LUTs can make your life harder.

Worse, some of these camera correction LUTs can clip the data near the highs or lows, making it impossible to maintain all of the data captured. Also, some LUTs are intended for Rec.709 output, and others for Rec.2020, and if you pick the wrong one, you’ll see unexpected results.
While LUTs don’t always trash your clips, if a camera drifted towards under- or over-exposure, it’s more likely. It’s also worth noting that incorrectly applied LUTs can ruin your dynamic range in any NLE — this is not just an FCP issue.
Still, in Final Cut Pro, this clipping can happen in one of two ways. First, you might use one of the built-in Camera LUT by assigning one in the info tab. Second, you might apply a correction LUT via the Custom LUT effect.
Given that this is a common enough workflow, where’s the problem?
The “right” way to work
Well, if you want to approach the task like a colorist would, you should be correcting color on the original Log footage, before applying a LUT to transform the color space from Log to Rec.709 or whatever other color space you wish to deliver to. Most people don’t do this, of course — corrections on Log clips feel quite different from corrections applied to regular non-Log clips, and it’s not a workflow that’s really encouraged by FCP.
After all, a LUT chosen in the Info tab is applied before anything else, and a LUT applied via the Custom LUT effect will land before any color corrections added after it, unless you reorder those effects manually. Most of the time, most corrections will land after a clip has been de-Logged.
Also, not everyone uses LUTs to correct color in the first place. It’s possible to increase contrast and saturation manually, though this ignores a lot of subtle technical differences between cameras and is hard to get right. And even among those who do use Camera LUTs, if the shots they’re working are shot in a controlled environment like a set, it’s entirely possible that very few highlights are being clipped along the way.
An editor might even mix and match, using LUTs for some clips but not all. It’s entirely possible to use a Camera LUT to get a basic correction for most clips, but to deactivate it and correct manually on any shots that exhibit clipping.
With those disclaimers out of the way, the main group of people who are most likely to encounter clipping problems using LUTs are those approaching color correction in a more systematic way. If you want to make footage from multiple kinds of cameras match, one of the best ways is to use a color space transformation, bringing each camera’s Log footage into a common color space rather than direct to Rec.709.
That hasn’t been possible with the built-in tools, but now it is, and it’s free.
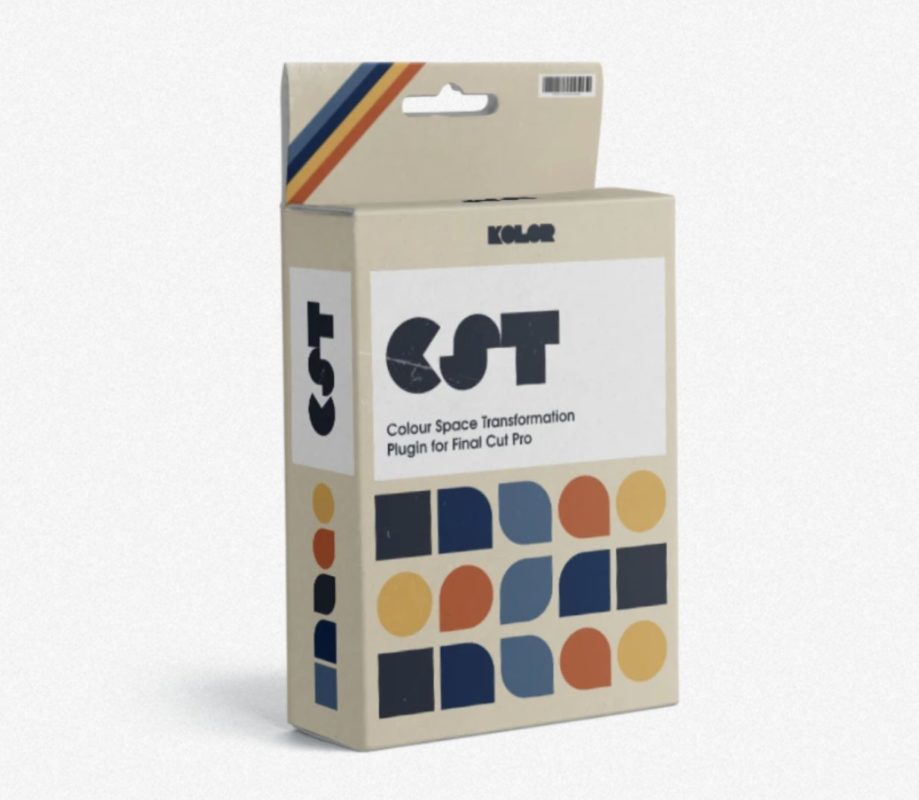
Kolor’s new Colour Space Transform
American readers, please excuse the spellings — it’s a European company called Kolor (with a K) that has introduced a free FCP effect called Colour Space Transform (with a u).

This effect includes many transformations to translate Log data from a variety of cameras safely into Rec, 709, or (better) into a device-independent color space like ACEScct or the Kolor default space that will not clip. The Colour Space Transform effect is designed to be applied first, before any corrections, so you can safely add whatever adjustments you wish afterwards.
As shown in the helpful launch video, you can use the presets to instantly apply common conversions, converting footage from many cameras to Kolor intermediate space or straight to Rec.709.
When you’re done, you can apply a further transformation on an Adjustment Clip to send your image from a chosen intermediate space to Rec.709 or Rec.2020 for final output.

If you’re working this way, I’d recommend using Command-left and Command-right arrows to jump between clips using the same role — this will avoid accidental selection of the Adjustment Clip as you skip between multiple clips on the same timeline.

I’d also avoid the Color Adjustments correction in this context, as its built in Control Range doesn’t work well with intermediate color spaces and can sometimes cause clipping. Color Wheels, Color Board, and the Curves options are all safe.
A solution for pros in FCP, but not for all
For the vast majority of users, color space management is simply not on their radar. Final output is uploaded to online platforms, or managed by someone else. Indeed, many people don’t bother doing proper colour correction at all.
But still, they should. And as Log becomes more common — iPhones have shot Log for several years now — it can make sense to take a more organized approach. If you need to use mixed cameras, Kolor definitely makes it easier to match their output.

At the end of the day, FCP will still only output to Rec.709 SDR, Wide Gamut SDR, or Wide Gamut Rec.2020 HDR; if you need to deliver something more obscure, off to Resolve you go. But if you want to stretch yourself a little, you can now follow a more predictable workflow while preserving highlights that would otherwise be lost. You can also deliver work in ACES if you like, or DaVinci Wide Gamut, or back to another camera’s Log format.
Conclusion
Working like this requires a new set of skills. If you’ve honed your color correction muscles working with clips that look “normal” then this will be something a little different. Correcting “regular” clips is easy by comparison, and I don’t blame you for heading straight back to older workflows for a quick turnaround job. But if you’ve got a little time to look around, this is worth exploring. Who knows, perhaps you’ll also be tempted to dip into Resolve’s nodes now and then?
Kudos to Kolor for making this available for free. Download it here: https://kolor.company/