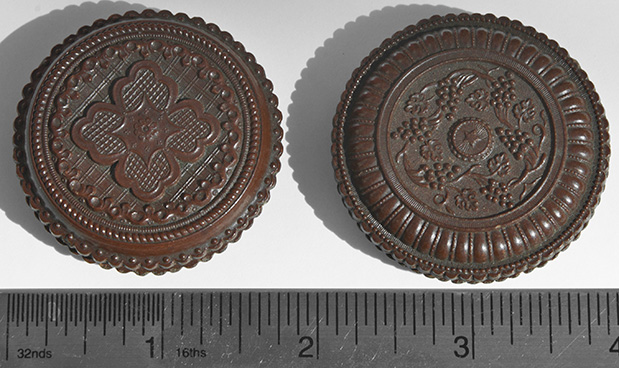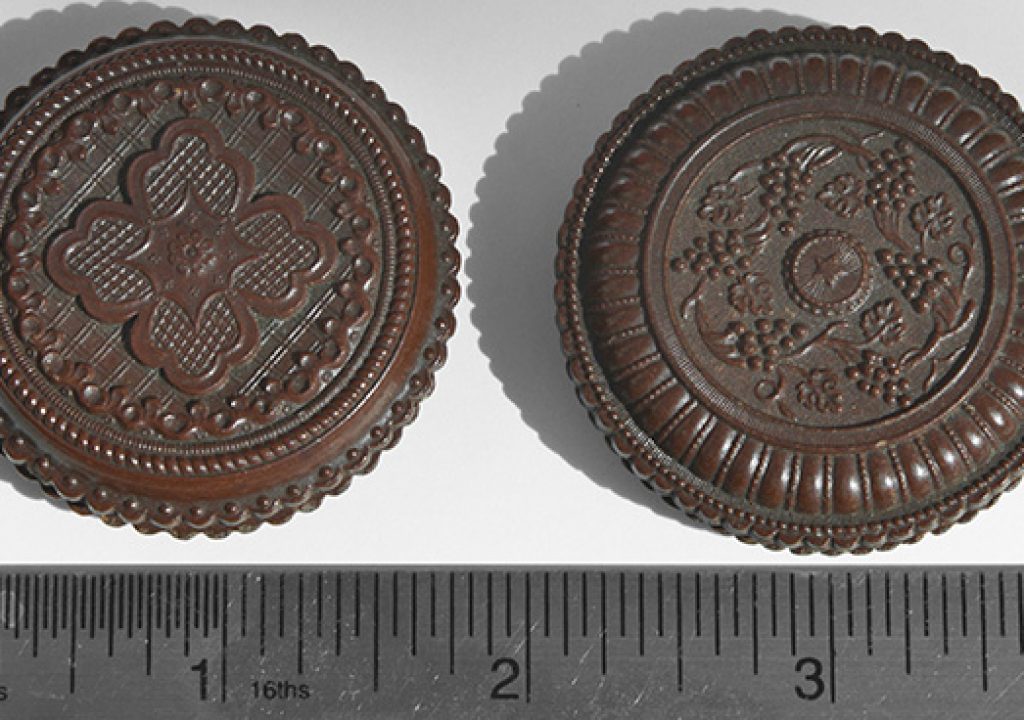
These portraits, she recounted, were exchanged between bride and groom sometime near the turn of the 20th century. I’ve never seen this framing shown in any photo history book. But I do know that because tintypes were made with very thin plates, they were creatively cut to fit the covers of albums, or inset into lockets, broches or fans. The “cookie” part looks like plastic, but is actually a precursor to plastic called Bakelite, (pronounced Bay Ka Lite) a material just invented about the time these portraits were made.
The cookies are like little jewel cases. The detail in the carving is deep, tiny, precise and attractive, showing that mold making was far advanced. The sections screw apart.
Tintypes unfortunately were usually dull, with a cloudy grey overcast, and easily showed flaws in the tin plate itself. After disassembling the gold foil rim similar to that used in typical wooden casket frames for cabinet sizes (approx. 4×5.5″, but much variation is found), I was surprised to find person who put them together was a less than careful technician. There was a fingerprint almost completely covering the glass on the inside!
Once scanned and enlarged, the amount of restoration needed became clear. Definitely a headache! The client desired images as clear and contemporarily clean as possible to become the nucleus of a family archive to be passed down, rather than retaining the flavor and marks of age and materials.
The easy part of the restoration was to lighten and create contrast to contemporary taste. Here’s the simple overlay technique in three simple steps in Photoshop.
1) Duplicate the background, and invert the dupe layer (? i or Control i).
2) Change the Blend mode to Overlay. (In this instance I pre-selected just the circle of the portrait, excluding the decorative gold foil edge.) Flatten the file.
3)The image will still be a bit dull, so I applied a typical, contrast increasing S-curve in Curves.
To restore the mass of tiny blemishes I divided the work into background, face and hair/clothing techniques. All were time consumptive and repetitive.
Background
1) Soften the background in Photoshop with the Blur Tool, making blemishes less prominent
2) Choose a small area to clean up, touching each blemish individually with the Spot Healing Brush Tool; images size at 100%
Switch to the Patch Tool, encircling damaged areas and dragging to the corrected spot. The larger the area that is repaired, the larger the next selection can be. The Patch Tool transfers texture, but not so much color or density.
Face
Enlarge to 200% and work one spot at a time, mostly with the Spot Healing Brush Tool alternated with the Healing brush Tool in Replace mode.
Hair & Clothing
I discovered a wonderful method of using the Spot Healing Brush Tool with a paint-brush-like longer stroke motion rather than a dot. This actually helped to realistically recreate hair strands and fabric detail.
The final step was to brush in just a touch of color in the cheeks, background and clothing. Voila! My client’s comment was, now that she could see the images clearly, she recognized family facial characteristics passed down from her great grandfather in the cookie tintype to the later generations.

