As a full time photographer and 3D animator, there’s often not a lot of time for touching up images. And since every image our studio puts out goes through some sort of image enhancement, finding a tool to help expedite the daily workflow is not that easy.
My version of Photoshop CS5 has it’s share of actions from various resources such as MCP Actions, V Gallery, Kubota and others. All are great, but here’s what happens… you have a great image and then you start trying one action, and then another, and then another. I know you know what I’m talking about… you’ve suddenly wasted 20 minutes trying all of these great actions, but none quite do what you want. Over the last couple of years, I’ve seen the ads for Portrait Professional from Anthropics. The ads were not something that instantly attracted me to the software. This representation (to me) said that the software left a little to be desired. But, I tried it anyway. I didn’t like it, and moved on. Flash forward a couple of years and version 10 has been released. The ads looked much better in Professional Photograher Magazine and when you add in a crazy sale to get the full version for less than $40, it was a no brainer. Much to my surprise, the folks at Anthopics have done a tremendous job overhauling this once clunky software.
So what’s this software all about you ask? Some thought it was about skin smoothing, which it is, but there’s so much more. It’s tremendously easy to use and you might find that the default settings are all you need. I want to run you through the process and then show you a before an after. This software has allowed me to process portrait images in just a few minutes, where in the past I’d spend 10 to 15 minutes per image, making layers, dodging and burning, blurring layers for skin smoothing and more. Portrait Professional can work as a plug-ing to Photoshop, or as a stand alone application. Note however that you’ll need the “Studio” version for the software to work as a Photoshop plug-in, and if you want to process RAW images. Going one step further, you can get the “Studio 64” version which is optimized for Windows 64 bit, and has no limit on the size of images you can process. Be sure to visit http://www.portraitprofessional.com/editions/ to learn more.
For my workflow, all portrait session end up in Adobe Lightroom. Each client has a catalog, and while I can simply open the RAW image directly in Portrait Professional, I prefer to use it as a plug-in within Photoshop. The image starts in Lightroom with simple color and exposure balance, and often some cropping with Lightroom’s excellent cropping tool. From there, it’s off to Photoshop CS5 and if needed, a quick levels or curves adjustment is made. Figure 1 shows the image I’ starting with. Next, from the Filter menu, you can select Anthropics>Portrait Professional. A simple interface opens and automatically loads your image. At the top right, you can tell Portrait Professional if you’re working with a Female or Male image. Figure 2 shows the image loaded.
Once you choose your gender, the software asks you to place a marker on the corner of the left eye, then the right, then the tip of the nose, as shown in figure 3.
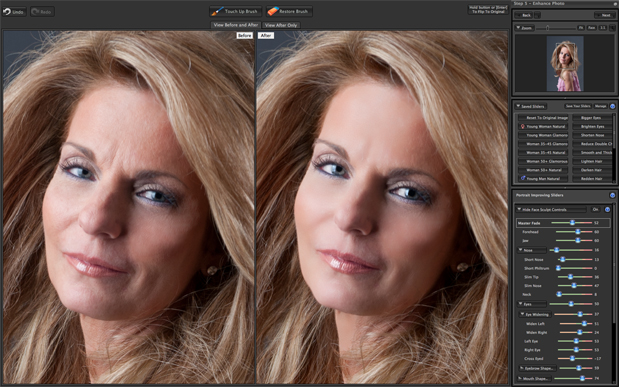
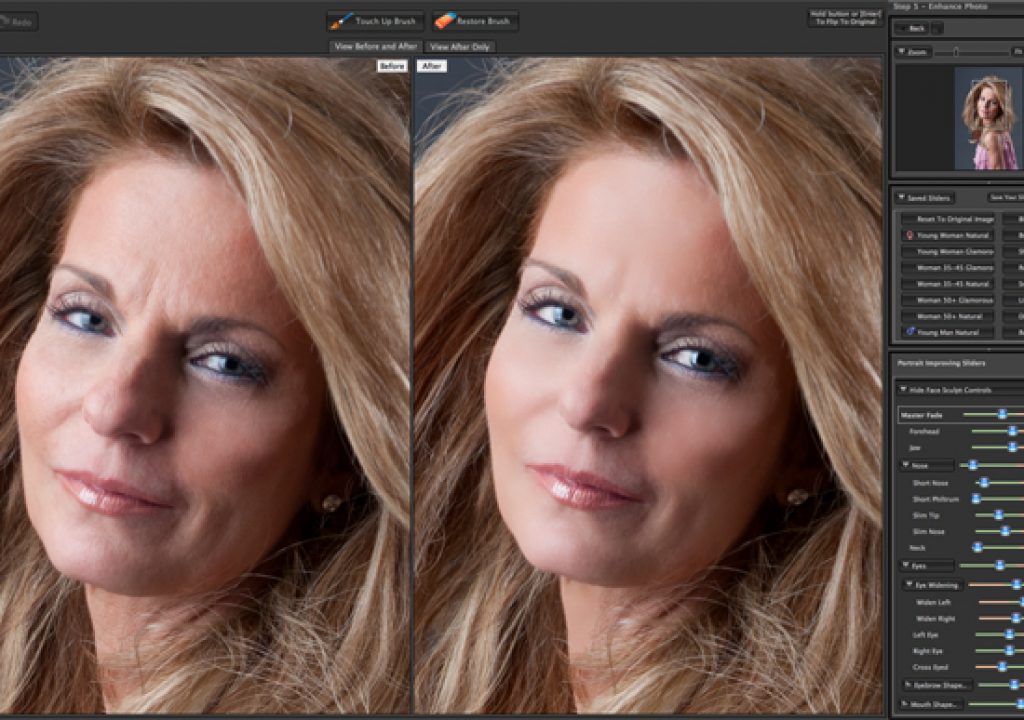
After a few seconds, you’ll see a side by side comparison of your before and after as shown in figure 6. But that’s not where the fun ends. In most cases, this might be enough processing and you can then save and return to Photoshop for additional image enhancements. But let’s say you want a little more control. No problem. Off to the right side of the interface you’ll be presented with a number of tools and presets. You can quickly set a preset for a young woman, a glamorous older woman, young man, and so on. Or, you can adjust each individual adjustment such as slimming the nose, widening eyes, brightening eyes, lengthen the next, removing more wrinkles and on and on.
What’s brilliant about this software is that once the initial markers and outline have been determined, you have complete control over each of those areas. Shaping eyebrows, or the mouth in Photoshop could take you a lot of time, but in Portrait Professional, it’s simply a slider. Additionally, you can reduce a double chin, brighten hair, even change eye color. Be warned, it’s easy to get carried away with the amount of controls and adjustments you can make. I’m anxious to try the software with some natural light images, and even pets to see how far I can go with it. For you, if you’re slightly interested in creating better portraits, then hop on over to www.PortraitProfessional.com and download a demo to test drive for yourself. It’ll give you new perspective on processing your images, and save you time on the computer so you can shoot more.

