Last week, we posted a short tutorial on using expressions to measure the distance between two points. This was triggered by playing around with the new Face Tracker in After Effects CC 2015, which in Detailed Features mode generated a number of point controls that track different facial features including the eyes, corners of the mouth, and so on. A reader asked, “so what if you want to know the angle instead of distance?”
Last week, we posted a short tutorial on using expressions to measure the distance between two points. This was triggered by playing around with the new Face Tracker in After Effects CC 2015, which in Detailed Features mode generated a number of point controls that track different facial features including the eyes, corners of the mouth, and so on. A reader asked, “so what if you want to know the angle instead of distance?”
The short answer is to use the expression code lookAt instead of length. However, it’s not quite as simple as that, as lookAt works in 3D, not 2D – even if you feed it a pair of 2D points for reference. If you just want a simple 2D rotation, you need to do a little work to extract it.
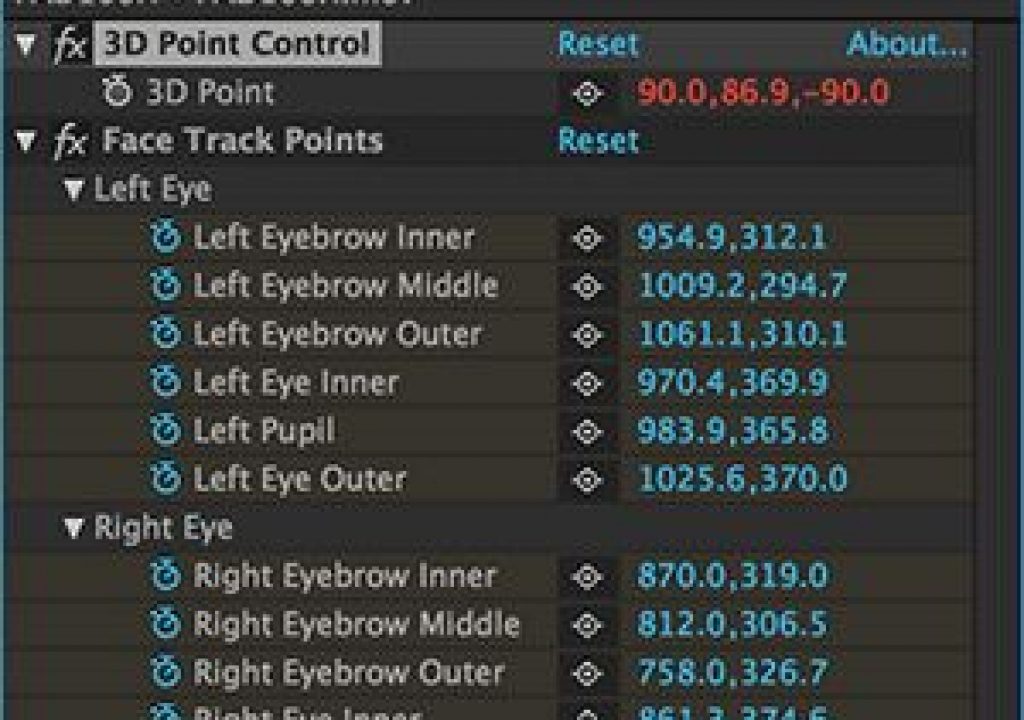
The simplest approach is to add Effect > Expression Controls > 3D Point Control to your layer. Option/Alt click its animation stopwatch to enable expressions, then add the expression:
lookAt(Point1, Point2)
Select Point1, and use the pick whip to choose the first Position or effect point control value of the two you’re measuring. Then select Point2 and pick whip to the second. If you were using the Face Tracking (Detailed Features) trick we demonstrated last week, that expression would look like:
lookAt(effect(“Face Track Points”)(“Right Pupil”), effect(“Face Track Points”)(“Left Pupil”))
Why Y? Technically, when we’re looking at the rotation between two 2D points, the result is Z rotation (a pivot perpendicular to the screen). The reason you have to use the Y instead of the Z value is that lookAt is actually a “face towards” command rather than a “point at” command. If you applied to the Orientation of a 3D layer, you would find it rotated so that the surface of the layer faced toward the point that was being tracked – that’s why you see X and Z rotation at variations of 90 degrees in the result shown at right. Because of this flip around, the additional rotation would be in the layer’s local Y dimension.
If you want to extract the Y rotation without resulting to targeted pick whipping, you would need an only slightly more complex expression. To test this, add Effect > Expression Controls > Angle Control, enable expressions for it, and add the following two-line expression:
MyOrientation = lookAt(Point1, Point2);
MyOrientation[1]
Wire up Point1 and Point2 to the two points you want to track, and MyOrientation[1] will extract just the Y rotation from lookAt’s result. This will give you a core bit of code you can use in other more complex expressions.

