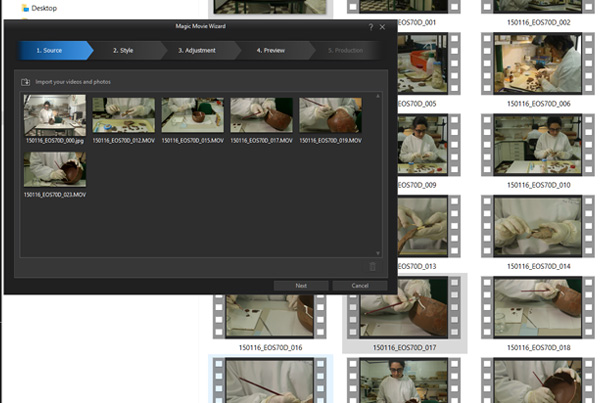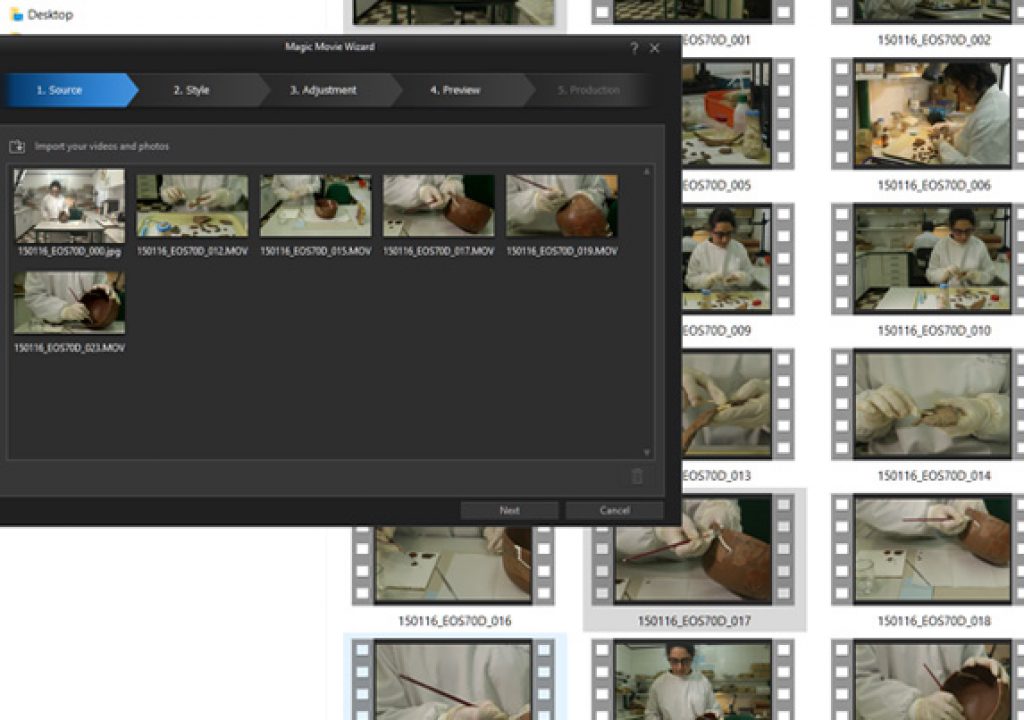
Last January Scott Simmons tested an automatic video editing tool, Fastcut, which I had mentionned here at ProVideo Coalition in December 2015. To continue the conversation, I wrote about the Video Snapshot feature present in some Canon cameras. Now it is time to test Magic Movie Wizard, which promises easy ways to edit video.
In my article about Canon’s Video Snapshot – Video Snapshot for lazy editors – I mentionned the existence of video editing software which offers some kind of automated editing, a feature I’ve seen in both video and photo editors for the general public. Now it is time to share that knowledge with readers here at Pro Video Coalition who might be interested into exploring the subject further.
Magic Movie Wizard is very different from Fastcut when it comes to the creation of video. In fact, Magic Movie Wizard is a feature from Power Director, the Non Linear Editor from Cyberlink. It’s a simpler interface that, in the end, will take you, if desired, to the full editor, where you can adjust your final movie any way you want. But for those not knowing or wanting to go through that part of the process, Magic Movie Wizard does… some kind of magic.
When you first open PowerDirector 14, the most recent version of the program, you have multiple choices: the Full Feature Editor, Easy Editor, Express Project, Theme Designer and Slideshow Creator. For this article I selected the Easy Editor, which opens the Magic Movie Wizard interface. I’ll get back to the other modules in the future, as they offer some interesting features, to both photographers and video enthusiasts.
Before we continue, let me state that PowerDirector has been my video editor of choice since version 7, launched in 2008. So, although I have tried and tested others, I tend to go back to PowerDirector, as I know the interface well and it more than suffices for the things I need. Back in 2008 PowerDirector served me well… as a Slideshow Creator, an automated way to create slideshows.
I remember well the first time I used it for a client. I had spent the whole day photographing, with my older son, a team building activity outdoors, with well over 150 participants, and we were asked to create a slideshow for the dinner and prize delivery ceremony… at the restaurant, using a laptop computer, a projector and a screen. We had to go through hundreds of photos, select enough for a 3 to 5-minute fast paced slideshow – everybody expected to see at least one photo of them in action -, edit images minimally and create the slideshow with special effects and all… in time to present it during the dinner. I had previously selected and imported to the laptop some music to use as background, and we did get the show running… although we never had dinner that night.
From that day on I accepted that, for certain things, these automatic features of a program can work rather well. I will, preferably, edit and control the whole process myself, but the tools are there to be used when needed. As Scott Simmons mentionned in his article about Fastcut, “In a family where you’ve got a parent who likes to shoot video of their kids but doesn’t ever take the time (or have the time) to edit the footage into something for the family to see MAGIX Fastcut does something amazing: it actually produces a finished video. That’s more than I can say for myself sometimes.”
With Magic Movie Wizard we are a step beyond what Fastcut does, because the program automates the initial process but still allows you full control, if you so desire, at the end. Once you select the Easy Editor option, a new interface opens, giving you a logical sequence to follow: Source, to enter the video segments you want to use, Style, where you can define the style or template to use with your video, Adjustment, where you define multiple aspects of the final movie, Preview, where you can see the result of your choices, and finally Production, where the compiled timeline transfers to the full editor for further adjustments, if you want.
Following the workflow, you import your files and then, on the Style window are given the choice to use one of the templates/styles present or go online to Cyberlink’s website and download other templates/styles to use. Under Adjustment you select the background music for your video, define the ratio between the original sound and the music score, simply by sliding a cursor, and finally define the movie duration: original, defined by you or adjusted to the length of the background music.
Under Adjustment you can also define the criteria used by Magic Movie Wizard to cut the movie and the order of the segments. The program allows you to define the length of scenes with zoom/pan, with people speaking, moving objects, the general duration of scenes and the duration of scenes with people in them. Once you’ve defined all these points, the program analyzes your footage – it may take a while -and creates a video you can preview on the next window. If all seems OK, you move to the Production window. Then the full feature editor opens and you either adjust your video further or simply select to produce the final movie.
For this test of the Magic Movie Wizard I selected a series of clips from a recent shoot at the laboratory of an archaeological museum, and used them to create different versions of the same footage, which can be seen online at YouTube on my own channel. The end result may not be very different between most of the examples, but that’s due to something we tend to do on tests: to keep movies short. In fact, the longer your movie is, the better the Wizard can deal with different segments and come out with something that reflects the initial choices. So, to fully explore the potential of Magic Movie Wizard, a longer final movie will yield better results.
When choosing the Style, Magic Movie Wizard offers multiple options, from keeping the original speed and look to a fast or slow version and one with a celebratory tone that has limited scope, but is there for people to try. The good thing about Style is that you can import new templates/styles from Cyberlink’s website, expanding your options in terms of automatic creation of movies. While some of the “styles” are very specific and not something you will need or want to use, there is always the chance to find one that fits your needs. For this test I chose one Style – Grid (with transitions) – and the results, which can be seen here, are rather interesting. But I needed to create a longer movie to really make it run properly.
One important thing to remember: the footage used here is raw, meaning it was not edited in anyway, so this is something you should be aware of when using Magic Movie Wizard. There is a way to solve this, and that’s by editing the segments before, or use the full feature editor, edit the segments and then call the Magic Movie Wizard function from there. In that case, though, and supposing you know what you’re doing, I guess it makes more sense to do all the work there and simply forget the Magic Movie Wizard.
Testing this feature from PowerDirector 14 reveals, again, that even with an automatic or semi-automatic program like Magic Movie Wizard, the more time you spend defining your needs, even if within the limited options available in the program, the better results you get.
From my experience, what Magic Movie Wizard does, and how fast it can be to test different output styles, makes in not only a valuable tool for some people – or for all the people who may need a fast “automatic” way to edit video – but also a learning tool that helps people to understand the complete workflow of a NLE. When all is done, users end in front of the full feature editor timeline, with a compiled video with everything from transitions to special effects and the rest. There they can opt to finish the automatic process or go through the different elements, to understand how it was/is done. That’s invaluable, I guess.

