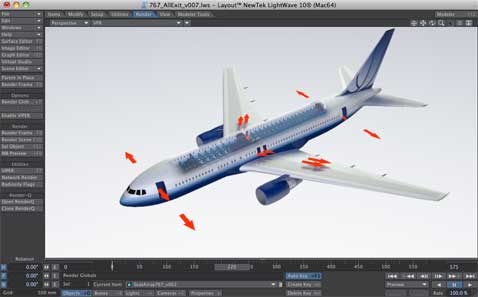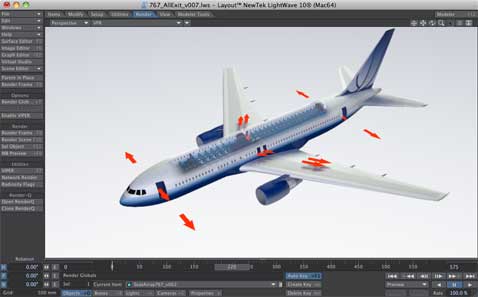
This week, I received a box in the mail. I wasn’t sure what it was, and even though I don’t remember things as well as I used to, I’m always aware when new software is on it’s way. When I opened up the box, it was a copy of LightWave 10! I know what you’re thinking, “but Dan, didn’t you just finish writing the Inside LightWave 10 book?” Yes, I did, and of course that means I had the software already. True, but the final release disc, and box had not yet arrived and to me, this means the release is truly official. With any new release, there are plenty of great new features to explore, and one of my favorites is VPR mode.
Back in the early days of LightWave, the new release was a day that had no sleep. Little food was eaten. Lots of coffee was consumed. While it might sound extreme to you today, in the early 1990s, 3D was not only out of reach for most of us, many people didn’t even know what it was. But with the introduction of LightWave, 3D was incredibly exciting, fantastically creative, and excruciatingly slow. Everything that was modeled, as well as animated was all done in a gray wireframe mode. Not color, and not shaded.
Around 1995, LightWave had a major leap and became “unbundled” from the Amiga and Video Toaster, and was ported to the PC. With that change came a faster program and one that could work well with video cards that included an OpenGL graphics library. Shaded modeling previews and shaded layout views were now possible.
There’s a fantastic plug-in that Steve Worley created for LightWave many years ago that brought a new life to LightWave layout. FPrime was a real time render engine and it’s power was unprecedented. By incorporating this plug-in to your LightWave workflow, you could effectively see most of your render in real time. What did that mean? Well, take for instance work I was doing for United Airlines. I had a dozen or so markings that I had to place on the outside of many aircraft. Their position and size were very important and working in just a shaded or wireframe mode didn’t quite help get things done in a reasonable manner. With FPrime, workflow enhanced considerably because I could actually see where the image maps were being placed and watch in real time as I sized and positioned them. But FPrime had some limitations. Flash forward to LightWave 10 and we have the new addition of VPR, or Viewport Preview Render.
With VPR, you can see your render in real time – every single bit of it. You can view shadows, reflections, transparency, bump maps, displacements, even global illumination for environmentally lite renders or HDR lighting. The beauty of VPR mode is that you do not need to be in a camera view to use it. It works in any view you choose, such as Perspective, Side, or Top. But wait! There’s More. Part of the advantage of working with VPR mode is that you can create snapshots along the way. In the top right of the LightWave Layout viewport, you’ll find additional controls for recording a frame of your VPR rendered view. You’ll also find a tidy options panel for VPR accessible in the top right of the viewport. You can easily change settings for quality, color space, and where to save image snapshots. VPR mode also lets you turn on overlays, in OpenGL, allowing you to see your lights, cameras, and wireframes of objects.
LightWave 10 is greatly enhanced, and VPR mode just scratches the surface. Other big things to talk about is the new color space options. But we’ll do that in another post! Until then, happy rendering!

