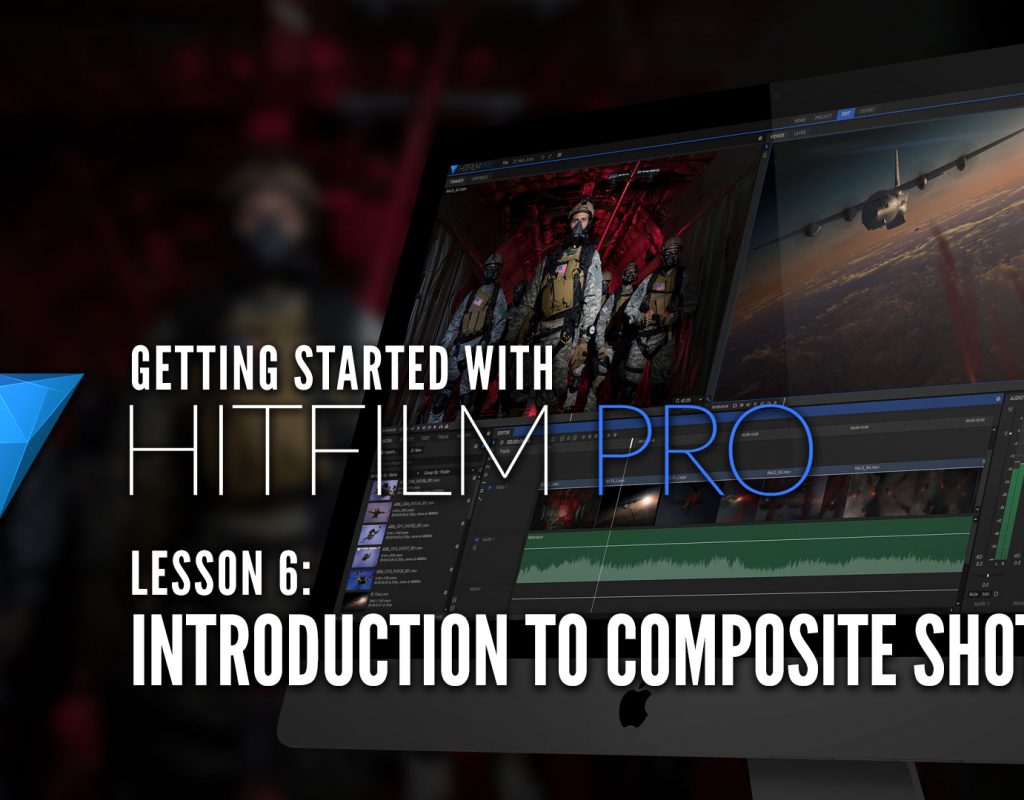
In our last lesson, in our look at learning HitFilm Pro, we wrapped up our discussion of the toolbar by looking at the Rate Stretch Tool, and your exporting options. In this lesson, we’re going to talk about Compositing and Composite Shots in particular, and the two main decisions you need to make, when you’re going to do compositing in HitFilm Pro.
I think it’s important to talk about Composite shots and what, exactly, they do, as most people think they are like nests or pre-comps, like in After Effects. Even though they seem to serve that purpose, that’s not what they are used for. They are containers, specifically, for creating complex composites. Keep in mind, adding Titles is considered to be a “complex” composite.
Composite shots are not for doing straightforward effects work. We’re going to get to effects work in an upcoming lesson. For this lesson, I want to talk specifically about the two ways to create composite shots, and when you would use each of them. Let’s first talk about editing and working with Composite Shots.
With this technique, we’re going to assume that you’re going to be editing a clip or clips in a timeline, and at some point you realize that you want to to some text work with 3D elements including lights and cameras. The first thing you’ll need to do is to figure out which shot you want to include in your composite (keep in mind that you can only do a shot at a time when creating composite shots).. Once you’ve decided that, you can simply lasso it, or select it, right click and select “Make Composite Shot”.
Keep in mind that HitFilm’s compositing shots work the same as other compositing applications like Nuke and Fusion, where you’re dealing with one shot at a time.
Once you’ve created your composite shot, you’ll see it appear in the Media Tab, and HitFilm will take your shot, drop it into the composite shot, open it, and you’re now ready to create whatever type of composite you need to. There’s something else important that I want to mention here, and it’s a workflow tip when working with extensions like Mocha HitFilm. When exporting your tracking information out of Mocha HF, what it’s actually doing is exporting composite shots, for you to import back into HitFilm to work with. I’m not going to get too much into it here, as we’re going to dedicate a few lessons to Mocha HitFilm, but keep in mind that you can import Composite Shots into your projects, and work with them much as you would any other clips.
Now, with that idea in the back of our heads, there is another way to create composite shots, and that is on a one by one basis. If you head back to the main project creation window, and remember back to one of our earlier lessons, you have the choice to begin editing, or to create a new composite shot. If you choose to create a new composite shot, a new project opens up with a single composite shot in it, and you’re ready to start creating your visual magic. Now, keep in mind that by selecting “Start Compositing” doesn’t mean that you can decide at some point to switch over and start editing, because you can, this workflow is more designed around have two (or more) people working on a production with one person editing, and the other’s creating the visual effects composite shots for the editor to drop in at a later time.
This is actually a pretty clever workflow, especially if you’re working in a shared storage environment. You will notice a difference, though, when Mocha saves out its composite shot, versus when you save your HitFilm composite shots. Mocha will use the extension .HFCS for the composite shot (.HitFilm Composite Shot), where as the composite shot created by HitFilm from the new project window will simply be a .HFP (.HitFilm Project). Both types of Composite shots will import into your mast projects exactly the same way, so there will be no difference in your workflow, no matter which type of composite shot you’re creating!
In our next lesson, I want to start talking about effects and keyframing, so you can see the process, and how similar it is to working in Adobe After Effects.
FTC Disclosure
I have received no compensation from HitFilm for the production of these tutorials. Opinions in this article, whether you agree with them or not, are my own!

