Stacking is used to create sophisticated images with detail from front to back. It is used by many photographers in macro photography, but the process sounds so complex that some people never try it. But stacking can be used for other subjects than macro, and it offers a neat way to gain extra depth of field without stepping down the aperture. I use stacking a lot, so let me explain how I do it, in a simple way.
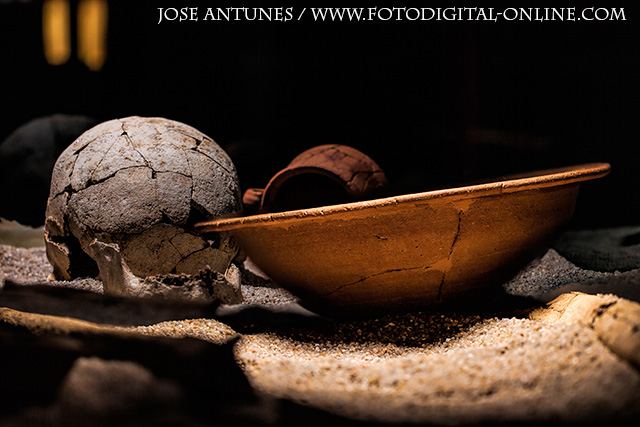
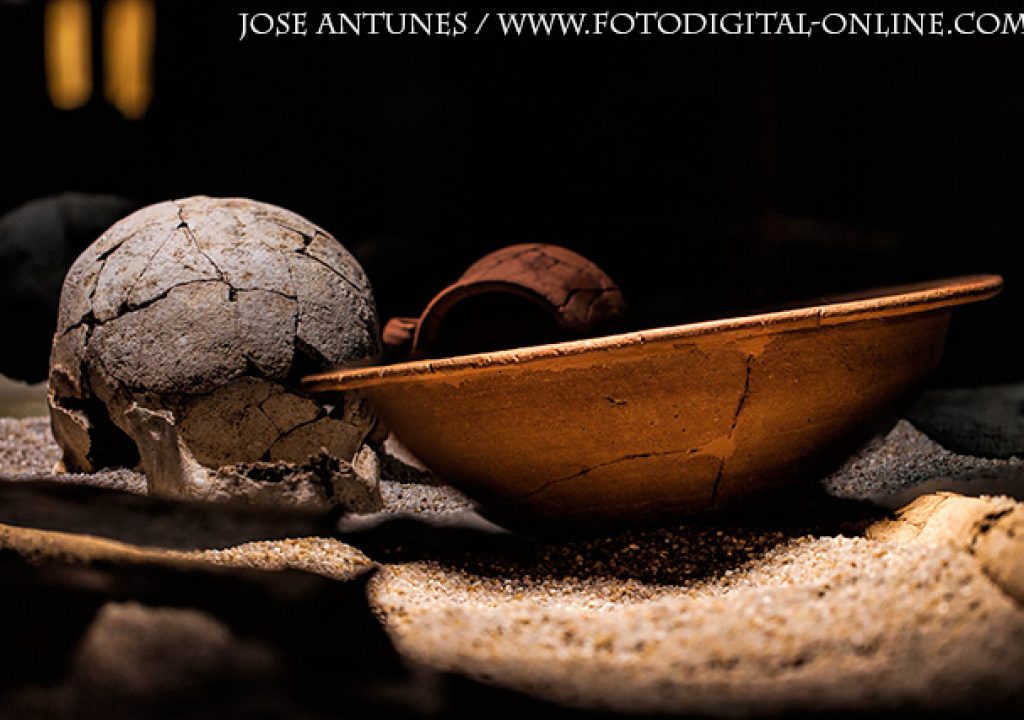
The opening image for this article was shot at f/2.8, still it shows an extensive depth of field. It may look like magic, but it is just a simple technique. Let me explain how it is done.
I've been photographing display cabinets at a museum lately. Besides the problems of reflecting glass everywhere, something I will deal with in another article, I also have problems of depth of field, to keep backgrounds and foregrounds away from the objects I am photographing, so they do not compete with what I want to public to see in my images.
Focus on this photograph is on the pottery dish, with an aperture of f/2.8
One specific exhibit I photographed is a unique collection that will be available for the public to visit until the end of 2014 at the Archeological Museum of São Miguel de Odrinhas, in Sintra, Portugal. The collection is made of funerary vases, but also domestic ware pottery and other objects interesting to understand the life – and death – of the inhabitants in the region of Sintra during the roman age. The multiple display cabinets in the exhibit show artefacts from different excavations in the area of Sintra the most western place on Continental Europe, where I live.
Although, for this series of images, I want to keep some areas of the framed image out of focus, for practical reasons, due to the glass and structure of the display cabinets, I also like to work with shallow depth of field, as a way to immediately tell the viewer what I want them to look at. While documenting photographically some of these artifacts asks for another type of approach, I prefer to aim at different results, in which the aesthetics are more important than the precise documentation/view of each piece. Still, I do believe my approach works both to represent each object meanwhile it offers the public a more interesting, in visual terms, final result.
Focus on this photograph is on the skull on the left side, again with an aperture of f/2.8
In order to achieve the results I aim for, I use, for much of this work, macro lenses, both the Canon EF-S 60mm and the EF 100mm (for reasons I will explain in another article). Both offer me apertures of f/2.8, which I do use a lot. Although for some of this type of photography, some photographers will immediately select small apertures, in these situations I rarely go beyond f/8 (although I never say never, if you know what I mean…), because of diffraction problems, especially when working with artificial light sources travelling around the object photographed and with multiple reflective surfaces around.
Now, using wide apertures does mean you do not get, sometimes, the depth of field you might need or want. Well, there's one easy way to resolve that problem, and it is done through stacking images. Yes, stacking does not have to be painful or a complex program. In fact, you have the option available in programs like Adobe Photoshop, even in Photoshop Elements, besides multiple other programs, some even free. I could suggest some names, but to be fair, just Google for “photo stacking software” and you'll find multiple choices.
After editing the two images in Camera RAW, I open them in Photoshop, and place one on top of the other as layers
This said, I do like the way Photoshop stacks my images – I am exploring other options, but for now it is my program of choice – and for my needs it more than works. In fact, although I have tried some complex montages in Photoshop, I mostly stack two or three images together, and the program does a perfect job in less time than it takes to write this paragraph.
The images illustrating this article, from a display recreating how the artifacts in a grave from roman times were found, are an extreme example of the stacking function in action, as both images used were taken at f/2.8. I photographed one with focus on the pottery dish while the for the second I choose the skull. I've two different images that are both interesting to document the exhibit, but mixing the two I get a new image, also interesting, meaning that stacking can, besides giving you ways to solve problems of depth of field, offer you a completely new vision that would probably be difficult to achieve even closing the lens diaphragm down all the way.
The stacking process in Photoshop is done automatically, and if the photos are perfectly aligned you'll get a perfect final composite image
To achieve the result you just have to make sure both images are taken from the same point, something achieved with a tripod. I usually focus manually on the points I want to use as a reference, although, if AF points on your camera cover the space you want to cover, you may use them to autofocus.
Once I've the images in the computer, I open them simultaneously in Camera RAW, and adjust whatever I want to, making sure the changes are done over the two pictures. Then I move to Photoshop, and place one of the images over the other, as a layer. I then select Edit/AutoBlend Layers/Stacking. Photoshop takes care of the process in seconds. If you are curious, check the layers menu on the right side, to see what Photoshop as done to each image in order to create the final composite. It's like magic!
You can check to see what the program used from each image, using the Layer pallete on the right side of Photoshop
This is a simple process that you can apply to different situations. And yes, you can use multiple images – it is the whole idea of stacking, after all – to achieve fantastic results. But for many photographic situations the simple stacking of two or three images will give you a better result than if you choose the smallest aperture on your lens. And also offer you more creative options. That's something we always have to aim for, I believe!

