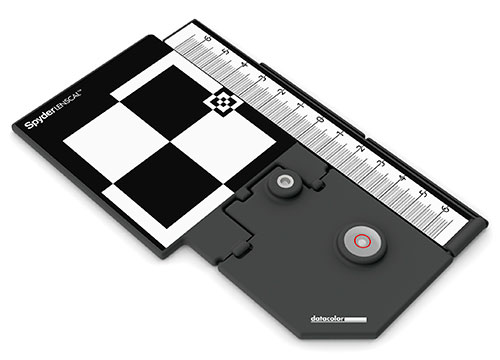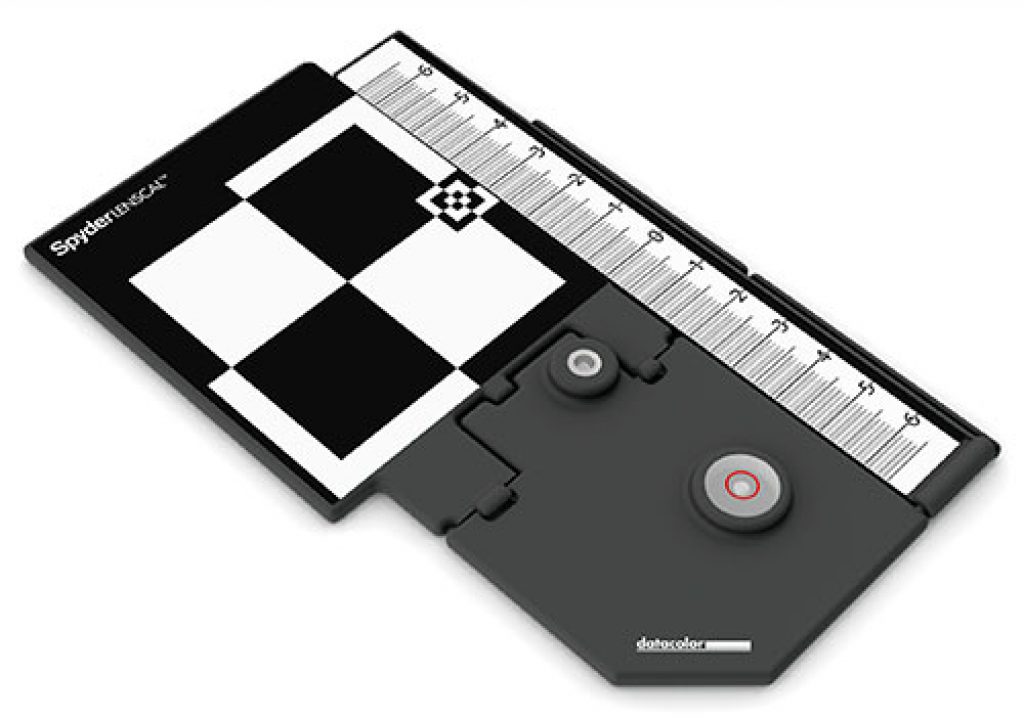
Not all cameras and lenses equal. To get the absolute best performance out of your combination requires some fine tuning with the lens micro adjust feature that can be found on higher end DSLRs. The Spyder LensCal from Datacolor is one way to simplify this process.
First things first, find out of your DSLR has an AF micro adjust feature. I'm a Canon shooter myself and both my cameras, 5DMK2 and 1DMK4, have the feature. The Canon 7D also has this feature but I believe that cameras lower down in Canon's lineup do not. The top of the line Nikon cameras certainly feature this ability as well but I'm not certain how far down it filters though their line.
Tolerances in manufacturing processes allow minute differences between lenses and cameras during production. In my experience they are very rarely so great that they are instantly noticeable upon fitting camera to lens though so don't worry too much if your camera doesn't even have this feature. For those photographers who are spending more on pro DSLR bodies and lenses though, we want to squeeze every last drop of performance out of our equipment and AF micro adjust allows us to do this by specifically calibrating each of our cameras to our specific lenses. Small + or – changes to the micro adjust shift the focal plane of the camera/lens combination back and forth until you have discovered the exact point at which things are in critical focus. The autofocus algorithms in the cameras software are calibrated based on an average production and micro adjust allows us to fine tune things to our gear. After calibrating a new lens or camera I almost always notice a difference in sharpness in my images, but it has to be said, that's mostly because you get to see the before and after effects!
This is Canon's official method for adjusting AF
- Mount the camera on a good tripod.
- Set up a target for the camera to focus on. The reference target should have sufficient contrast for the AF system to detect. It should be flat and parallel to the camera's focal plane, and centred.
- Lighting should be bright / even.
- Camera-to-subject distance should be no less than 50 times the focal length of the lens. For a 50mm lens, that would be at least 2.5 meters.
- Set the lens for AF and the camera for One-Shot AF, and manually select the centre focusing point.
- Shoot at the maximum aperture of the lens via manual mode or aperture-priority. Adjust exposure level to get an accurate exposure. Use low ISO setting.
- If the lens has an image stabilizer, turn it off.
- Use a remote switch or the camera's self-timer to fire the shutter. Use mirror lock up as well.
- Take three sets of images at microadjustment settings of -5, 0 and +5, i.e, three consecutive images at -5, three consecutive images at 0, and three consecutive images at +5.
- Look at the images on your screen at 100% magnification.
- Take additional sets of test images at different microadjustment settings if necessary until the sharpest image is achieved.
- Register the corresponding microadjustment settings in the camera.
Whilst this method would work, there are again some variables that can creep in. In particular getting the target perfectly perpendicular to the focal plane. But there is good advice in there regarding camera settings so this is still worth noting. I've seen a lot of websites recommend printing out special targets and putting them on a table, then aiming your camera at 45 degrees to the target. This might work as a quick and rough fix for a lens/camera combination that is way way out of adjustment but it's just not an accurate way to do things, far too many variables in your printing of the target. There are very few products out there that can assist you in your micro adjust testing, at the moment I think there are just two, the Spyder LensCal that I'll be demonstrating here and the LensAlign Pro. Both are pretty similar in their solution but the SpyderCal is quite a bit cheaper and I really like it's pop-up design.
So how does it work ?
The SpyderLensCal comes flat packet but with a quick click pop ups into the configuration required for testing. On the base of the unit is a 1/4 20 threaded socket for attachment to a tripod. Using the bubble level on the SpyderLensCal you first need to get it levelled out with the tripod on a hard standing surface.
At this point you want to make sure that your lens' IS is turned off and that you have selected the widest aperture available for your lens. The wider it is, the shallower the depth of field and it will more sharply reveal exactly the point at which the lens is focusing. Likewise for zoom lens' , you should set the zoom to it's longest focal length to produce the shallowest depth of field. As noted above, Canon recommends having the camera at 50 times the focal length away from the target. In practice though if you are trying to calibrate a 500mm lens that would be 25m away so it might not always be possible. Datacolor themselves recommend :
9
A distance of 5 – 10 times of the focal length, or place at the distance you use the lens most frequently.
In practice I've always tried to stick closer to Canon's recommendation, but sometimes being space limited gone a little closer without any noticeable issues. Datacolor provide no reasoning as to why they think you should use the target closer and ignore Canon's recommendation. It certainly makes it easier to see the small adjustments if the lens is closer to the target but but I still try and stick at least to 30x the focal length. The important thing to get right here is that the center of your lens needs to be at the exact same height as the middle of the SpyderCal target. This can also be tricky to gauge at longer distances so you might want to employ a tape measure. The LensAlign product actually features a neat little trick to make sure you get this part spot on by having to site a tiny red dot through a very small hole. Something that I wish the SpyderLensCal also had to speed up the setup and remove an extra point of possible inaccuracy.
Set your auto focus so that it just using the center point and point that right at the small target to the left of the scale. Fire off a test shot and take a look at it on the computer screen, the camera's LCD is not accurate enough for this purpose so it's even easier if you can tether your camera to speed things up. Hopefully you'll see that the zero line on the scale is perfectly in focus but it's more likely you'll see a line either in front or behind the central line looks in sharper focus.
The micro adjust menu on a Canon camera is located in the custom function menu. You'll notice there is a couple of options here, one for applying the same adjustment to all lenses and one for lens specific adjustments. For absolute accuracy we want to do things on a per lens basis.
If a line forward of the center mark is in focus then you will need to move the dial in the backwards direction to correct things. It could be as little as 1 click or it could be way about above + or -10. My 1Dmk4 has some built in inaccuracies itself so all my lenses need at least +10 on that camera and then small, further adjustments depending on which lens is being used. Using the SpyderLensCal makes it a really simple process, and quick too if you can tether your camera. If you are using a lens with a fairly small maximum aperture and focal length then your depth of field might make it tricky to gauge the small changes from the micro adjustment. It'll be a little more obvious with the images on the computer where you can quickly flicker them back and forth on the screen. A further little tip that I've seen mentioned on several other websites is to apply the emboss filter on photoshop.
Overall I thought this was a decent design from Datacolor, it will improve on manually printed test charts I'm sure but the overall accuracy is somewhat dependent on the focal length you are checking. With wider lenses it does get a bit trickier as the small scale becomes, relatively, much smaller in the image. If you have more than a couple of lenses then I'd highly recommend getting one. I've seen it said that you won't notice much difference unless you make big prints, well that might be true if your lenses only need a small adjustment but takke it from me, it's not always just the lens. My 1dMK4 needed adjustment of +10 just to get any lens in the right area and when I spoke to Canon about that they said it still fell within acceptable tolerances for a new camera. Such a large difference would be quite noticeable when fixed with micro adjust, but if I'd never tried it out then I would have had the same inaccuracy on every lens and be none the wiser than my camera was at fault. When spending thousands on a pro camera to me it just makes sense, but then I will admit I've always been a pixel peeper 🙂
Datacolor's Video
Like what you read?
- Follow Dan on Twitter: @DanCarrPhoto
- Read more of Dan's writing: ShutterMuse.com
- Get a FREE photography eBook written by Dan

