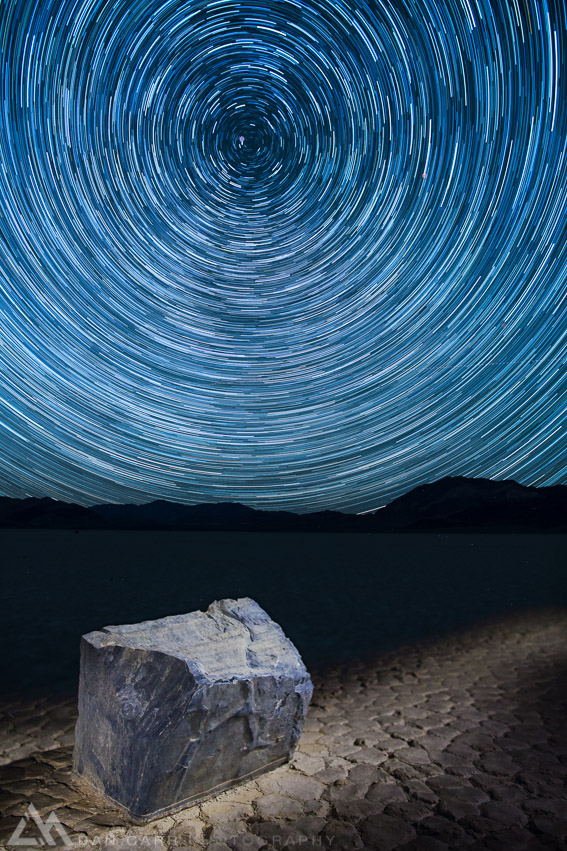
A few weeks ago I decided at the last minute to head to Death Valley to shoot some images for a book project. I had 5 spare days in my calendar and that was just enough time to get some meaningful work done somewhere. I jumped on a flight to Vegas the next day and spend the next four days driving around the National Park shooting sunrise and sunset at various locations. Of course I had to pay a visit to the Racetrack Playa as well! You really need a 4×4 to get to the Racetrack so I rented one for 24 hours and set off for sunset. I also wanted to shoot at nigt and I had a star trail shot on my mind. I've just posted this image on my various social media sites and it garnered a healthy response and some questions so I'm here to lay it all out!
Gear
I used a Canon 5D MK3 and a Canon 24mm f1.4 lens set on top of a Really Right Stuff TVC-24L tripod with a BH-40 head on it. I also used a 4Sevens Quark Pro LED torch.
Technique
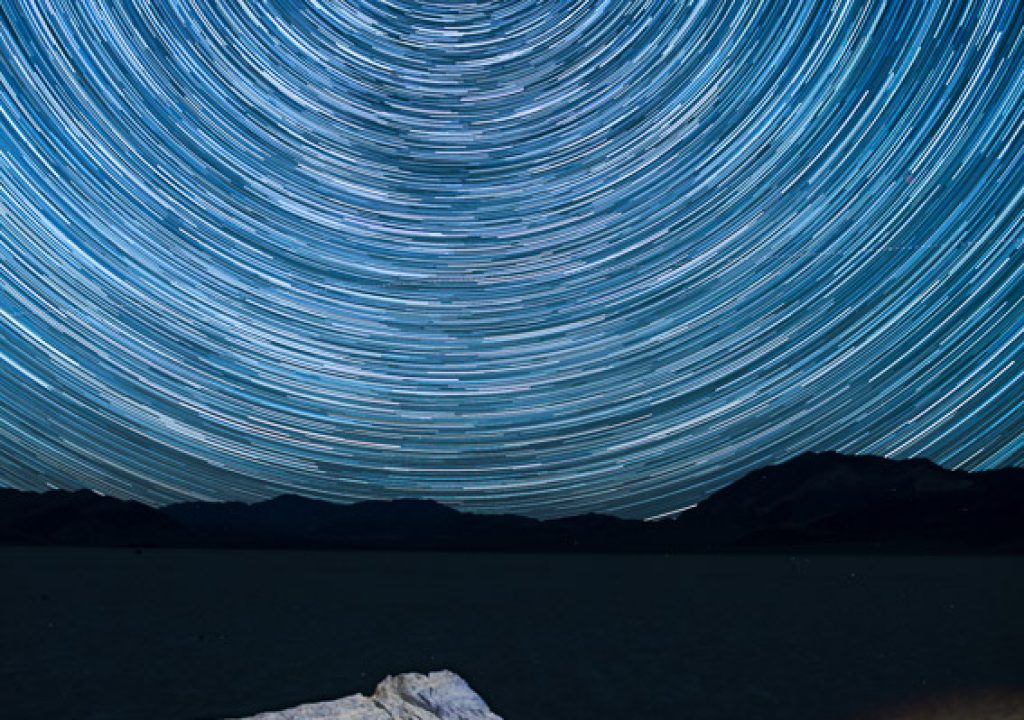
There's several ways to create this image. Let's discuss the star trail itself to begin with. It was an hour long star trail and I chose to shoot 120 x 30 second exposures and then stack them on top of each other in Photoshop. I used a cabled remote attached to the camera that automated the repetition of the 120 images and then I just sat back and waited in the chilly -10 Celsius weather ! I should also mention as well that I waited for the moon to set before I did this. With a moon up above the horizon there is usually too much foreground light and also reflected light in the sky. A moonless night (or portion thereof) is what brings out this many stars. The lens was set at f2.2 to reduce vignetting and the focus was set to just before infinity.
Alternatively you could also have done a 1 hour exposure using bulb mode but I prefer the multiple exposures method since it allows you to remove some frames which may cause distracting aircraft trails or satellites. It also keeps noise to a minimum since a 20 second exposure at iso 2500 is no big deal these days with a full frame camera. Now moving onto the rock. The rock was light painted with an LED torch. It would have been possible to do this during the star shots but I chose to do it seperately as it allowed me to try a couple of different lighting patterns on the rock and then chose the one I like best. In the end I actually made one painting of the left side of the rock and one of the right+top of the rock. So those two shots plus 120x 30 second sposures were all dropped on top of each other in Photoshop and the Layer Modes changed to Lighten. Voila ! I used a scripts to stack the images in Photoshop since doing it all manually 122 times would have been a bit tedious. You can get the script here.
Like what you read?
- Follow Dan on Twitter: @DanCarrPhoto
- Read more of Dan's writing: ShutterMuse.com
- Get a FREE photography eBook written by Dan

