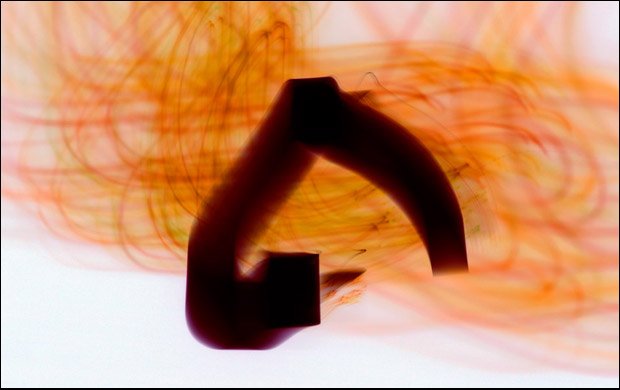
In simple terms, “light painting” involves taking long-exposure photos in nominally dark environments, where you artfully set up or move a light source to either reveal an otherwise-hidden object, or draw in space using pure photons. Assuming you yourself are either generating or reflecting relatively little light, and/or are moving during the exposure, you become invisible to the film or camera's sensor, leaving just the light behind.
I recently went on a light painting shoot along with other members of the New Mexico Outdoor Photography Meetup group, dragging along a Canon 5D mkII, a Pixel RW-221 wireless remote control (so I could trigger the camera from larger distances, and without line-of-sight), and a Manfrotto 055CXPRO4 carbon fiber tripod (the lighter weight was appreciated while bumbling around in pitch dark in a open space full of prickly pear cactus). Although I started out with the requisite flashlight and blink toys as light sources, I quickly went off-script and started using an iPad as a light source, plus spent a bit of time in Photoshop and Camera Raw afterward. Here's what I tried, and what I learned.
Animated Light Sources
Let's jump ahead to a bit of fun stuff first, before getting bogged down in camera and Photoshop settings…
Our primary business is video and film. As a result, we have a large library of moving stock footage, including both footage we shot and processed ourselves as well as commercial footage from others. Some of this footage includes abstract animations intended to be used as backgrounds. For this shoot, I choose several clips from the Artbeats Tranquiloscopes collection of animating kaleidoscopes. Here's a representative trio of frames from clip TRN112 in that collection:
I re-saved a selection of these movies using the h.264 codec that the iPad likes, and transferred them over using iTunes. Out in the field, after setting up the camera I would select a movie on the iPad, face the camera, remotely trigger it (which also gave me a few seconds of countdown before the shutter opened), and then started approaching the camera while moving the iPad around. Framing the shots took a combination of visualization, guesswork, and practice; I look forward to experimenting in a more controlled environment such as my own back yard rather than an open field.
Camera Setup
As light painting almost by definition requires long exposure times, you need to become familiar with either how to set up long exposures with your camera, or how to use its “bulb” mode so that you manually control when the shutter opens and closes. I opted for fixed exposure times over bulb to minimize one variable in my experiments.
As always, I set the camera to shoot in Camera Raw mode, giving myself more latitude to recover under or over exposures later – even more important in this environment. As I hate noise, I stubbornly kept the camera's ISO setting at 400; I've rationalized this by believing not using a higher ISO helped keep the blacks “buried” rather than picking up extraneous illumination from the city lights bouncing off the clouds or the nearby homes (plus I was using some pretty bright light sources and long exposure times). However, I made sure I dove into the camera's menu settings and enabled long-exposure noise reduction; the factory set it to off. This means you have to wait an additional amount of time equal to your exposure after the shutter closes before you can see the result, but it was worth it.
Aperture settings and focus were tricky. Quite often, I shot with the aperture closed down to extend my depth of field, as I did a lot of back-to-front movement with my light sources and wanted them to remain relatively in focus. However, I also experimented with shallower depth of fields, using a flashlight to check the lens settings and walking off the distance to verify where the focal plane should be. This yielded more contrast between soft and sharp lines (although frankly, holding a complex light source such as a graphic on an iPad steady enough to get a “sharp” image with a long exposure proved to be trickier than I anticipated).
Large f-stop values kept more in focus as I moved toward the camera with the iPad, stopped, and moved again, with softer streaks connecting the movement between (above). The movie used for this was TRN112, which was illustrated in the prior section. Lower f-stop values predictably gave more variation in soft and sharp lines (below).
next page: color manipulation
Camera Raw Manipulations
Processing a light painting image in Camera Raw is similar to many other applications – exposure, contrast, and the such all work the same – with a few mental variations when processing abstract line art such as this:
The Magic of Inversion
The image below actually started out as an error: I got the timing between the video playback and camera shutter wrong, resulting in a white “choose the next movie to play” screen appearing for a portion of the exposure while I was still moving the iPad about. Here's the original, uncropped image (in all of its cockeyed glory):
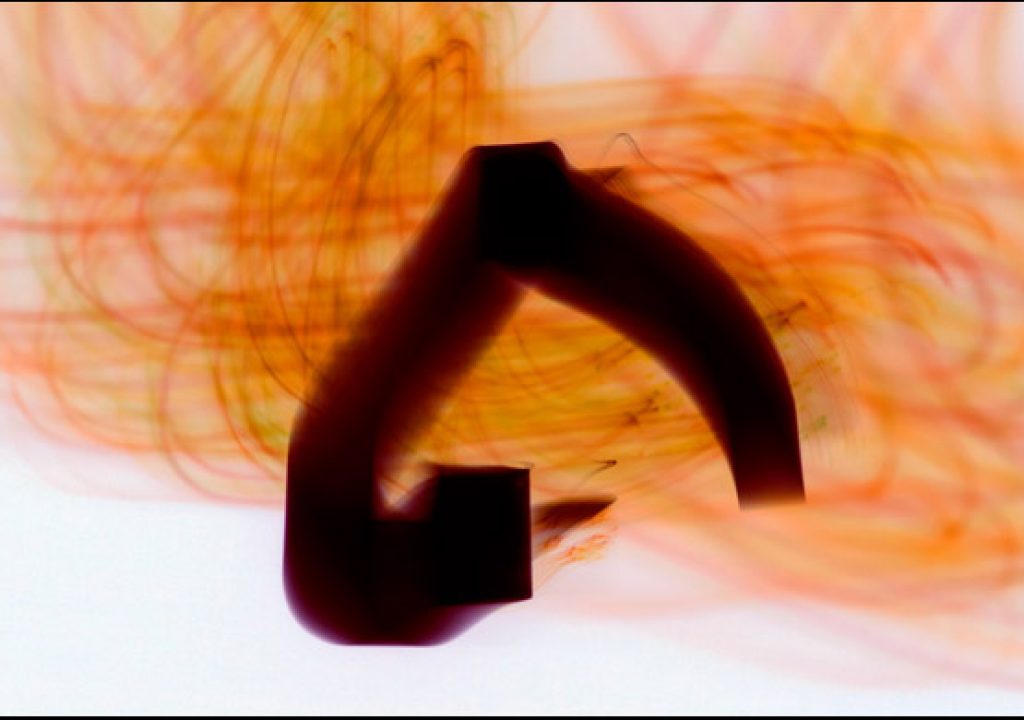
This image reminded me a Middle Eastern calligraphic letter form (and if you haven't already, you must see the Light Painting Calligraphy Art by Julien Breton), so I decided to push that idea by inverting the image, slightly rotating the hue (coupled with some iterative adjustments back in the Camera Raw dialog to get the line thickness and tonal range I preferred), and using Image > Adjustments > Color Balance to bring a deep maroon tone to the now-black letterform (I selected the Shadows Tone Balance, and biased the Cyan/Red slider toward Red). The result is the image you saw at the head of this article:
I'm very encouraged by these initial experiments, and see a rich vein to mine in “painting” darks and colors as opposed to strictly light. I just wanted to share these initial results with you in case they might inspire some experimentations of your own.
Requisite FTC Disclosure: We bought the Canon 5D mkII, the Pixel RW-221, and the Apple iPad. Manfrotto is generously loaning us the 055CXPRO4 carbon fiber and magnesium 4-section tripod, as well as a 327RC2 handle-grip ball head which I will be reviewing in greater depth soon. Long-time friends Artbeats gave us the video footage and Adobe supplied us with Creative Suite 5 (including Photoshop Extended) in exchange for ongoing consulting work. And I'm still picking bits of cactus needles out of the shoes and socks I wore on the shoot.
Our photographs and artwork, as well as content contained in our books, videos, blogs, and articles for other sites are all copyright Crish Design, except where otherwise attributed. Other examples of my mixed media work may be found on my artist web site.

