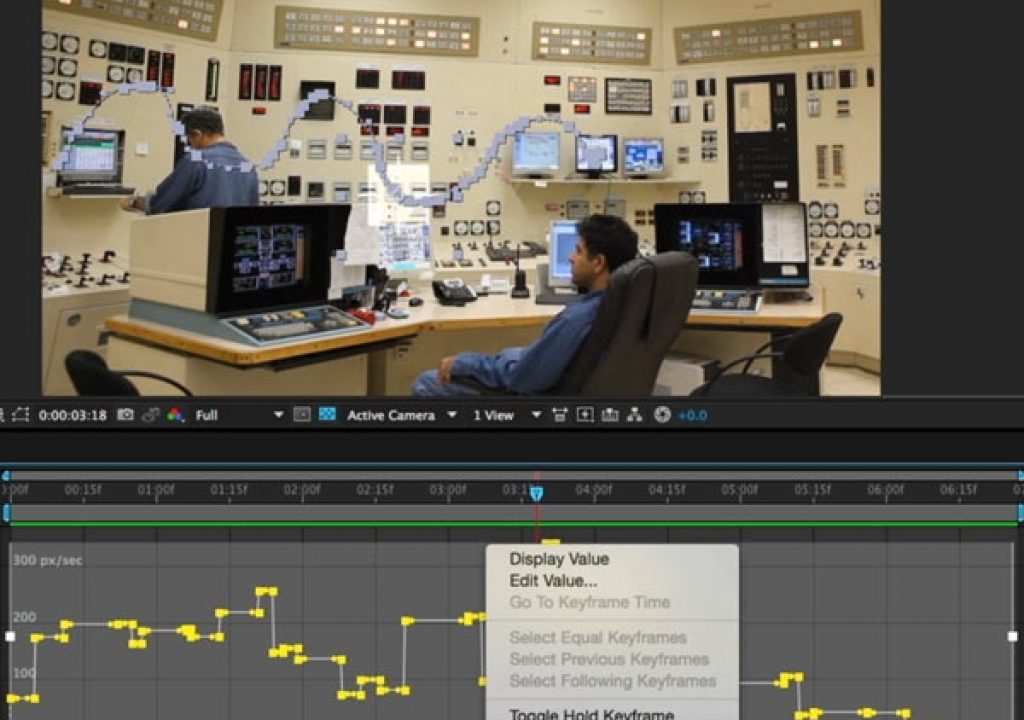
Normally, a Position keyframe in After Effects defines a time, and the position value at that time. This can get unwieldy when you create a complex motion path – such as following a map or maze, or hand-tracing a path with Motion Sketch – and then want to finesse the timing of that path later, as you often have to tweak the timings of a lot of keyframes to create a smooth end result.
As it turns out, there’s a little-known function inside After Effects called Roving Keyframes where the timings of keyframes are set free and allowed to automatically slide earlier or later as needed to create a smooth speed without changing the Position path itself.
Keyframes are the cornerstone to creating animations in After Effects, as they define a parameter’s value at a given point in time. If two keyframes have different values at different times, After Effects will interpolate the value between them (unless you have a Hold keyframe – the subject of next week’s Hidden Gems).
This system gets unwieldy if you have a lot of keyframes, such as when you are tracing out a complex motion path. The space between keyframes determines the speed the layer will move between the positions defined by them. If your keyframes are evenly spaced in time, but have varying distances that must be traveled between them, your layer will speed up and slow down to compensate. If you want to smooth out that speed, you normally have to do a lot of nudging in time to get things to balance.
This is where Roving Keyframes come in. You use it by selecting a number of keyframes, right-clicking on one, and choosing Rove Across Time. When you do this, only the first and last of the selected keyframes are bound to a specific time. All of the keyframes in between automatically slide (rove) in time as needed to create smooth speed changes. This works even if you change the interpolation of the first or last keyframe, such as adding Easy Ease:
In this week’s After Effects Hidden Gems Weekly on Lynda.com, we demonstrate creating a complex position path with multiple keyframes using Motion Sketch, attempting to smooth it out by hand in the Graph Editor, and then using Roving Keyframes to automatically smooth out the speed changes. This movie is available free this week to all. After this week, it will be available – along with all of the other previous Hidden Gems – to Lynda.com subscribers. If you’re not already a subscriber, you can get a 10-day free trial before your credit card is billed by using the link http://www.lynda.com/go/ChrisAndTrish. Enjoy!

