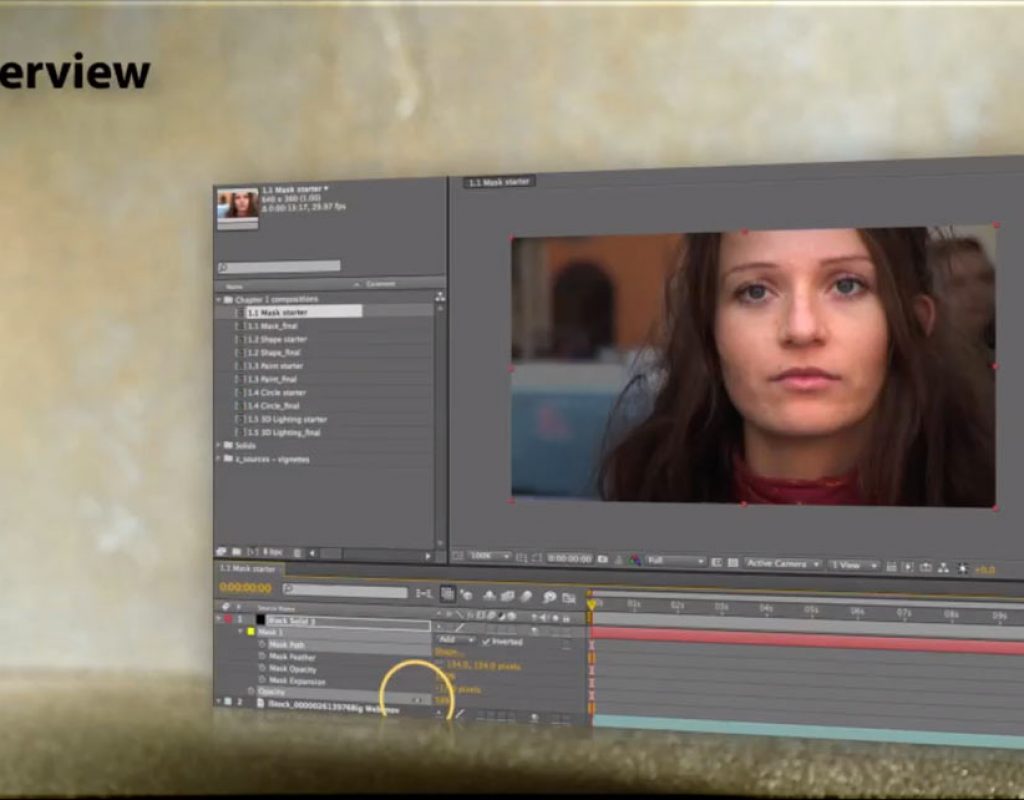
In both video editing and motion graphics, the goal is to focus the viewer’s attention in a certain place – on an actor’s face, on a company’s logo, etc. It is known that we notice and “read” bright areas in an image before the dark areas. A classy, subtle but effective way to darken the areas that are less important and make the more important areas of the frame brighter by comparison is to overlay a “vignette” on the image.
Back in 2010 we created an online course that shared a number of ways to accomplish this. That course is no longer available, but the fundamental concepts are just as important now as they were back then – so we’re going to share the movies in that course over the next few weeks, one “chapter” at a time. In this post, we’re going to focus on several different ways to create vignettes:
Introduction
A quick overview of the technique and how this course is arranged.
https://youtu.be/ioIJ4N62F4E
1.1: Masking
The most common approach to creating a vignette – which can be executed in many different software packages – is to draw a mask around the area you wish to highlight, invert it, feather it, and apply it to a black layer to darken the remaining areas of the frame.
https://youtu.be/ZKRoFFbPxg8
1.2: Shape Layers & Gradients
After Effects’ Shape Layers are more sophisticated than simple colored solids, allowing you to create gradients of color or darkness to fine-tune what areas are to be bright and how the rest of the frame is to be darkened. (Remember that you can use an After Effects composition as a layer inside Premiere Pro.)
https://youtu.be/J-F-D9s3dp0
1.3: Painting Vignettes
Some users are more comfortable “painting” the exact areas of the frame they wish to highlight, compared to drawing masks or shapes around them. This movie outlines that alternate approach inside After Effects.
https://youtu.be/1J0Apqjl2g0
1.4: Using the Circle Effect
Others prefer using effects plug-ins, especially since it is easy to save their settings as an animation preset to apply to new layers later on. This movie outlines that approach in After Effects.
https://youtu.be/66AqR2OcliE
1.5 Using 3D Lights for Vignettes
A favorite alternate approach of ours is to use 3D lighting in After Effects to re-illuminate footage, as if we were the lighting director on the original shoot. Basic 3D isn’t that hard to use in After Effects, and this approach may make more sense for those with traditional production experience.
https://youtu.be/-4CsEwk-ryA
Those are the basic approaches. In the next installment (to be posted two weeks after this one, to give you time to practice), we’ll show how to extend these techniques, such as using color instead of just black & white for the highlights and shadows, and how to process an entire stack of layers instead of one footage item at a time.
These movies previously appeared on Lynda.com/LinkedIn Learning. They’ve retired this course from their library, so we’re making the movies from it available publicly for free. You can either scan our page on ProVideo Coalition to see the other free movies, or check out the Crish Design channel on YouTube.

