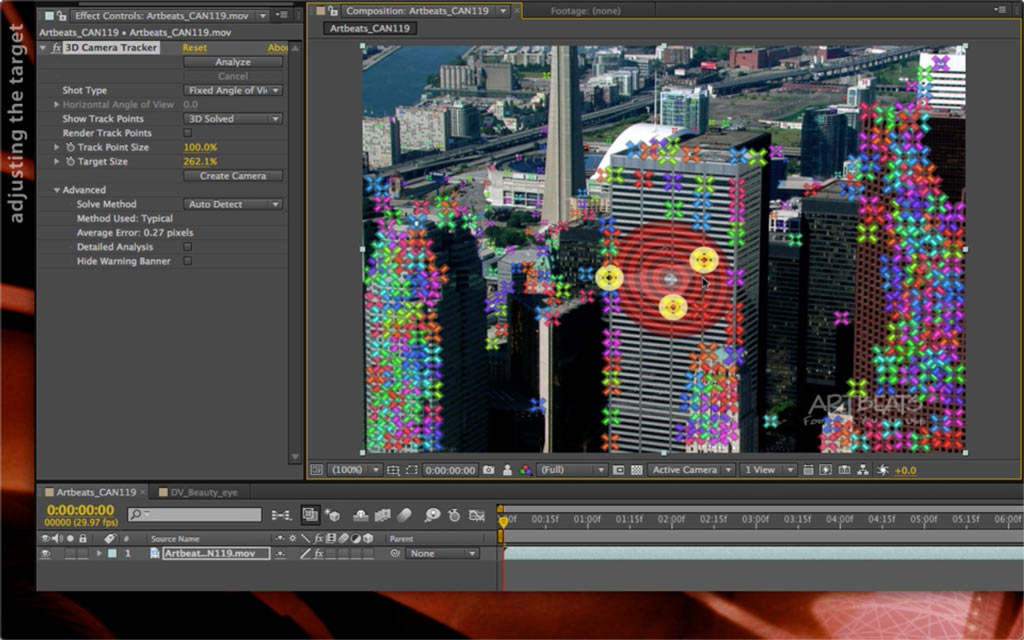
A classic visual effects job is to place a place one planar object (such as a new sign, a video screen, etc.) onto another planar object (such as a wall, a laptop, a cell phone, etc.) while either the camera, the target object, or both are moving. This requires some form of tracking.
In the early days of After Effects we had corner pin tracking, where you tracked the four corners of the target, and warped the new object to fit inside those tracked points. The problem often was that those four points had their own individual jitter and other inaccuracies, causing the pinned object to wobble. Then when mocha was added to After Effects, it brought a more sophisticated idea of tracking a plane with the idea it was supposed to be rigid (not rubbery with each corner moving individually), and calculating the motion, scale, rotation, and skew of that plane.
After Effects CS6 introduced a true 3D tracker that automatically detected and tracked multiple points in a scene, and from their relative movement reconstructed a 3D world complete with camera movement. You then decided where the new plane was located in this 3D world, and the 3D camera move did the rest.
Below are a series of five movies we created back in 2012 that demonstrated the workflow, including advanced compositing tricks. The one major thing that has changed since then is the choice of 3D rendering engine: the Classic Renderer is still available, but the Ray-traced 3D Renderer has been replaced with the CINEMA 4D rendering engine. Fortunately, this new renderer has a very similar user interface and features, so it should be easy to translate instructions from one to the other.
1) Applying the 3D Camera Tracker and performing the initial track:
2) Refining the track, including deleting bad track points, and optimizing the calculations:
3) Choosing Track Points to use to place your new planar object, and creating the camera and dummy layer to use:
4) Replacing the dummy layer with your own footage, and choosing a rendering engine, finessing the composite using Blending Modes:
5) Creating a “shadow catcher” layer to create a more realistic composite:
Bonus Movie: 3D Camera Tracker – Ground Plane
Adobe refined the 3D Camera Tracker effect in the initial Creative Cloud release of After Effects. In this movie, we refresh your memory on how to use Auto-Delete Points Across Time, and then demonstrate the new Set Ground Plane and Origin feature, discussion when and where it comes in handy.
These movies were previously appeared on Lynda.com/LinkedIn Learning. They’ve retired this course from their library, so we’re making the movies from it available publicly for free. You can either scan our page on ProVideo Coalition to see the other free movies we’ve posted over the last couple of years, or check out the Crish Design channel on YouTube.

