I’ve heard this question so many times it makes me smile. Not because I think it’s funny but because when Lightroom was coming of age not too long ago, I too thought the same thing. Today, I use Lightroom on a regular basis and don’t know how our studio would function without it. Sure, there are other programs out there that can help us manage our clients sessions like Aperture from Apple, ACDSee, iPhoto or even a simple Windows 7 viewer. Lightroom though is so much more than a simple image viewer, and with this article, I hope to clear up the comparisons to Adobe’s Bridge (which ships with Photoshop.)
Adobe’s Bridge has been a terrific addition to Photoshop, and with CS5, you can work even faster with Mini Bridge. Both are accessible from within Photoshop’s File menu (shown in figure 2.) You can also access the Mini Bridge from the icon within the tool windows (shown in figure 3.)
Mini Bridge is quite handy especially if you’re working on a series of images.
Figure 4 shows the Bridge panel open, then directed to a folder with images. Simply dragging and dropping (or double-clicking) and image from Bridge brings it into Photoshop.
Understanding the difference between Bridge and Lightroom is like understanding the difference between walking, and driving a car. Ok, maybe that’s a bit of an exaggeration but they are truly quite different. Both allow you access to your images, but that’s about where the similarities end. While Bridge was a good link between all of the Adobe programs, as Adobe’s Creative Suite grew something new needed to be created. Enter Lightroom. Lightroom is a Database. Bridge, on the other hand is a great file manager, sort of. Searching in Lightroom is faster. Everytime you ask Bridge to find an image for example, it has to scan and find your images every time. It doesn’t remember where you told it to import from before. It doesn’t care. A database system however, such as Lightroom, remembers your file locations, it remembers your image edits, your crops and so on, all non-destructively. All of that information is stored in a “catalog.”
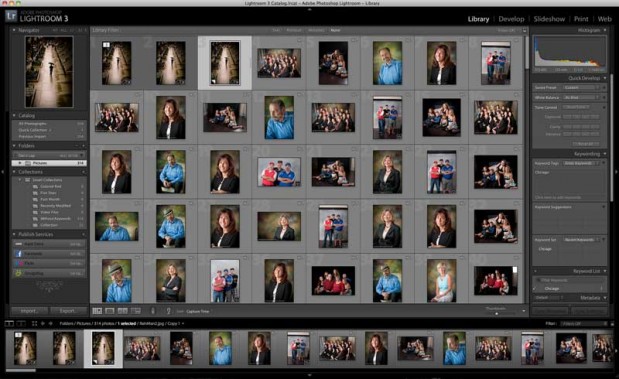
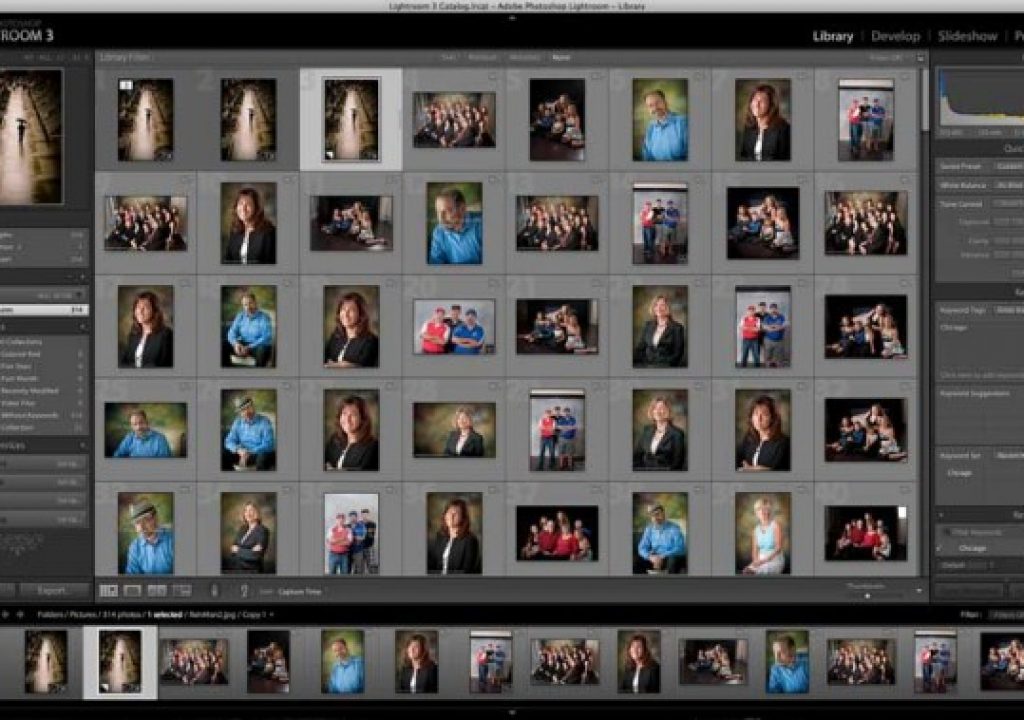
With Adobe Lightroom 3, you do a few key things. You have a Library, in which you import, copy files, and in doing so, add metadata, keywords, and create secondary copies. You can also convert to DNG on import and even perform a develop process, such as a black and white conversion. The Library let’s you review with a Loupe mode, compare or survey. You can rate, label, and flat, rename and refine keywords. Lastly, the Library in Lightroom allows you to filter, sort and stack, create smart collections and even publish collections online. It might sound like a lot but using even just a few of these options will greatly enhance your workflow. Images are imported into a catalog. When I first started using Lightroom, I just kept importing images to a main catalog. And because Lightroom keeps the folder locations and names, organization was not a problem. But what was a problem was when my library topped 20,000 images. Lightroom handled them just fine, but it started to slow my workflow. My workflow now is comprised of a creating a new catalog with each photographic project.
Then, once portraits are copied to our studio’s Drobo external hard drives (www.drobo.com) a catalog is created in Lightroom. That catalog is then saved within the particular photo project folder, be it a shoot in downtown Chicago, a workshop image set, or a portrait session. From there, those images are imported and I can tell Lightroom to import without moving the files. By the same token, you can import directly from a memory card and have Lightroom store those files to a specific location.
Lightroom 3 goes far beyond just allowing you to create a catalog and organize your images. You can develop your images with assigned profiles, adjust white balance, color, saturation, and much more. Additionally, you have the ability for spot healing, adding graduated filters, making virtual copies, and much more, all without destroying your original image. A quick menu selection and in seconds you’re original image is restored. When you’ve finished developing your images, you can export them at any specific size, and format you’d like. You can watermark your images, apply third party plug-ins on export, and even upload directly to websites such as Flickr or an FTP location. Add to this, adjustments and exports done on a global scale, that is, to all images at once and it’s clear that Lightroom is a necessity for a quick, powerful photography workflow solution. There’s so much more that Lightroom can do, and in future articles in The Darkroom section ProPhotoCoalition.com, I’ll cover those, such as creating your own presets, exporting, and creating html or flash based web pages of your images. For more information on Adobe Lightroom, visit www.Adobe.com. Download a trial for either PC or Mac.

