Today on The Slanted Lens, we are still up in Midway, Utah, shooting in what little snow there is left. We started out with no snow falling and ended with a good amount of wet snow coming down hard. It’s very difficult to keep the cameras dry in this situation and keep shooting. Snow presents its own problems. We are going to take a look at how the meter in your camera works and how adjusting camera meters in snow is a good idea if you want the right exposure. We will look at how to make a correct exposure in the snow and then how to light our mountain man and wife using strobes and ambient light.
Snow is the perfect place to look at how the meter in your camera works. The in-camera meter wants to make everything 18 percent gray. So when you point your camera at a predominantly white scene, the exposure will be very dark.
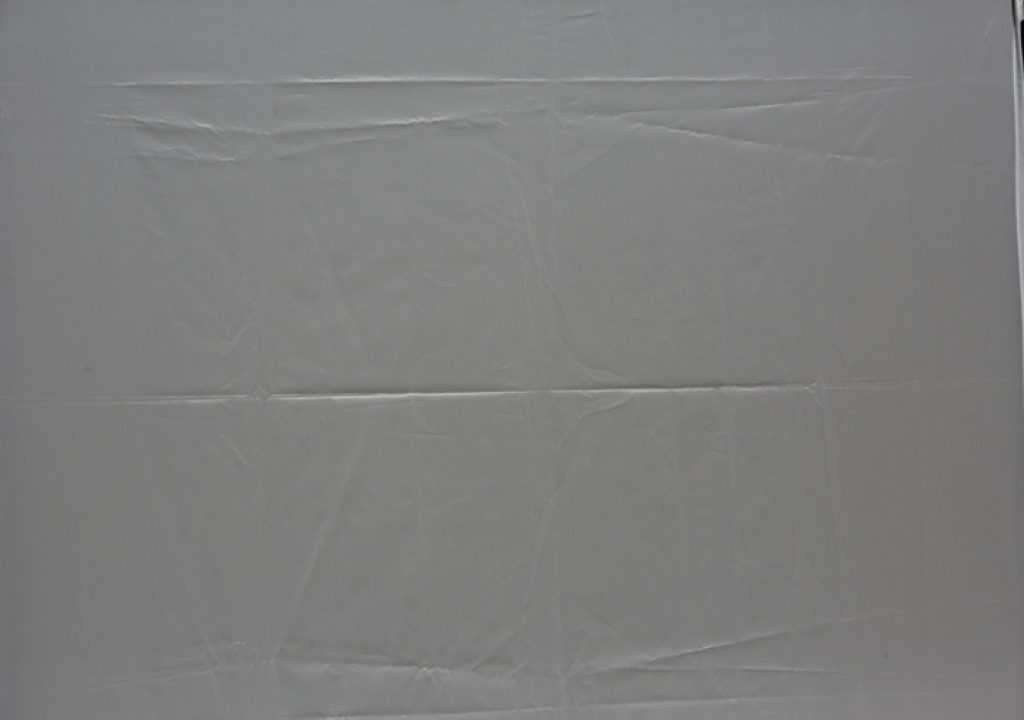
#1 Here is a white reflector in direct sun. The meter says this is the correct exposure and makes the white reflector 18% gray. The background is very dark.
#2 When I open up and overexpose the scene by 1 1/3 stops, the white reflector starts to become white and the background becomes more correctly exposed.
#3 When I open up 2 stops, the white reflector finally becomes white and we are seeing the background better. So in a mostly white scene, overexposing by 1 1/3 to 2 stops gives the correct exposure. Let’s see how this relates to our mountain man shoot in the snow.
#4 This was our first shot using the normal exposure recommended by the camera meter.
#5 Here is our image when I opened up 1 and 2/3rds stops. We now get a good ambient reading. I will go into meters and why a handheld meter will give you a truer picture of the scene in a future lesson. Let’s look at how we light our shot.
#6 Here is our first shot with just the ambient light and correct exposure.
#7 Here is our image with the first light. It’s a Dynalite with an OctoDome and a grid coming in from camera right. This gives us a nice side light on his face when he is turned to the right and a nice split light when he looks at the camera. The light is just brighter than the ambient by 2/3rds of a stop, so it blends well.
#8 I will add a Dynalite travel head now as a backlight. Nothing fancy, it’s just an open-faced head that is meant to light the smoke coming from our Rosco Fog Machine.
#9 I do love smoke. It simplifies the background and creates a lot of separation for our subject. Here is a great example. The smoke is just right and allows it to remove the background and create a dream-like world. It is hard to get smoke outside to do this but it’s worth the effort. It takes a lot of fanning as the smoke comes out.
#10 You can see that the smoke cleans up the background and allows our subject to stand out. We then moved the shoot to a higher elevation to shoot some images of our couple in the snow as it was falling.
#11 Here is our shot with just the ambient light. It needs something on his face.
#12 The OctoDome from camera left gave just enough light on his face to work. It was snowing, and we were getting wet. There was not much time for this shot.
#13 Here is an image that we shot here before the editing process.
#14 Here is another image that we shot before the editing process.
#15 For editing, I took the images into Nik Color Efex Pro and worked on them. I used a bleach bypass to bleach some of the color out of them and dial the layer back and forth until I liked the amount of color that was there. I wanted them to have kind of a bleached, old-fashioned look to fit with the mountain man theme. Here is a final image after editing.
#16 Here is another final image after editing.
This was a great shoot. It got a bit wet by the end, but things worked out well. This is just the first work we will do to help us understand our meters better. There’s more to come on that subject.
As always, keep those cameras rollin’ and keep on clickin’.
-Jay P Morgan

